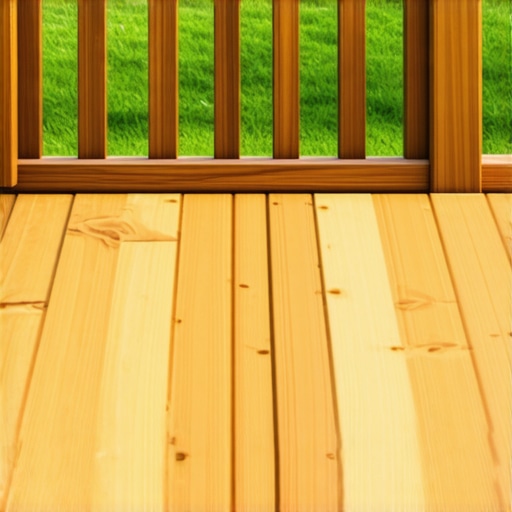
I’ll never forget the day I finished my first “dream” deck, stepped back with a cold drink, and felt a pit in my stomach. The boards just… ended. It looked like a half-shaved sheep. Those raw, honeycombed edges of the composite boards were staring back at me, screaming “amateur hour.” I had spent thousands on high-end materials, but it looked like a temporary platform rather than a finished piece of architecture. That was the moment I realized a deck isn’t just a floor; it’s a design statement.
Stop Letting Your Deck Edges Look Like an Afterthought
Most people think about the color or the railing first, but the border is what separates the pros from the weekend warriors. A picture frame border wraps the perimeter, hiding those ugly factory ends and giving the whole structure a crisp, defined look. It’s the difference between a ragged rug and a framed masterpiece. When you’re looking at innovative outdoor living ideas with composite decking in 2025, you’ll notice that almost every high-end build uses this technique. It’s not just about aesthetics, either. A well-executed border helps define different zones on your deck, like the transition from the grill area to the dining space.
Is This Level of Detail Actually Worth the Extra Effort?
I get it. You’re tired. Your back hurts, and you just want to grill a steak on your new deck. But trust me, skipping this step is a mistake you’ll regret every time you look down. According to data from the National Association of Realtors, professional-grade outdoor finishes can recover nearly 100% of their cost in home value because they signal that the home was cared for by someone who knows what they’re doing. If you want to transform your space, you have to care about the details.
The Structural Secret Nobody Tells You Until It Is Too Late
Here’s where I messed up early in my career. I thought I could just slap a perpendicular board on the edge at the very end. Wrong. If you don’t use a double rim joist for picture frame borders, your border boards will literally hang in the air with nothing to grab onto. I spent a whole Saturday tearing up boards because I didn’t account for the joist spacing secret for a solid-feeling composite surface. You need to know how to frame a picture frame border for composite decking before you even lay your first main board. Have you ever stood back from a DIY project only to realize you missed one crucial detail that changes everything? Stick with me, and we’ll make sure that doesn’t happen on your deck.
Build a Foundation That Actually Supports Your Style
If you’ve ever walked on a deck and felt the edge “dip” or “bounce” under your foot, you know the builder missed the core rule of framing for borders. To get that crisp, professional look, you can’t just rely on your standard joist layout. Think of it like trying to hang a heavy mirror on drywall without hitting a stud; it might hold for a minute, but eventually, it’s going to fail. You need to use a double rim joist for picture frame borders to create a wide enough landing zone for both your border board and the field boards that butt up against it. Without that extra lumber, your border is essentially floating in the breeze, waiting for someone to step on the edge and snap a fastener.
Add Internal Blocking for Edge Support
I learned this the hard way on a project in Branson where I tried to “cheat” the frame with single blocking. By July, the intense heat caused the boards to expand, and without enough wood for the screws to bite into, the perimeter began to shift and warp. It felt like walking on a diving board. Now, I always install horizontal “ladder” blocking every 12 inches between the last two joists. This is the joist spacing secret for a solid-feeling composite surface that separates a bouncy DIY mess from a rock-solid investment. Before you lay your first board, why I paint the tops of my joists black before installing composite is a trick I use to ensure the bright pressure-treated wood doesn’t peek through the gaps of your dark boards. 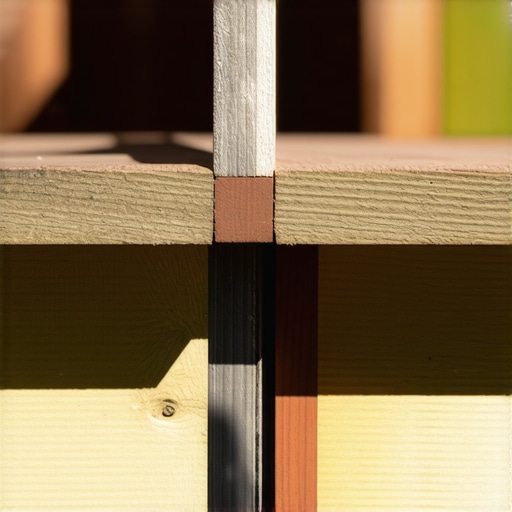
Keep Your Miters Tight Even When the Sun Hits
Composite decking is essentially a living organism—it expands when it’s hot and contracts when it’s cold. If you cut your 45-degree miters perfectly tight on a cool morning, those corners will likely buckle or “mushroom” by the heat of the afternoon. When choosing the right composite decking for durable low-maintenance outdoor areas, always check the manufacturer’s expansion chart. I’ve seen corners open up so wide in the winter you could drop a quarter through them, and then pinch so tight in July that they actually pop the screws. To keep those miters from opening up, I recommend using hidden fasteners and structural screws at the corners. Avoiding the hidden clip mistake that leads to buckling deck boards means ensuring the boards have the freedom to move along the joists while staying pinned at the perimeter. On my own backyard build, I found that using color-matched screws for the very ends of the border boards kept them from shifting, even during a record-breaking summer heatwave.
Eliminate the Ugly Ends on Your Staircase Too
Your deck floor might look like a million bucks, but if your stairs have raw, hollow honeycombed ends showing, the entire design falls apart. The stairs are usually the first thing guests notice as they approach your outdoor space. You need to know how to hide the ugly edge of a composite stair tread by either wrapping them in fascia or continuing the picture frame technique onto the stair landings. When designing safe and stylish stairs for outdoor decks in 2025, treat each tread like a mini-deck. They require the same level of structural backing and ladder blocking as the main platform. For a truly high-end feel, why I always use hidden fasteners for high-traffic entryways applies to stairs as well, because no one wants to see silver screw heads staring at them while they’re climbing up for a burger.Let’s dig deeper into the structural nuances that separate a nice deck from one that lasts twenty years without a single creak. Most contractors will tell you that the most expensive boards are the only way to get a premium finish, but I have found that why my favorite deck boards aren’t always the most expensive comes down to how they handle heat and moisture, not just the price tag. The real oops factor I see every year isn’t the board choice—it is the house connection. If you don’t understand the drainage gap error that traps rot against your house siding, you are essentially building a slow-motion wrecking ball for your home’s rim joist. Most DIYers think that jamming the boards together as tight as possible is the key to a clean look. They are wrong. Composite decking expands significantly in the sun. If you don’t account for the thermal movement, those expensive boards will mushroom at the fastener points. This is why I always preach about avoiding the hidden clip mistake that leads to buckling deck boards. You have to give the material room to breathe while keeping it securely pinned.
Stop Buying Those Pre-Cut Stair Stringers
Everyone says pre-cut stringers from the big box store are a time-saver, but in my experience, they are a recipe for a wobbly, unsafe mess. The hidden flaw in pre-built deck stairs from big box stores is that they rarely match the specific height of your deck perfectly, leading to that dangerous trip-step at the bottom. Research by the American Wood Council highlights that even a 3/16th inch variance in stair rise can significantly increase fall risks, making consistency the most important factor in your build.
Why do my stairs feel like a ladder?
If your knees ache every time you go down to the yard, it is usually because the run is too short and the rise is too high. You need to know why your deck stairs feel like a ladder and how to fix the rise by calculating the total drop correctly before you cut a single piece of wood. For taller decks, why your deck stairs should always have a mid-landing isn’t just about code compliance; it is about breaking up the visual mass and providing a much-needed rest point that prevents a simple slip from becoming a major fall. 
The Foundation Error That Ruins Great Stairs
I have seen beautiful composite treads pull away from the frame within two seasons because the builder skipped a simple step: the landing pad. Without knowing why your deck stairs need a concrete landing pad at the bottom, you are letting the weight of the stairs rest on soil that will eventually shift and settle. This leads directly to the hidden reason your deck stairs are pulling away from the frame. If you fix the foundation, the aesthetics will follow. Have you ever fallen into this trap where you focused on the color but ignored the structural connection? Let me know in the comments.
Why I Swapped My Heavy Lag Bolts for Structural Screws
Years ago, I would spend hours pre-drilling holes for massive lag bolts, sweating through my shirt just to secure a staircase or a ledger. Today, I don’t even keep lag bolts in my truck. If you want to build like a professional, you need to understand why I use structural screws instead of lag bolts for stairs. These fasteners are heat-treated and engineered to zip through lumber without a pilot hole, and they offer superior shear strength. According to the FastenMaster technical documentation, a single structural screw can often replace two or three standard lag bolts in specific lateral load applications. It’s about working smarter, not harder. This same logic is the reason I never use nails for deck boards anymore. Nails eventually back out and create trip hazards; screws lock everything into place forever.
How do I maintain my composite deck over time?
People often buy composite because they think it means ‘zero maintenance.’ That’s a myth. While you don’t have to sand or stain, you still have to deal with the realities of outdoor living—specifically, the grill. I’ve seen a beautiful grey deck ruined by one dropped burger because the owner didn’t know how to get grease stains off your composite deck. My rule? If you’re grilling, use a mat. Knowing the best way to protect your deck from hot bbq embers is the difference between a minor cleanup and a permanent burn mark on your boards. 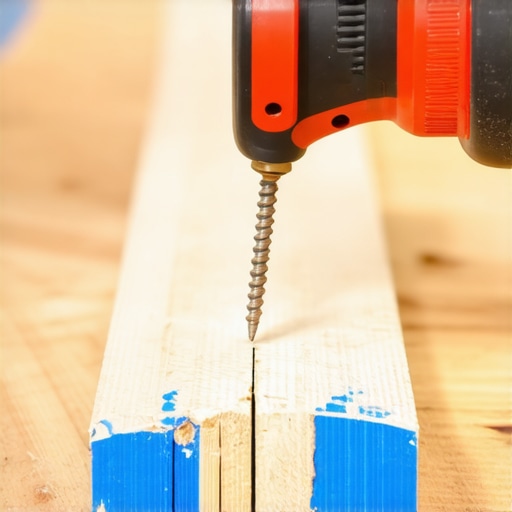
The Future is Built on Mineral Core Boards
If you’re looking at composite decking trends 2025, you’ll see the industry moving away from traditional wood-plastic composites toward mineral-core technology. This is a game-changer for stability. It’s why I choose mineral core decking for every poolside build lately. These boards have virtually zero thermal expansion, meaning those perfectly mitered corners we talked about earlier will stay tight even if the temperature swings forty degrees in a day. As more homeowners look for choosing the right composite decking for durable low-maintenance outdoor areas, these high-tech materials are going to become the new standard. To really scale your project’s longevity, don’t overlook the hidden cost of skipping joist tape on a new build. It prevents water from rotting the top of your frame, ensuring your substructure lasts as long as your 25-year boards. Before you wrap up your design, think about the ambiance. The best way to light a deck for dining without attracting bugs is to use warm-spectrum LEDs placed low to the ground. Ready to take your build to the next level? I highly recommend trying the screw depth trick for a perfectly smooth deck surface on your next border board to hide every single fastener head and create that ‘factory-finish’ look guests won’t believe you did yourself.
Hard-Learned Lessons from My First Dozen Deck Failures
I used to think that a deck was just a flat surface, but after years of building, I’ve realized it’s a living structure that breathes and moves with the seasons. One of my biggest lightbulb moments was realizing that the skeleton of the deck is far more important than the skin. If you focus solely on the color of the boards and ignore the structural nuances, like the joist spacing secret for a solid-feeling composite surface, you’ll end up with a project that looks great for six months but feels like a trampoline by next summer.
Another hard truth? Thermal expansion is your biggest enemy. I’ve seen perfectly cut miters gap like missing teeth because someone forgot to check the manufacturer’s gap charts. You have to respect the material. This is why I always emphasize designing safe and stylish stairs for outdoor decks in 2025 that account for both the aesthetic flow and the physical realities of heat and moisture.
My No-Nonsense List of Essential Gear
When you’re ready to get to work, don’t just grab whatever is on the shelf. These are the items that never leave my tool trailer:
- Structural Fasteners: Stop fighting with lag bolts. I switched years ago and never looked back because of why I use structural screws instead of lag bolts for ledgers. They save your wrists and your time.
- Joist Tape: If you aren’t using this, you’re building a deck with an expiration date. It is a small investment that prevents rot. Consider the hidden cost of skipping joist tape on a new build before you lay those expensive boards.
- Depth-Setting Drivers: To get that perfectly flush look without the ‘mushrooming’ effect, use a dedicated depth-setter for your screws to ensure a clean finish.
Stop Planning and Start Building Your Oasis
It’s easy to get paralyzed by all the options and technical details, but remember why you started this: you want a place to relax, grill, and enjoy your home. Whether you are using custom composite decking ideas to create a multi-level masterpiece or a simple platform for your morning coffee, the effort you put into the details now will pay off for decades. You have the knowledge to avoid the amateur mistakes and build something truly professional. Your dream outdoor living space is just a few boards away.
Have you decided on a picture frame border for your project, or are you sticking with a more traditional layout? Let me know in the comments below!