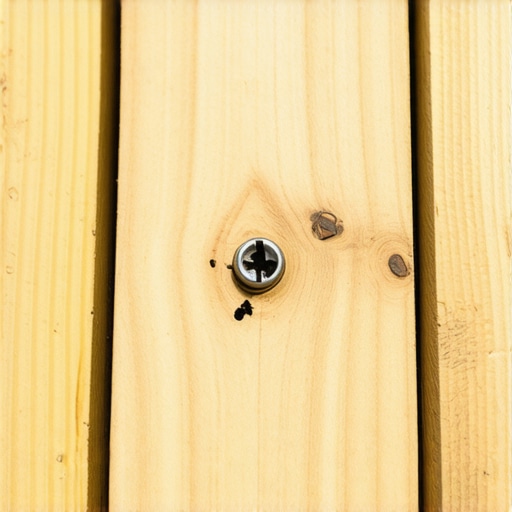
I’ll never forget the look on my neighbor’s face when he caught his toe on a “flush” screw head during our first summer BBQ. It was a classic rookie mistake. I had spent weeks choosing the right composite decking and obsessing over the layout, but when it came to the actual fastening, I thought my steady hand was enough. It wasn’t. Half the screws were buried too deep, creating little ponds for rainwater, and the other half were just high enough to ruin a good pair of socks. That afternoon, I realized that a deck isn’t just about the view; it’s about the feel under your feet. If you’ve ever felt that annoying “bump-bump-bump” while walking across your patio, you know exactly what I mean. Today, I’m sharing the exact method I use to get a surface so smooth you’ll want to walk on it barefoot every single day.
Stop Letting Uneven Screws Ruin Your Hard Work
Building a deck is a labor of love, but nothing kills the vibe faster than a finish that looks amateur. When you are working on stunning outdoor living projects, the details aren’t just details—they are the whole game. Most folks think they can just drive a screw until it “looks right,” but composite materials are finicky. Unlike wood, they don’t always compress; they often displace. This leads to “mushrooming,” where the material curls up around the screw head like a tiny volcano. I’ve seen homeowners try to sand these down, which is a disaster for the finish. Whether you’re working with a professional deck builder or tackling a DIY weekend, getting the depth consistent is the secret sauce to that high-end look.
Is Perfect Depth Actually Worth the Effort?
You might be wondering if obsessing over a sixteenth of an inch is really necessary. The short answer? Absolutely. According to safety experts at the North American Deck and Railing Association (NADRA), consistent fastener depth is crucial not just for aesthetics, but for preventing long-term moisture traps that can degrade your substructure. Even if you’ve mastered designing safe and stylish stairs, a single proud screw on a tread can lead to a nasty fall. Have you ever had a guest trip on your deck because of a fastener that wasn’t quite flush? It’s a heart-stopping moment that no host wants to experience. By using a specific depth-setting tool, we can eliminate that risk entirely while making the floor look like a single, seamless sheet of perfection. Next, I’ll show you exactly how to set your drill so you never have to second-guess a fastener again.
Use a Dedicated Depth-Setting Bit
The most common mistake I see—and one I’m guilty of making back in my early days—is trying to eyeball the depth. You think your trigger finger is precise, but after a hundred screws, fatigue sets in. Instead, go get a depth-setting driver bit. These tools have a free-spinning collar that stops the bit the second the screw reaches the perfect depth. It’s like a physical stop for your mistakes. When I was building a large wrap-around porch a few years ago, I skipped this tool for the first few boards. By noon, I had three boards with proud screws and two that were buried so deep they looked like craters. I spent more time trying to fix those five spots than I would have spent buying the right bit in the first place. This is especially vital when you’re keeping up with composite decking trends 2025, where the finishes are more delicate than ever.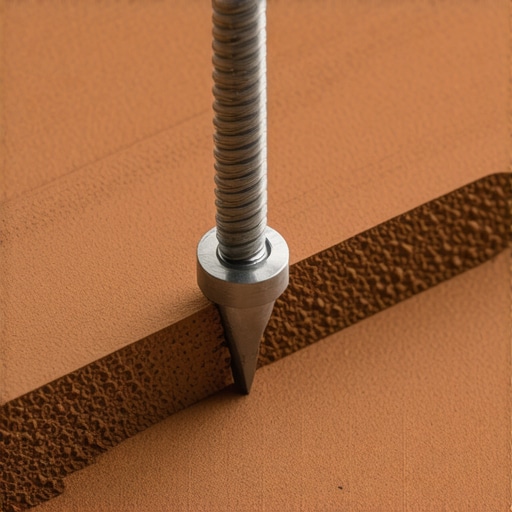
Calibrate Your Drill on a Scrap Piece
Before you touch your actual decking, grab a six-inch piece of scrap and a spare joist. You need to simulate the exact resistance the screw will face. Composite material is much denser than pressure-treated pine, and the way it reacts depends on the temperature and the specific brand you chose. While understanding why we use hidden clips for the field but screws for the perimeter is a standard practice, those perimeter screws are the ones everyone sees. Set your drill’s clutch to a medium setting and drive a test screw. If it’s too shallow, it’s a trip hazard; if it’s too deep, it collects water and debris. I usually aim for a hair below flush—about the thickness of a business card. This allows the material to settle without creating a mushroom volcano. If you find the screw is still sticking out, adjust the bit collar a quarter turn and try again on a fresh spot of your scrap board.
Handle the Mushrooming Effect Like a Pro
Mushrooming is that annoying ring of displaced plastic and wood fiber that curls up around a screw head. It’s the hallmark of a DIY job gone wrong. To prevent this, use screws specifically designed for composite. These often have reverse threading near the head that pushes the material back down into the hole. If you’re still getting a bump, try pre-drilling. Even if the screw says self-tapping, pre-drilling a small pilot hole gives that displaced material somewhere to go. On a particularly hot July afternoon, I was working on a project where the boards were expanding so fast they were practically fighting the screws. By pre-drilling and using a depth setter, I managed to keep the surface so clean it looked like it had been glued together. This level of detail is what separates a basic platform from truly stunning outdoor living spaces.
Fasten the Ends with Extra Care
The most vulnerable part of any board is the last two inches. If you drive a screw too close to the end without care, the board can split or bulge. This is a nightmare if you’re trying to maintain the stair tread depth that feels safest for kids and the elderly, because a split edge can catch a shoe or a paw. Always move your fasteners at least an inch and a half back from the edge. If the layout requires a screw right at the end, pre-drilling is not optional—it’s a requirement. This keeps the internal structure of the board intact and ensures your joist spacing secret for a solid feeling composite surface isn’t wasted on a board that’s compromised. To avoid visible rust over time, especially in humid environments, ensure you know how to prevent rust on deck screws in coastal environments by choosing high-quality stainless steel fasteners from the start.
Beyond just the ends of the boards, there is a common myth that "tighter is always better." I’ve seen enthusiasts crank their drills to the max torque setting, thinking they are securing the deck for a century. In reality, you’re often doing more harm than good. When you over-tighten, you strip the internal structure of the joist and leave no room for the board to breathe. Composite decking isn’t a static material; it’s a living system that expands and contracts with the sun. If you’ve noticed your boards popping or warping, it’s likely because they were pinned down too hard. This is where the hidden clip mistake that leads to buckling deck boards usually starts, but it’s just as prevalent with surface screws.
Does the Outside Temperature Change How Deep You Should Drive a Screw?
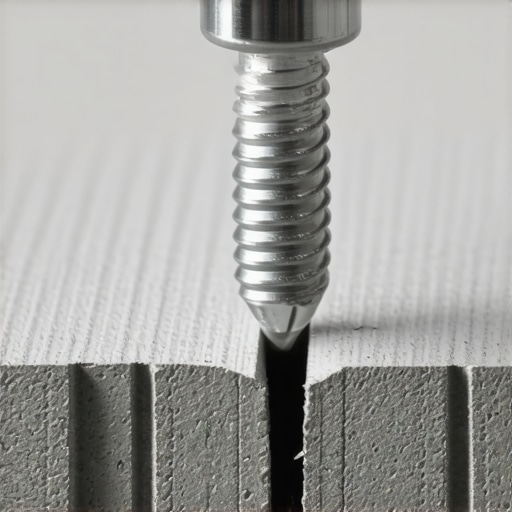
This is the question that separates the weekend warriors from the pros. According to research from the Forest Products Laboratory, composite materials can move significantly based on the thermal gradient. If you are installing your deck on a scorching 95-degree day, the boards are at their maximum expansion. If you drive the screws perfectly flush then, they might actually look "sunken" when the boards contract in the winter. Conversely, installing in the cold means the boards will grow as soon as the sun hits them, potentially pushing against the screw head and causing that dreaded mushrooming. I always recommend a slightly deeper set (about 1/16th of an inch) during summer installs to account for this inevitable movement. It’s a nuance that a professional deck builder will always account for, ensuring your floor stays flat year-round.
The "Oops" Factor: Why Your Driver Bit Choice Can Ruin the Face
Here is a trap many fall into: using a standard Phillips head driver for composite screws. Don’t do it. Phillips bits are designed to "cam out" (slip out of the screw head) to prevent over-tightening in manufacturing, but on a deck, a cam-out means the metal bit strikes the beautiful, expensive surface of your board, leaving a permanent silver scar. Always use Star or Torx drive screws. They provide much higher torque transfer without slipping. If you do slip, you’ll likely need to replace the entire board, which is a massive headache once you’ve already started why we use double joists under every composite seam for a flat floor. A single slip-up can turn a high-end project into one that looks like a patchwork quilt.
Why Surface Screws Often Beat Hidden Clips in High-Traffic Zones
Everyone tells you that hidden clips are the gold standard for stunning outdoor living, but I’m going to challenge that. While clips are great for the "field" of the deck, they lack the lateral holding power needed for high-traffic transition areas. If you have a spot where people pivot to head toward the stairs, clips can eventually allow the boards to shift or "creep" over time. This leads to how to stop your deck boards from creaking in the summer heat becoming a recurring maintenance task. In these high-impact zones, I always prefer color-matched face screws. They lock the board to the frame in a way that clips never will, providing a rock-solid feel underfoot that lasts for decades. Have you ever fallen into the "hidden-clips-everywhere" trap? Let me know in the comments!
Stop Guessing and Start Using Digital 3D Models
I used to spend hours sketching on graph paper, but a complex layout—especially one involving designing safe and stylish stairs—needs more than just a 2D pencil drawing. I’ve found that why a digital designer is the best move for planning a complex backyard deck boils down to the ‘clash detection.’ It shows you exactly where a joist might interfere with a stair stringer or where a screw pattern will look cluttered before you ever pull the trigger on your drill. This software allows me to scale the project perfectly, ensuring that every board is accounted for and the waste is kept to an absolute minimum. If you’re building anything more than a basic square, do yourself a favor and visualize it digitally first.
Your Frame Will Rot Before the Boards If You Skip This
The biggest irony of composite decking is that the boards will last 30 years, but the wooden frame underneath might only last 15 if you aren’t careful. I’ve torn up decks where the boards looked brand new, but the joist tops were essentially mulch. This is why I am obsessed with butyl joist tape. Understanding the hidden cost of skipping joist tape on a new build is vital because it creates a waterproof seal around every screw. According to the American Wood Protection Association (AWPA) standard U1, wood in these scenarios is often subject to localized moisture traps that accelerate decay far beyond normal ‘above ground’ expectations. By capping those joists, you ensure the skeleton of your deck matches the lifespan of the skin.
Hide the Skeleton with This Simple Visual Trick
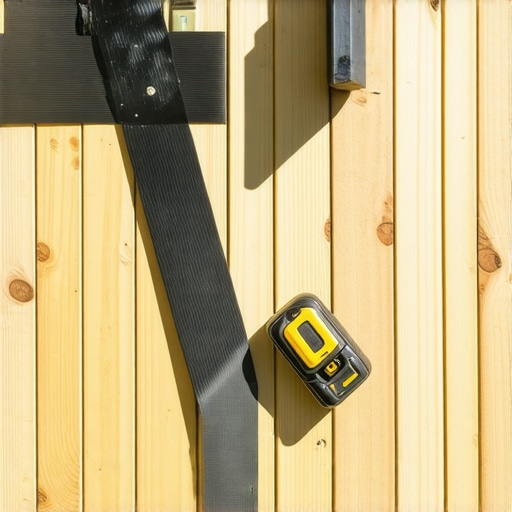
Even with the tightest gaps, you can often see the light-colored pressure-treated wood peeking through the dark composite boards. It drives me crazy and immediately screams ‘DIY.’ That is why I paint the tops of my joists black before installing composite. Using a simple black outdoor-rated spray paint or even a specialized black joist tape makes the gaps disappear into a shadow line. It creates a high-end, finished look that highlights the grain of your boards rather than the ugly green wood underneath. It’s a ten-minute step that makes a thousand-dollar difference in the final aesthetic.
Cooler Feet Are the Next Big Thing in Outdoor Design
Looking ahead, I predict the ‘heat island’ effect of decks will be the next major problem manufacturers solve. We already know that why dark brown decking gets significantly hotter than light gray boards is a major complaint for homeowners. In the next few years, I expect heat-reflective pigments to become the standard for all premium lines. We are moving toward outdoor spaces that aren’t just beautiful to look at, but are thermally comfortable even in the direct July sun. Choosing materials that stay cool is going to be just as important as choosing a color that matches your siding.
How do I maintain my composite deck over time?
The beauty of composite is the ‘low’ maintenance, but that doesn’t mean ‘no’ maintenance. The most important rule I give my clients is this: why you should never use a pressure washer on composite decks. High-pressure water can actually etch the surface of the plastic or tear the wood fibers in capped-composite boards, leading to permanent damage. Instead, a simple soft-bristle brush and a bucket of soapy water once every six months is all you need. Focus on the gaps between boards to ensure airflow, which prevents mold from forming in the shadows. If you want a deck that looks like it was finished yesterday, grab a dedicated depth-setting bit and go check every perimeter screw one last time before the season starts—consistency is the hallmark of a pro.
I strongly encourage you to try the black-out joist method on your next project. It is the easiest way to elevate your deck from a standard platform to a custom architectural feature. If you’re feeling overwhelmed by the technical details, reaching out for the benefits of working with a professional deck builder can save you thousands in tools and trial-and-error.
The Mistakes That Taught Me Everything About Composite Surfaces
Reflecting on years of building, I’ve realized that the most expensive materials in the world won’t save a deck if the execution is sloppy. One of the biggest lightbulb moments for me was realizing that heat expansion is a deck’s worst enemy if you pin the boards down too tightly. It’s better to have a slightly looser board that can breathe than a perfectly tight one that buckles in July. Also, don’t underestimate the power of a second pair of eyes; the benefits of working with a professional deck builder often come down to those tiny adjustments you simply can’t see when you’re too close to the project. Finally, always buy 10% more fasteners than you think you need—dropping a screw into the grass is a rite of passage for every expert deck builder.
The Gear I Actually Use Every Saturday Morning
If you’re serious about a pro-level finish, you need a specific kit. I never step onto a job site without a Smart-Bit Depth Setter; it’s the only way to ensure every screw is identical. I also swear by using G-Tape or a high-quality butyl tape to ensure you know how to protect your deck frame from rot for thirty years. Skipping this is the single most common regret I hear from homeowners five years down the line. To avoid the frustration of stripping heads, only use T20 or T25 Torx bits—they are the gold standard for high-torque composite installs. For those dealing with complex layouts, I highly recommend checking out why a digital designer is the best move for planning a complex backyard deck to save your sanity before the first board is cut.
Your Backyard Is Waiting For A Transformation
Building a space for your family to gather is one of the most rewarding home improvements you can undertake. Whether you are exploring innovative outdoor living ideas with composite decking in 2025 or simply fixing a few loose boards, the effort you put into the details now will pay off for decades. Don’t be afraid to experiment with custom composite decking ideas that reflect your personal style. Your deck is more than just a platform; it’s an extension of your home and a stage for your best summer memories. Have you ever struggled with getting your screw heads perfectly flush or dealt with the "mushrooming" effect? Let me know in the comments below!