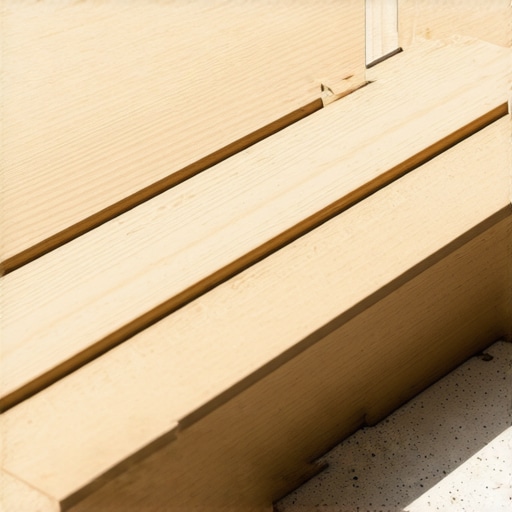
I remember standing in my backyard on a humid July morning three years ago, coffee cooling in my hand, staring at the plastic lattice I’d just installed the previous summer. It was supposed to be the simple, classic finish for my new composite deck. Instead, a rogue gust of wind had popped two staples, and a six-foot panel was bowing outward like a cheap sail. It looked flimsy. It looked temporary. Worse yet, it was a neon sign for every neighborhood critter looking for a dry place to sleep. I’d made the classic mistake of thinking skirting was just an afterthought, a mere aesthetic cover to hide the dirt. I was wrong. Standard lattice is the “participation trophy” of deck building; it’s there, but nobody’s actually proud of it. Today, I want to show you how to move past that flimsy criss-cross pattern and actually finish your outdoor space with something that lasts and adds real value to your home. [image1]
The flimsy plastic trap I fell into early on
Early in my DIY journey, I figured cheap lattice was just fine. I spent my entire budget on high-end boards and figured no one would notice what was happening below the floor level. I was so wrong. Within two seasons, the sun had bleached the vinyl, and my weed whacker had turned the bottom edge into a jagged, shattered mess. If you want to transform your outdoor living with custom composite decking ideas, the skirting needs to match that level of quality. It’s not just about looks, either. That cheap material did nothing to protect my foundation or keep out the local wildlife. I’ve seen lattice panels that were practically invited guests for groundhogs because they are so easy to push aside.
Is high-end skirting actually worth the hype?
You might be thinking that lattice is just the “standard” because it’s the most cost-effective way to close a gap. But let’s be honest: is it a bargain if you have to replace it every three years? According to research from the National Association of Realtors, curb appeal and structural integrity are massive factors in home valuation, and a sagging, hole-filled lattice does neither. It’s a magnet for trouble and a signal to buyers that you might have cut corners elsewhere too.
Why I shifted to horizontal board skirting
The moment I finally ripped out those panels and replaced them with horizontal composite boards, the entire energy of the backyard changed. The deck suddenly felt like a permanent, architectural part of the house, not just a wooden platform floating on a cheap base. When you work with a skilled deck builder, they will tell you that the skirting is your first line of defense against both erosion and pests. By using more substantial materials and tighter gaps, I finally figured out how to stop your deck from becoming a playground for raccoons. It turns out, they aren’t nearly as interested in your crawlspace when they can’t just use their paws to snap a plastic diamond. Have you ever spent a Saturday afternoon trying to staple back a piece of lattice only to have it pop out again the next week? I’d love to hear about your own battles with deck skirting in the comments below. We are just getting started on why the right materials make all the difference.The first thing I learned the hard way is that you cannot just slap boards onto your existing deck posts and expect them to stay straight. Framing for skirting is like the skeleton of a building; if the bones are weak, the skin is going to sag. You need to install vertical 2×4 nailers every 12 to 16 inches between your main posts. Think of it like the support needed for a floor: the closer the supports, the less bounce you get. This mirrors the joist spacing secret for a solid feeling composite surface because it provides a rigid plane for the boards to bite into. 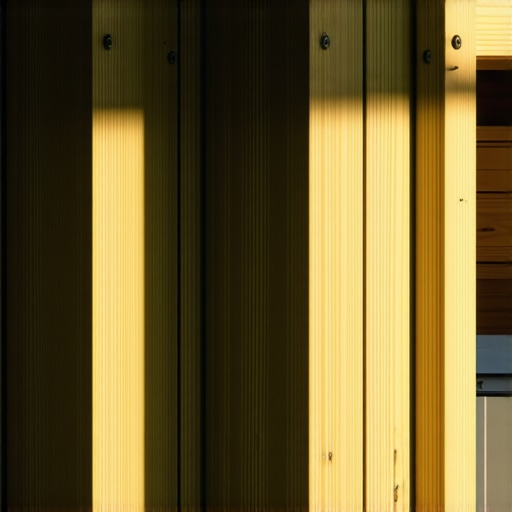
Build a skeleton that won’t sag under pressure
I remember my first attempt at horizontal skirting where I thought I could span eight feet between posts without extra support. By mid-August, the heat had caused the composite to expand, and without those vertical nailers, the boards looked like a bag of warped potato chips. I had to rip every single screw out and start over. Now, I always use pressure-treated lumber for the sub-frame and ensure it is set slightly back from the post face so the skirting sits flush with the deck’s outer rim.
Space your boards like a pro to avoid buckling
When you are choosing the right composite decking for durable low-maintenance outdoor areas, you have to account for thermal expansion. Unlike wood, which mostly expands with moisture, composite expands with heat. If you butt those horizontal boards tight against each other, they will eventually buckle and pop their fasteners. I use a 3/16-inch spacer between boards. This allows for airflow and prevents the skirting from becoming a solid wall that traps heat. Also, pay attention to how you secure them. This is exactly why i never nail deck boards—the sheer force of expanding composite will pull a nail right out of a 2×4, but a high-quality deck screw with a reverse-thread head will lock it into place forever.
Let the crawlspace breathe or prepare for rot
One of the biggest mistakes DIYers make is sealing the bottom of the deck completely. You need to how to vent the space under your deck to prevent mold and wood rot. If you don’t, the ground moisture will rise, hit the bottom of your deck boards, and have nowhere to go. Within a few years, your expensive framing will be soft enough to poke a finger through. I like to leave a one-inch gap at the very bottom, just above the grade, and sometimes I even integrate a discrete decorative metal mesh behind a few of the board gaps to ensure cross-ventilation without letting the raccoons back in.
Blend your stairs into the skirting seamlessly
The transition where the horizontal skirting meets the stairs is where most projects go from looking professional to looking like a weekend hack job. You have to treat the stair stringers as an extension of the skirting. When I am figuring out how to hide the ugly edge of a composite stair tread, I usually wrap the skirting boards right into the stair risers. This creates a continuous line that leads the eye naturally from the ground up to the landing. It makes the entire structure look like a single, cohesive piece of architecture rather than a platform with some boards nailed to the side. Always miter your corners where the skirting meets the stair trim; it takes an extra ten minutes, but it prevents that raw, unfinished end-grain look that screams ‘amateur.’Common wisdom tells you to make every joint as tight as possible to achieve that ‘indoor’ look, but when you are dealing with the elements, that’s a recipe for structural disaster. In my early days, I was obsessed with zero-gap transitions. I wanted my deck to look like a hardwood floor. What I didn’t realize is that composite needs to breathe and move far more than traditional timber. If you fight the material, the material will eventually win by warping your frame or snapping your fasteners.
The myth that more fasteners mean a stronger deck
You might think that doubling up on screws is the best way to prevent boards from shifting, but this is a classic ‘pro-level’ trap. Over-restraining a board—especially when working with 2025 composite decking trends—doesn’t stop expansion; it just forces the energy to go somewhere else. Usually, that energy results in the boards ‘humping’ up in the middle or shearing off the heads of your expensive stainless steel screws. This is why understanding the hidden clip mistake that leads to buckling deck boards is so vital. These clips are designed to allow a microscopic amount of ‘slide,’ which protects the long-term integrity of your joists. Have you ever fallen into this trap of over-securing your boards only to see them buckle the following summer? Let me know in the comments, because I’ve certainly been there. 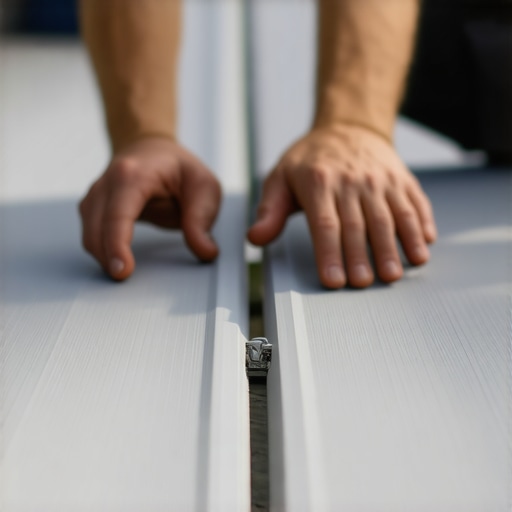
Why do most deck stairs fail within five years?
It isn’t usually the wood rotting that causes the failure; it’s the physics of the stride and the lack of a solid foundation. Most DIYers and even some ‘budget’ pros will simply rest the stair stringers on a bed of gravel or, heaven forbid, directly on the grass. According to data from the North American Deck and Railing Association (NADRA), stair-related failures are the primary cause of deck-related injuries, often due to the bottom of the staircase shifting or sinking. This is exactly why your deck stairs need a concrete landing pad at the bottom. Without that rigid, level surface, every step you take acts like a hammer, slowly driving the stringers into the mud and pulling the top of the stairs away from the deck frame.
Avoid the throat-cut error on your stringers
When you are cutting your own stair stringers, there is a dangerous temptation to over-cut the inner corners to make the waste wood pop out easily. This creates a ‘stress riser’ at the throat of the stringer. I’ve seen beautiful builds where the builder made a simple stair stringer measurement mistake that ruins your stride by leaving only an inch or two of solid wood behind the notch. Under a heavy load—like three adults walking down at once—those stringers can snap like a dry twig. If you want to transform your space with expert deck builder tips for stunning outdoor living, you have to prioritize the ‘bones’ you can’t see. Always use a hand saw to finish your stringer cuts rather than over-cutting with a circular saw. It takes longer, but it ensures your family stays safe.
Stop the squeak before it starts
There is nothing that ruins the premium feel of a new deck faster than a loud, rhythmic squeak every time you walk to the grill. This usually happens because the builder didn’t account for the friction between the stair tread and the stringer. When I am designing safe and stylish stairs for outdoor decks in 2025, I always apply a thick bead of subfloor adhesive to the top of the stringers before laying down the treads. This acts as a gasket, filling any microscopic gaps and preventing the ‘rub’ that creates that annoying sound. It’s a small, ten-dollar fix that separates a ‘weekend project’ from a professional-grade installation.
Once you have addressed the structural integrity and physics of your build, the focus shifts to the long-term. I used to rely on my eyes and a prayer, but now I do not start a build without a dedicated hidden-fastener jig. If you want that high-end look where no screw heads are visible, using a specialized tool like the Kreg Deck Jig or the CAMO marksman system is non-negotiable. It creates a clean, uniform surface that doesn’t trap dirt or catch on socks. This approach is a massive part of the composite decking trends 2025 where ‘interior-style’ aesthetics are finally moving into our backyards. When the boards are spaced and secured with this level of precision, the deck looks like a piece of custom furniture rather than a utility platform.
Grab the right jig for a fastener-free finish
I remember trying to manually angle screws into the side of my boards before I bought a proper jig. It was a disaster; the spacing was uneven, and I ended up splitting the ends of my expensive composite. Now, I use the jig for every single board because it guarantees that 3/16-inch gap we talked about earlier. Beyond aesthetics, the hidden fastener system allows the board to expand and contract along the joist without the friction that causes surface cracking. #IMAGE_PLACE_HOLDER_D#
Stop using lag bolts for your stair connections
When it comes to the heavy-duty connections, I have completely walked away from traditional lag bolts. According to the technical documentation provided by the American Wood Council (AWC) in their DCA 6 guidelines, lateral load connections are the most common points of failure in residential decks. This is why i use structural screws instead of lag bolts for stairs every single time. Structural screws are thinner but made of heat-treated steel, meaning they don’t require pre-drilling and they have a much higher shear strength. They bite into the wood and stay there, whereas lag bolts can sometimes strip the wood fibers during installation, creating a loose connection before you even finish the project.
How do I keep this composite investment looking fresh for twenty years?
Most people think ‘low maintenance’ means ‘no maintenance,’ but that is a dangerous myth. You need to wash your deck at least twice a year to prevent pollen and dust from becoming food for mold. However, the reason why you should never use a pressure washer on composite decks cannot be overstated. High-pressure water can etch the surface, ruin the protective cap, and void your warranty in seconds. Instead, use a soft-bristle brush and a mild detergent. Also, keep an eye on your landscaping. If you are working with the secret to maintaining a sharp lawn edge in the rocky reeds spring terrain, ensure your mulch or decorative stone stays at least two inches away from your deck skirting to prevent moisture wicking and rot.
Steel will eventually replace wood as the standard
Looking ahead, I predict that by 2027, traditional wood framing will be considered the ‘budget’ or ‘entry-level’ option, while premium builds shift entirely to light-gauge steel. The hidden benefit of using steel deck framing instead of wood is that it stays perfectly flat forever. Wood eventually crowns or warps, which causes even the best composite boards to look wavy over time. Steel gives you a perfectly level plane, which is essential if you want to transform your space with expert deck builder tips for stunning outdoor living. Try this: for your next project, even if you are using wood for the main frame, use a steel header for your stairs. It is the single best way to ensure your steps never sag or pull away from the rim joist.
Hard Lessons from My Years in the Crawlspace
Looking back at that first flimsy lattice job, I realize I wasn’t just failing on aesthetics; I was neglecting the safety and longevity of my entire home. One thing I’ve learned is that you must always take a minute for the simple way to check if your deck ledger is pulling away from the house. It takes seconds but prevents a catastrophe. I also realized that if your steps feel awkward, you shouldn’t just live with it; you need to know why your deck stairs feel like a ladder and how to fix the rise before someone takes a tumble. Lastly, keep an eye on your connections. If you notice a gap widening, it’s likely the hidden reason your deck stairs are pulling away from the frame, and it needs immediate attention.
The Kit I Never Leave Home Without
If you want your deck to look like those high-end 2025 custom builds, you need more than just a hammer. I always recommend investing in the bracket that keeps your railing from wobbling forever—it is the difference between a flimsy fence and a rock-solid guardrail. Don’t forget the invisible protection, either. I never skip the hidden cost of skipping joist tape on a new build because it adds decades to your wood frame for just a few extra dollars. Finally, keep a set of structural screws and a high-quality impact driver handy; they are the backbone of any modern deck.
#IMAGE_PLACEHOLDER_E#
Your Masterpiece is Waiting for a Solid Foundation
Building a deck is more than just a DIY project; it’s about creating a place where your family will make memories for the next twenty years. Don’t let the small details like skirting or stair rise discourage you. When you focus on the “bones” and use the right materials, you aren’t just building a platform; you are crafting a legacy. Your 2025 outdoor space deserves that extra bit of effort. What’s the one part of your deck build that’s keeping you up at night—the skirting, the stairs, or the framing itself? Let me know in the comments below!