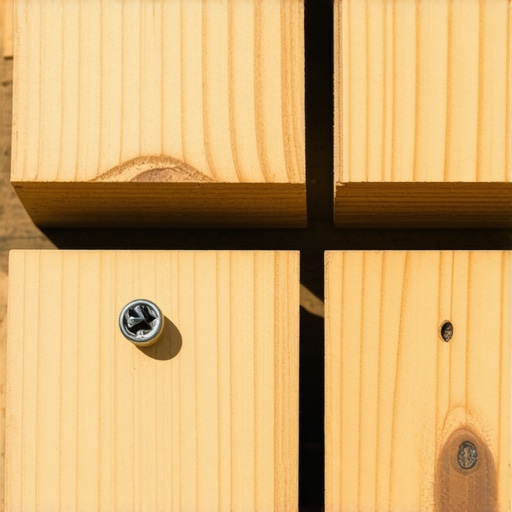
My first big DIY project back in the late nineties was a classic pressure-treated platform. I hammered in thousands of nails, thinking I was building a fortress. Fast forward two seasons of brutal humidity and temperature swings, and that ‘fortress’ looked like a medieval torture device. Rusty nail heads were poking up every few inches, waiting for a bare foot to find them. I actually tripped while carrying a tray of burgers and nearly ended up in the emergency room because a board had warped and pulled the nail right out of the joist. That was the day I realized that just because something is traditional doesn’t mean it’s actually effective for modern outdoor living.
Why I finally threw my hammer in the scrap pile
When I was starting out, I made the classic mistake of choosing speed and price over structural integrity. Nails are fast and cheap, but they rely purely on friction to stay in place. Wood is a living, breathing material that expands and contracts. Every time the sun hits your deck, that wood moves, slowly ‘jacking’ those nails out of the wood. Screws, on the other hand, use mechanical threads to bite into the lumber and stay there. If you are looking for deck builder insights for your next project, trust me: the fastener is where the battle against gravity and time is won or lost. I’ve seen beautiful projects ruined because the builder didn’t want to spend the extra few hours pre-drilling or driving screws. Have you ever spent a Sunday morning hammering down popped nails only to have them return a month later?
Will using screws actually make a difference for my budget?
It’s natural to worry about the cost, but the ‘savings’ on nails disappear the first time you have to replace a warped board. According to the USDA Forest Products Laboratory, wood can swell or shrink significantly depending on moisture content—a process known as hygroscopy—and nails simply cannot resist the internal pressure of a drying board. This is especially true when you are trying to align deck boards perfectly over a large area or when you’re dealing with the stability required for deck stairs. If you don’t use a fastener with a head that can clamp the board down, you’re just waiting for a trip hazard to happen. We’re going to dive into how the right screw depth and thread pattern can change the entire feel of your deck underfoot.
Ditch the flush mount and embrace the countersink
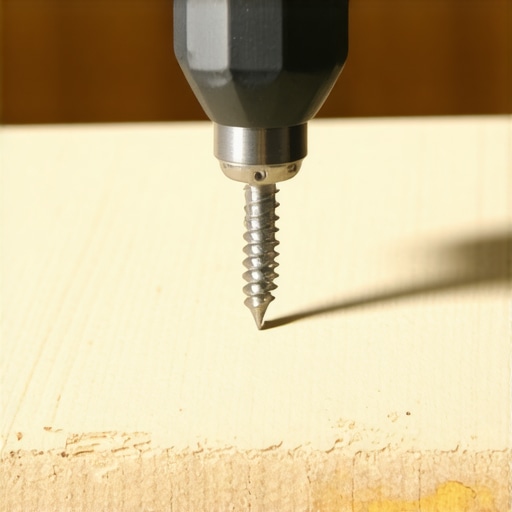
Driving a screw isn’t just about getting the metal head to touch the wood; it’s about creating a permanent tension clamp that resists the natural movement of the lumber. I remember a project in Branson where I tried to save time by just ‘eyeballing’ the depth on about four hundred square feet of cedar. By the end of the next summer, half the boards had developed little burrs of wood sticking up around the fasteners because I hadn’t set them deep enough to account for the wood’s seasonal expansion. Now, I always use the screw depth trick for a perfectly smooth deck surface. It involves using a depth-sensing bit that disengages the driver the moment the screw reaches exactly 1/8th of an inch below the surface. This allows the wood fibers to settle back over the head, making the fastener practically invisible and completely snag-free for bare feet.
Protecting your skeleton from the elements
The biggest mistake I see DIYers make is worrying so much about the top boards that they forget what is happening underneath. If you are choosing the right composite decking for durable low-maintenance outdoor areas, remember that while the boards themselves won’t rot, the wood joists underneath are still vulnerable. Water gets trapped between the board and the joist, and that trapped moisture acts like a slow-acting poison for your frame. I always account for the hidden cost of skipping joist tape on a new build. Applying a simple butyl tape over the top of your joists creates a waterproof barrier that prevents the screw holes from becoming entry points for rot. It is the single most effective way to turn a 15-year frame into a 40-year frame.
Get your stairs to stop acting like a ladder
Stairs are usually the first part of a deck to fail or feel ‘soft’ underfoot. Early in my career, I relied on just toe-nailing the stringers to the rim joist, and within two winters, the entire assembly started pulling away from the main structure. It felt like walking on a trampoline, which is a massive safety hazard. I never build now without using the bracket that makes your deck stairs feel rock-solid. These specialized metal hangers ensure that the weight of the person climbing is transferred directly into the frame rather than relying on a few nails. If your steps feel shaky, you need to understand why your deck stairs feel like a ladder and how to fix the rise. For a truly professional finish, consider why your deck stairs should have closed risers for a modern look, as this adds massive lateral stability and prevents debris from rotting the lower structure. To kill that annoying squeak that develops over time, I recommend the simple way to stop deck stairs from squeaking when you step by applying a bead of subfloor adhesive to the stringer before you drive your final screws.
Stop treating composite like it is just plastic wood
The most common myth in the outdoor living industry is that composite decking is a ‘set it and forget it’ product. While it is true you won’t be staining it every two years, composite is actually far less forgiving than natural timber during the installation phase. Wood is rigid and can often bridge minor imperfections in an uneven frame. Composite, however, is flexible; it will telegraph every single high or low spot in your joists. If your frame isn’t perfectly level, your expensive new floor will look like a rolling sea within six months. When choosing the right composite decking for durable low-maintenance outdoor areas, you have to realize you are trading future labor for upfront precision. I always tell my clients: wood is a carpenter’s friend, but composite is a perfectionist’s obsession.
The thermal expansion trap that ruins high-end builds
One ‘oops’ factor that kills DIY projects is ignoring the physics of heat. Unlike wood, which mostly expands and contracts based on moisture, composite moves based on temperature. I have seen beautiful decks literally rip their own fasteners out because the builder didn’t leave enough room for the boards to breathe. This is exactly what leads to the hidden clip mistake that leads to buckling deck boards. If you install your boards tight against a wall on a cool 60-degree morning, by the time the afternoon sun hits 90 degrees, those boards have expanded and have nowhere to go but up. Have you ever fallen into this trap? Let me know in the comments.
Is your joist spacing actually tight enough for a 50-year board?
Many people assume the standard 16-inch on-center spacing used for wood is fine for composite. In my experience, that is the fastest way to get a ‘spongy’ deck. As noted by the experts at the North American Deck and Railing Association (NADRA), composite materials lack the internal structural stiffness of natural lumber. To get that rock-solid feel, I almost always move to 12-inch spacing. This is the joist spacing secret for a solid-feeling composite surface that separates the amateurs from the pros. It adds a bit to the lumber bill, but it prevents the boards from sagging over time under their own weight.
Don’t let your color choice become a summer regret
We often get caught up in the aesthetics of dark, rich walnut or charcoal tones. However, the nuance most people miss is the heat absorption profile. In a south-facing yard, those dark boards can reach temperatures that will literally blister a dog’s paws or a child’s bare feet. It is vital to understand why dark brown decking gets significantly hotter than light gray boards before you sign that contract. Finally, when it comes to the finishing touches, do not forget the physics of your stairs. A common error is failing to stiffen the mid-span of the steps. That is why we always double block the middle of a long stair run for stability. If you miss this, you’ll end up with the stair stringer measurement mistake that ruins your stride and makes the whole transition feel cheap. Expertise isn’t just about the boards you see; it’s about the math you don’t.
The tools that turned my DIY hobby into a profession
Over the years, I have learned that the quality of your finish is directly tied to the precision of your equipment. I used to rely on a standard tape measure and a prayer, but now I won’t step onto a job site without a dedicated hidden fastener jig. This isn’t just about aesthetics; it’s about ergonomics. Using a tool like the CAMO Marksman allows you to drive fasteners into the side of the board from a standing position, saving your knees and ensuring the gap between every board is exactly 3/16ths of an inch. When you are dealing with complex layouts, such as the secret to scribing deck boards against an uneven stone wall, a simple compass and a sharp jigsaw are your best friends. It’s those small, tight tolerances that define a project’s longevity. If the boards are too far apart, you lose structural rigidity; too close, and you create a dam for debris that will rot your joists even with tape.
Stop cleaning your deck like it is a concrete driveway
Maintenance is the area where most homeowners accidentally destroy their investment. I have seen countless people take a high-powered jet to their boards, only to find the surface permanently etched or the protective cap layer peeling away a month later. There is a very specific reason why you should never use a pressure washer on composite decks: the intense localized pressure can force water into the wood-fiber core of older composites, leading to internal swelling. For modern builds, a soft-bristle brush and a bucket of warm, soapy water are usually all you need. If you are dealing with stubborn messes, you need to know the best way to clean bird droppings off dark brown composite boards without staining the finish. Often, the ‘less is more’ approach is what keeps the warranty valid and the color vibrant.
How do I maintain my composite deck and stairs over time?
The secret is a biannual inspection. Every spring and fall, I walk my entire perimeter to check for any slight shifts in the frame. If you notice a stair tread that feels even slightly loose, it could be a sign of a bracket failing under the weight of seasonal ice. Understanding the benefits of working with a professional deck builder in your outdoor projects becomes clear during these checks; a pro knows how to spot the subtle signs of ledger pull or joist deflection before they become structural catastrophes. Keep your drainage clear and ensure that no mulch or soil is touching the bottom of your stair stringers, as even treated wood will eventually succumb to constant ground moisture.
What the next five years of outdoor living looks like
Looking ahead, the industry is moving away from purely aesthetic upgrades toward integrated technology and sustainability. We are seeing a massive shift toward innovative outdoor living ideas with composite decking in 2025, specifically regarding built-in lighting and modular furniture systems. According to the American Wood Council’s DCA 6 (Design for Code Acceptance), the load-bearing requirements for residential decks are becoming more stringent, which is pushing more builders toward steel framing and mineral-core composites. To stay ahead of the curve, I recommend checking out the latest composite decking trends 2025 to see how smart-home sensors are being integrated directly into deck railings to monitor for safety and temperature. Grab a hidden fastener jig before you start your next row of boards; the visual difference of a screw-free surface is worth every penny of the tool’s cost.
The Hard Truths of Deck Building That Only a Decade of Mistakes Taught Me
If there is one thing I’ve learned, it is that your deck is only as good as the skeleton it sits on. Many homeowners prioritize the color of the boards, but the real magic happens in the framing. Here are a few lightbulb moments I wish I had twenty years ago. First, precision is non-negotiable; unlike wood, composite decking won’t hide a wavy joist; it will highlight it. This is where the benefits of working with a professional deck builder in your outdoor projects really shine—they have the eye for leveling that a weekend warrior might miss. Second, gravity always wins on stairs. If you don’t use structural connectors, those steps will pull away. I now exclusively use why I use structural screws instead of lag bolts for stairs to ensure a connection that won’t budge for decades. Finally, maintenance is about prevention; a clean deck is a happy deck, but checking your ledger and drainage every year is what actually prevents a total rebuild.
The Toolkit That Changed Everything for My Builds
I don’t believe in buying every gadget at the hardware store, but three things have fundamentally improved the quality of my work. High-quality butyl joist tape is the only way to protect your investment from the inside out. A dedicated hidden fastener jig is the difference between a ‘DIY look’ and a luxury finish. Finally, for safety and accessibility, I always look for innovative stairs solutions for safe outdoor deck access that incorporate low-voltage lighting. These tools don’t just make the job faster; they make the end result safer and more professional.
Your Future Outdoor Living Space Starts with One Right Decision
Building a deck is more than just adding square footage to your home; it’s about creating a stage for your family’s memories. Whether you are hosting a summer BBQ or enjoying a quiet morning coffee, the peace of mind that comes from a rock-solid build is priceless. Don’t be afraid to take your time and transform your outdoor living with custom composite decking ideas that reflect your personal style. You have the knowledge now to avoid the pitfalls that caught me early in my career. Go build something you’re proud of. Have you ever struggled with getting your stair rise perfectly even? Let me know in the comments below!