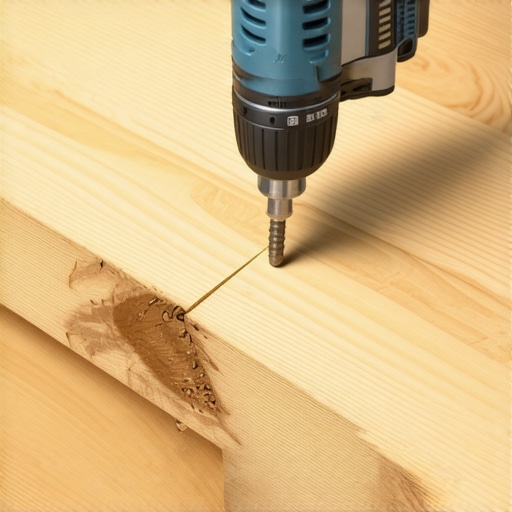
I was carrying a heavy platter of marinated tri-tip, trying to look like the master of my backyard domain, when the third step let out a screech that sounded like a dying crow. My neighbor, who I’d been bragging to about my DIY skills, just raised an eyebrow. It wasn’t just a noise; it felt like my entire outdoor living space was judging me. Every time someone walked up to the house, creak, pop, groan. It makes a perfectly good deck feel like it’s a hundred years old and about to collapse, even if the wood is brand new. I spent a whole afternoon once just driving three-inch screws into every board I could find, thinking I’d pin the problem down. By the next weekend, the noise was back, and now I had a bunch of ugly screw heads sticking out. I’ve learned the hard way that you can’t just bully wood into staying quiet.
How I finally silenced my embarrassing deck stairs
The real culprit isn’t usually a loose board; it’s the friction between the tread and the stringer, or sometimes the riser rubbing against the back of the step. When wood dries out or gets wet, it moves. According to research from the Forest Products Laboratory, wood can expand and contract significantly based on humidity, which causes fasteners to slightly enlarge their holes over time. That tiny bit of “play” is where the music comes from. If you’ve been struggling with this, don’t worry—you aren’t a bad deck builder. You’re just fighting physics. Today, I’m going to show you the “glue-and-screw” method that actually works for the long haul.
Is a squeaky stair actually worth the repair effort?
You might think a little noise is just “character,” but usually, it’s a sign that your stairs are starting to shift. If the connection isn’t tight, moisture gets into those gaps, and that leads to the fast-track for rot. I once ignored a squeak on a cedar staircase for two years, only to find the stringer had turned into mush where the tread met the wood. Fixing the noise now saves you from a total teardown later. Have you ever felt that annoying “give” under your foot when you step up to your deck? If so, we need to talk about more than just fasteners.
Why your current screws are failing you
Most folks make the same mistake I did: adding more fasteners without addressing the gap. I used to think stair treads only needed screws to stay put. But screws alone eventually lose their grip as the wood fibers compress. To get a silent result, you need to create a unified bond. Sometimes, you even need to look at specialty brackets if the stringers are starting to pull away. We’re going to look at how to use structural adhesive to create a gasket that stops the rubbing once and for all. It’s a simple move, but it’s the difference between a deck that feels high-end and one that feels like a rickety boardwalk. Let’s get your tools ready and dive into the fix.
To stop the noise, you first have to find exactly where the wood is rubbing. I call this the ‘Step and Listen’ phase. It’s best to have a partner walk up and down while you look at the stairs from the side or underneath. Look for tiny movements where the horizontal tread meets the vertical riser. Even a fraction of a millimeter of movement is enough to create a high-pitched chirp. Often, the squeak happens because debris has worked its way into the joint, acting like sandpaper. I remember helping a friend fix his cedar deck, and we found that the best way to clean pine needles out of deck gaps was the first step to silencing the friction. If you don’t clear that grit, your adhesive won’t bond, and you’ll be right back where you started in a month.
Locate the friction before you reach for the drill
Once the joints are clean, you need to understand that why stair treads need more than just screws to stay quiet is all about the physics of the ‘gasket.’ When you walk, your weight pushes the board down. If there is even a tiny air gap between the tread and the stringer, the board will flex, rub, and squeak. This is especially true if you are dealing with modern materials, which is why your composite boards are expanding more than expected and putting extra pressure on your fasteners. You aren’t just trying to hold the board down; you are trying to eliminate the air gap entirely.
Build a permanent gasket with structural adhesive
The secret weapon is a high-quality subfloor or exterior structural adhesive. I once made the mistake of just squirting some wood glue into a gap during a frantic pre-barbecue repair. It was a disaster. The wood glue dried brittle, and within two hours, the first heavy guest stepped on it, cracked the glue, and the squeak returned—only now it was accompanied by an ugly white residue. You need something that stays flexible, like a rubberized gasket. Back out your existing screws just enough to lift the tread about a quarter-inch. Use a caulking gun to run a thick bead of adhesive along the top of the stringer. When you drive the screws back in, the adhesive will squeeze out slightly, filling every microscopic void. This creates a cushion that absorbs the movement instead of letting it turn into noise.
Tighten the connection without splitting the wood
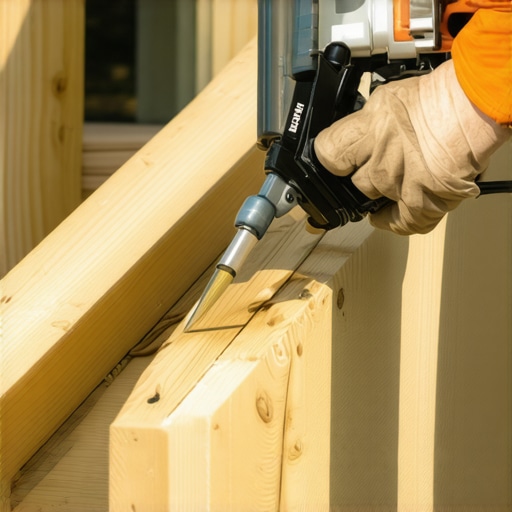
When it’s time to re-fasten, don’t just use whatever is in your junk drawer. You need to know how to choose the right screw length for composite boards or pressure-treated lumber to ensure you’re biting into the meaty part of the stringer. I’ve shifted away from old-school hardware because I’ve seen too many heads snap off under the stress of wood movement. That is why I use structural screws instead of carriage bolts or standard deck screws for stair connections. They have a higher shear strength and a coating that won’t corrode when it hits the chemicals in treated wood. Drive the screws in pairs, about an inch from the edge of the stringer, and make sure they are countersunk slightly so they don’t become a trip hazard.
Stop the sway at the source
If you’ve glued and screwed but still feel a ‘thunk’ or a deep groan, the problem might be structural. If your stairs span more than 36 inches wide, why your deck stairs need a middle stringer for stability becomes very obvious. Without that center support, the treads act like a diving board, bowing in the middle and pulling at the side connections. If your stringers are pulling away from the deck frame entirely, you might need to install the bracket that makes your deck stairs feel rock solid. These metal tension ties pull the stairs tight against the rim joist, preventing that terrifying ‘leaning’ feeling that makes guests reach for the railing. By combining a solid structural base with the glue-and-screw method, you’re not just fixing a noise; you’re building a staircase that feels like it’s carved out of a single piece of stone.
Most homeowners assume that once they upgrade to high-end materials, the ‘maintenance-free’ promise covers everything from the joists to the railings. I used to believe that too, until I saw a three-year-old staircase that looked pristine on top but was literally crumbling underneath. This is the great paradox of modern outdoor living: our boards are getting better, but our framing habits are often stuck in the 1990s. If you’ve spent thousands on premium materials, you have to realize that the truth about maintenance-free decking claims is that they only apply to the surface you walk on, not the skeleton holding you up.
Why your composite boards are only as good as the wood beneath
Here is a contrarian view that might annoy some traditionalists: the standard practice of using pressure-treated pine for stair stringers is a ticking time bomb when paired with composite treads. Because composite boards are non-porous, they trap moisture against the top of the wood stringer. Without a way to breathe, that moisture sits in the screw holes and slowly rots the wood from the inside out. This is exactly why your deck stairs are the first thing to rot compared to the rest of your deck. To combat this, I’ve shifted my entire philosophy; in fact, I’ve reached the point why I stopped using wood for deck stair stringers in high-moisture environments altogether, opting for steel or advanced structural composites whenever the budget allows.
Is your stair stringer secretly turning into a sponge?
Many DIYers think that as long as they use ‘brown’ treated wood, they are safe. However, according to the American Wood Protection Association (AWPA), wood used for stair stringers often falls into a ‘Ground Contact’ or ‘Heavy Duty’ category that requires higher chemical retention than standard deck joists. If you use standard lumber, you’re inviting disaster. The biggest ‘oops’ factor I see is builders failing to treat the ‘cut ends’ of their stringers. Every time you notch a stringer for a step, you expose the raw, untreated heartwood. If you don’t use a preservative solution to seal the cut ends of composite boards and the wood framing, you’re basically creating a series of sponges that soak up every rainstorm. Have you ever noticed your stairs feeling ‘spongy’ even though the boards look new? Let me know in the comments if you’ve seen this kind of hidden decay on your own project.
The simple shield that doubles your staircase lifespan
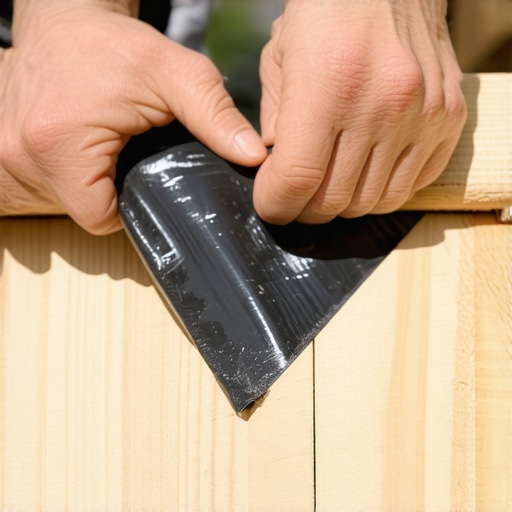
If you aren’t ready to jump to steel stringers, there is one non-negotiable step: joist tape. It’s a simple butyl or bitumen membrane that sits between the wood and the tread. It’s the single most effective way how to protect your deck frame from rot for thirty years. It seals around the screw as it’s driven in, preventing the ‘water-in-the-hole’ syndrome that causes those embarrassing squeaks and structural failures. I tell every client that why I always use joist tape on every single deck frame isn’t about upselling; it’s about physics. It provides that gasket effect we talked about earlier, ensuring that the friction that causes noise never has a chance to start. By focusing on these hidden nuances, you’re not just building a deck—you’re engineering a legacy for your backyard.
I used to think my old cordless drill and a box of standard screws were all I needed to be a competent deck builder. I was wrong. If you want to achieve that rock-solid feel, you need to upgrade your kit. Specifically, I never set foot on a job site without a dedicated board-straightening tool like the Camo Lever. It allows you to lock composite boards into place while you fasten them, ensuring your gaps are mathematically perfect. This is critical because the spacing secret for installing composite decking in winter differs wildly from summer installs. Without a lever, you’re just guessing, and guessing leads to those uneven gaps that look like a DIY disaster by next July.
The digital prep work that prevents physical headaches
Before I even pick up a saw, I spend hours in a digital environment. I’ve found that why I never start a complex deck project without a digital 3d walkthrough first is because it catches structural conflicts that the human eye misses on a 2D blueprint. For example, it might show me that my proposed railing post will hit a joist hanger, or that my stair landing is two inches too short for local code. By the time I’m actually cutting, I’m using the trick to cutting perfect deck stringers on the first try: a dedicated framing square with stair gauges. These little brass knobs clamp onto your square and ensure every single rise and run is identical. If you’re off by even a quarter-inch on one step, you’ve created a permanent trip hazard.
How do I keep my composite stairs looking brand new for a decade?
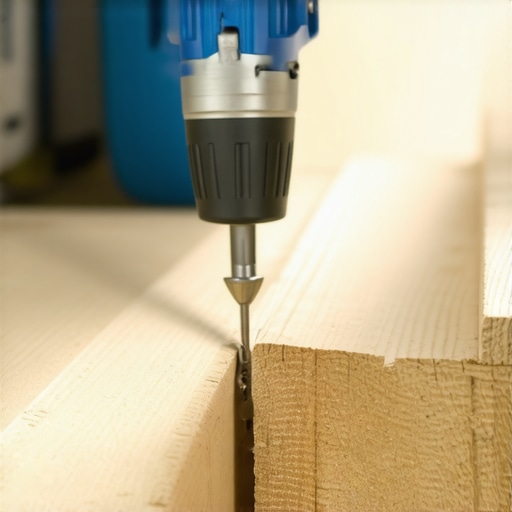
Maintenance is where most people drop the ball. They hear ‘low maintenance’ and assume that means ‘zero maintenance.’ To keep your stairs silent and stunning, you need a seasonal ritual. Every spring, I do a ‘fastener check.’ I walk the stairs and look for any screws that might have backed out slightly due to the freeze-thaw cycle. If you find one, don’t just drive it back in; back it out, add a dab of exterior adhesive, and then reseat it. Also, you must remember why you should never power wash your composite deck. High pressure can etch the surface of the boards, creating tiny pores that trap dirt and mold. Instead, use a soft bristle brush and a specialized cleaner. If you had a summer barbecue mishap, knowing how to clean grease stains off composite without ruining the finish quickly is the difference between a clean deck and a permanent reminder of that dropped burger.
The future of stairs is made of steel
If I look into my crystal ball for composite decking trends 2025, I see the total demise of the wood stringer. We are moving toward light-gauge steel framing for stairs. Steel doesn’t warp, it doesn’t rot, and it is perfectly straight every single time. It eliminates the ‘squeak’ at the source because there is no moisture-related movement. According to the North American Deck and Railing Association (NADRA) technical guidelines, structural failure in stairs is one of the leading causes of deck-related injuries. Shifting to steel and using structural screws instead of carriage bolts isn’t just a trend; it’s the new gold standard for safety. I encourage you to try one thing on your next project: buy a roll of joist tape and apply it to every horizontal surface of your frame. It’s a small investment that adds decades to your outdoor living investment.
The Hard Truth About My Most Embarrassing Stair Failures
Looking back at years of projects, the biggest lesson I’ve learned is that a quiet deck is a healthy deck. If I could go back to my early days, I’d tell myself that those tiny squeaks aren’t just personality; they are friction points where moisture is winning. I’ve realized that you cannot out-fasten a bad structural design. If your stairs aren’t supported by a proper middle stringer, even the most expensive screws in the world will eventually fail. My ‘lightbulb moment’ came when I stopped viewing stairs as a set of boards and started seeing them as a single, unified assembly. That shift in perspective changed everything from how I choose materials to how I communicate with clients about the reality of maintenance-free claims.
A Few Essentials I Never Leave Out of My Toolbox
If you’re serious about upgrading your outdoor space, there are three things I recommend to every DIYer and pro alike. First, stop using standard hardware and upgrade to structural screws that actually hold. Second, never build a frame without a roll of butyl joist tape; it is the cheapest insurance policy you can buy for your wood. Third, if you are planning something complex, working with a digital designer is the best way to avoid common layout errors. I also highly recommend checking the North American Deck and Railing Association technical guides, as they provide the structural foundation that helps you understand why your deck might feel bouncy and how to fix it before it becomes a safety hazard.
Your Path to a Rock-Solid Backyard Retreat
Don’t let the fear of a complex build stop you from creating the outdoor living space you’ve always wanted. Fixing those squeaks and reinforcing your stairs isn’t just about home value; it’s about the peace of mind you feel when you host a party and your deck doesn’t make a sound. Whether you decide to stick with traditional wood or explore the exciting composite trends of 2025, the key is to focus on the details that happen beneath the surface. You’ve got the knowledge—now it’s time to pick up the drill and build something that stays silent for a lifetime. Have you ever discovered a surprising cause for a squeaky step on your own deck? Let me know in the comments below!