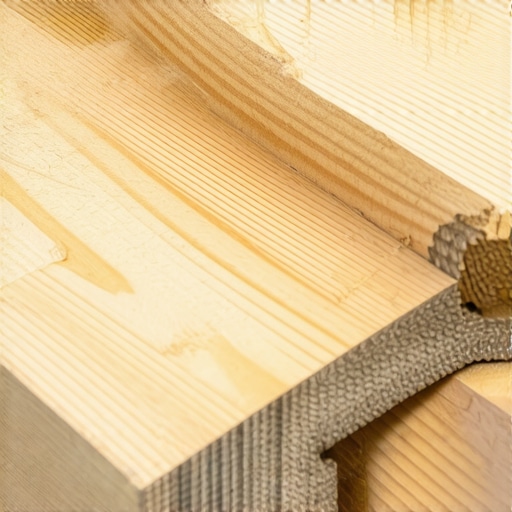
I remember standing in the aisle of a massive home improvement warehouse, staring at those pre-cut stair stringers. They looked so simple. “Just bolt them on and go,” I told myself. I was exhausted, my hands were raw from hauling durable composite decking, and I just wanted to be done. I bought three of them, dragged them home, and slapped them onto my frame. Two days later, my brother-in-law nearly took a header because the bottom step was three inches shorter than the rest. That was my wake-up call: these “convenient” shortcuts are often a structural nightmare disguised as a time-saver. Today, we are going to dive into the mechanical failures of these pre-built units and how you can avoid a trip to the emergency room. [IMAGE_PLACEHOLDER]
The Math Never Works Out for Generic Pre-Cut Stringers
The fundamental problem is that every deck height is a unique snowflake. Those pre-built stairs at the big box stores are cut for a generic “average” height, but in the world of high-quality outdoor living, “average” is a myth. If your deck surface is even half an inch higher or lower than their template, you end up with a top or bottom step that doesn’t match the others. This creates a rhythm break that our brains aren’t wired to handle, which is why your deck stairs feel like a ladder instead of a comfortable transition. Early on, I made the amateur mistake of trying to “shim” these things to make them level. I spent hours wrestling with plastic shims and scrap blocks, only to end up with a staircase that squeaked and groaned every time someone stepped on it. A real professional deck builder knows that a staircase is only as solid as its foundation. If you aren’t pouring a concrete landing pad at the bottom, those flimsy, mass-produced boards will eventually sink into the soil, making your uneven rise even more pronounced and dangerous.
Is it really worth the risk to save fifty bucks?
You might think I am being a bit dramatic. It is just a couple of steps, right? However, the data tells a much scarier story. According to the International Association of Certified Home Inspectors (InterNACHI), nearly 40% of all deck-related injuries are caused by failures in stairs and railings. Most of these occur because of poor attachment points or structural weaknesses in the stringers themselves. When you buy off-the-shelf, you are usually getting lumber that barely meets the minimum thickness code requires. This leads to that unsettling “bouncing” sensation when you walk up. I stopped using them when I realized I was essentially building a hazard for my own family. Instead, I now focus on identifying the stair stringer measurement mistake before I even pick up a saw. Using structural screws instead of standard bolts is just one part of the fix. Have you ever installed a set of stairs only to realize the last step feels like a giant hurdle? I want to hear about your DIY disasters in the comments—we’ve all been there, and knowing the hidden reason your deck stairs are pulling away is the first step toward a safer backyard.
Get the Total Rise Right or Face the Consequences
To build a staircase that doesn’t feel like an obstacle course, you have to start with the ‘total rise.’ This isn’t just the height from the ground to the deck; it is the exact measurement from the surface where the stairs end to the top of the deck boards. I once spent an entire afternoon on a job in a sloping backyard where I assumed the ground was level. I measured at one point, cut my stringers, and realized the left side of the staircase was floating four inches off the dirt while the right side was buried. It was a mess. Now, I always use a straight 2×4 and a level to find the highest and lowest points of the landing area. Avoiding the stair stringer measurement mistake that ruins your stride starts with accounting for the thickness of your actual tread material. If you are using 1-inch durable composite decking, your bottom riser needs to be cut 1 inch shorter than the rest so that when the tread is added, every step ends up being the exact same height. 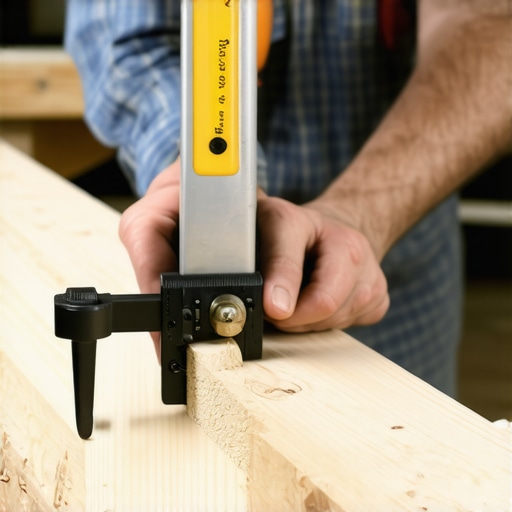
Your Stairs Need a Rock-Solid Foundation
Building a beautiful staircase on top of soft soil is like building a skyscraper on a marshmallow. Over time, that heavy wood or composite structure will settle, pulling the top of the stairs away from the deck frame. This is why your deck stairs need a concrete landing pad at the bottom. I’ve seen countless DIY jobs where the homeowner used a few loose patio pavers as a ‘base.’ Within two winters, the frost heave turned those pavers into a jagged tripping hazard. A four-inch thick concrete pad keeps everything stable and gives you a level surface to anchor your stringers.
Master the Framing Square Dance
Once you have your measurements, it is time to layout the stringer on a 2×12. Do not use 2x10s; they don’t leave enough ‘meat’ in the board after the notches are cut, which leads to that bounce I mentioned earlier. Use a framing square with brass stair gauges to lock in your rise and run. This ensures every single notch is identical. Think of it like a template for a high-end furniture piece. If you’re planning on designing safe and stylish stairs for outdoor decks in 2025, pay attention to the joist spacing secret for a solid feeling composite surface. For stairs, I recommend spacing your stringers no more than 12 inches apart. Composite boards are more flexible than wood, and a wider gap will make the steps feel ‘spongy’ underfoot.
Forget Nails—Strength Comes from Steel
The connection between the stairs and the deck is the most common point of failure. I used to see guys just ‘toe-nailing’ the stringers into the rim joist. That is a recipe for disaster because nails can pull out as the wood shrinks and expands. Today, why I use structural screws instead of lag bolts for stairs is simple: they offer incredible shear strength and won’t loosen over time. Use specialized sloped-seat hangers to cradle the bottom of each stringer. It takes an extra twenty minutes, but it ensures the stairs can’t drop even if the wood starts to age. Finally, as you finish the assembly, consider how to hide the ugly edge of a composite stair tread by using fascia-wrapped ends or a picture-frame border. It makes the transition from the deck to the yard look intentional and professional rather than like a weekend afterthought.
Everyone tells you that if your stairs feel a bit ‘springy,’ the solution is simply to add more stringers. In my experience, that is often a band-aid on a much more dangerous structural flaw. While adding support is great, over-notching your rim joist to accommodate six or seven stringers can actually compromise the integrity of the entire deck frame. You are essentially turning your main support beam into a piece of Swiss cheese. A real deck builder understands that structural integrity comes from the quality of the connection, not just the quantity of lumber. I have seen massive multi-level projects where the builder used every trick for creating seamless transitions, yet the stairs began to pull away within three years because they focused on aesthetics over physics.
How Do You Stop Composite Treads from Buckling in July?
One of the most common ‘advanced’ mistakes involves ignoring the thermal expansion properties of durable composite decking. Unlike wood, which mostly expands and contracts with moisture, composite reacts heavily to temperature. If you wedge your stair treads tight against the stringer skirts or the house siding, they will have nowhere to go when the sun hits them. I have walked onto jobs where the stairs looked like a roller coaster because of the hidden clip mistake that leads to buckling deck boards. You must leave a precise gap—usually 1/8 to 3/16 of an inch—to allow that material to breathe. This is especially critical when designing safe and stylish stairs for outdoor decks in 2025, as modern high-density boards move more than the older, wood-filled generations.
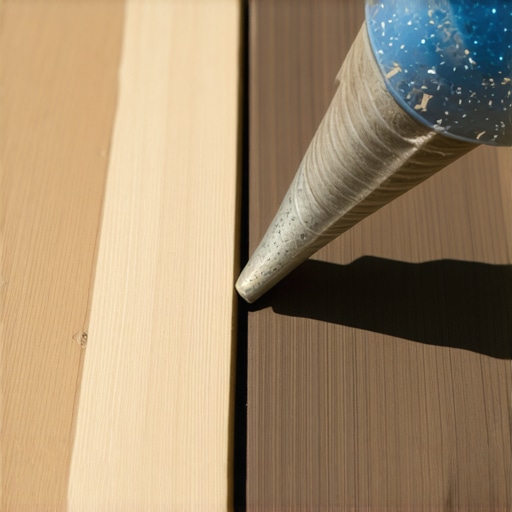
The ‘Oops’ factor often hits hardest during the final trim phase. Most DIYers and even some ‘pros’ forget to account for the thickness of the picture-frame border when they are calculating their first and last riser heights. If you are adding a decorative border to the tread, that extra 1-inch thickness must be subtracted from the bottom stringer notch and added to the top. According to the North American Deck and Railing Association (NADRA), failing to maintain a consistent riser height within 3/8 of an inch is one of the leading causes of trip-and-fall litigation in residential outdoor living spaces. It seems like a small detail, but your brain’s muscle memory is incredibly sensitive to those tiny variations.
I also see a lot of people struggling with how to install deck fascia boards so they dont buckle on the sides of the stairs. The secret isn’t more nails; it’s using oversized pilot holes that allow the fascia to slide slightly behind the screw head as the temperature changes. If you pin it down too tight, it will inevitably wave and warp. When you combine this with the joist spacing secret for a solid feeling composite surface, you get a staircase that feels like it was carved out of solid stone. Have you ever fallen into this trap of making everything too tight only to have it buckle later? Let me know in the comments—I’ve spent plenty of July afternoons backing out screws to fix my own early mistakes.
Tools That Actually Live in My Truck
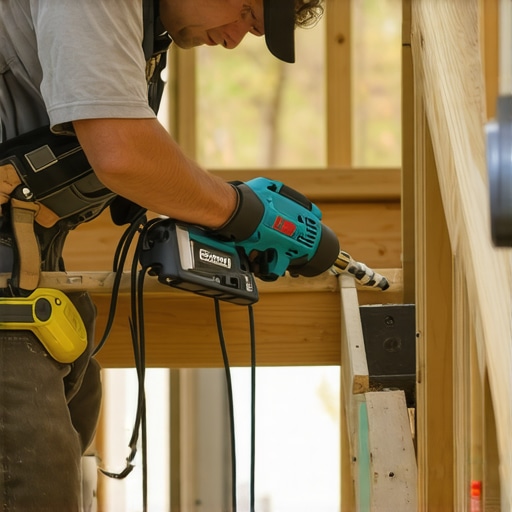
I’ve spent thousands on equipment that promised to make stair building easier, but most of it ended up in the bottom of a scrap bucket. If you’re serious about transforming your space, you need a high-torque impact driver that doesn’t strip heads every three seconds. When I’m working with high-end durable composite decking, I always keep the best tool for removing a single stripped deck screw in my pocket. For the actual decking, I’ve largely moved away from hand-driving every fastener. Using an auto-feed screw system like the Muro allows me to stand upright, ensuring every screw hits the exact same depth. This is the secret to that commercial-grade finish. The American Wood Council (AWC) specifies in their DCA 6 guidelines that stair stringers must maintain a minimum effective depth of 5 inches; tools that ensure precision are what keep you within those safety margins.
How do I keep my composite stairs looking new for a decade?
The biggest lie in the industry is that ‘low maintenance’ means ‘no maintenance.’ If you ignore them, your beautiful modern outdoor spaces will eventually look like a dusty parking lot. First, why you should never use a pressure washer on composite decks is simple: the high pressure can pit the material and trap dirt even deeper. Instead, use a soft-bristle brush and a mild detergent. Also, pay attention to the little things, like how to keep your outdoor rug from staining your deck boards if you’re decorating a landing. Structurally, you should check the bracket that keeps your railing from wobbling forever every spring. A quick turn of a wrench now prevents a dangerous loose rail later.
The Future is Made of Metal
I predict that by 2030, we will see a massive shift toward innovative stairs solutions for safe outdoor deck access involving factory-welded steel or aluminum stringers. These systems are becoming more affordable and eliminate the wood rot issue entirely. A professional deck builder will likely be installing more metal frames than wood by the end of the decade because the precision simply can’t be matched by a hand-cut 2×12. If you want to level up your game right now, pick up a set of brass stair gauges—they are the cheapest way to instantly improve the safety and rhythm of your next build.
Hard Truths About Why Your Stairs Might Still Squeak
Over the years, I’ve realized that the ‘rhythm’ of a staircase is its soul. If you’ve followed all the steps but still feel a slight vibration, check your stringer spacing again. I used to think sixteen inches was the industry standard, but for a truly high-end feel, especially when maximizing space with modern designs, you need to go tighter. One ‘lightbulb moment’ for me was realizing that every piece of pressure-treated lumber has a ‘crown.’ If you don’t face those crowns the same way, your stairs will eventually fight each other as they dry. Also, remember that the secret to making narrow deck stairs feel wider often lies in the visual lines of your treads, not just the physical width. Don’t be the guy who rushes the landing—taking an extra hour to ensure your concrete pad is perfectly level saves you a decade of frustration.
My Private Collection of Field-Tested Gear
You don’t need a warehouse full of tools, but you do need the right ones. First, throw away those plastic stair gauges and buy a set of solid brass ones; they won’t slip on your framing square when the temperature drops. I also swear by the DCA 6 – Prescriptive Residential Wood Deck Construction Guide. It is my bible for ensuring every build is code-compliant. When I’m working on elevate your home with top stairs designs, I always keep a high-quality wood moisture meter in my pocket. It tells me exactly how much the wood will shrink before I even make the first cut. Lastly, never settle for generic hardware. I always look for the bracket that keeps your railing from wobbling forever because a solid handrail is what actually builds confidence for anyone walking up your new masterpiece.
The View From the Top Step Is Worth the Extra Effort
Building stairs is intimidating because it’s the most technical part of any outdoor project. But once you stand at the bottom and look up at a perfectly aligned, rock-solid set of steps, you’ll understand why we obsess over these details. It’s about more than just getting from point A to point B; it’s about creating a safe, beautiful transition for your family to enjoy for years. Your commitment to doing it right—using durable composite decking and avoiding those cheap shortcuts—sets your home apart. [IMAGE_PLACE_STAIRS] Don’t be afraid to take it slow and measure three times. You’ve got the knowledge now; go out and build something that lasts. Have you ever run into a measurement disaster that forced you to start over from scratch? Let me know in the comments—I’d love to help you troubleshoot your next build!