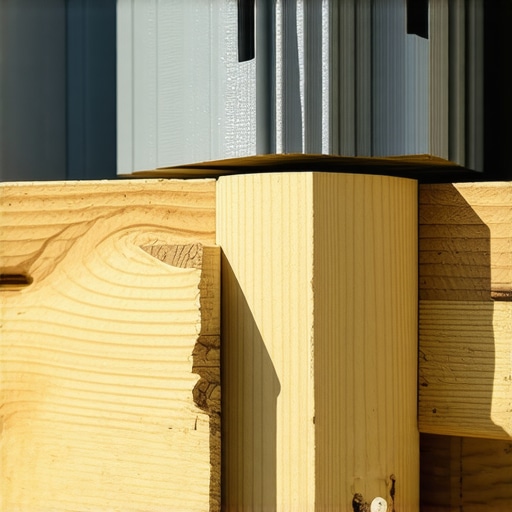
I remember the smell first—that damp, earthy scent of a forest floor, but it was coming from my own backyard. I was peeling back a few graying boards on a deck I had built just seven years prior, convinced I just had a loose screw. Instead, the screwdriver sank into the joist like it was warm butter. That was my visceral “welcome to the world of wood rot” moment. It is a gut-punch for any homeowner, especially when you realize that while your expensive composite boards look brand new, the skeleton underneath is literally dissolving. In my early days, I was stubborn. I figured pressure-treated lumber was an invincible shield. I was wrong, and that mistake cost me a full frame replacement much sooner than it should have. Today, I want to make sure you do not feel that same sinking sensation in your stomach when you step outside.
The Hidden Decay Eating Your Deck From the Inside Out
I made a massive mistake on that first build by falling for the myth that pressure-treated lumber is immortal. I thought the chemicals did all the heavy lifting, so I skipped the “extra” step of taping my joists. It felt like an unnecessary expense at the time, a few extra dollars I could save for a better grill. Now, as a seasoned deck builder, I tell everyone that the hidden cost of skipping joist tape on a new build isn’t just the money—it is the heartbreak of structural failure. When you drive a screw through a deck board, you are essentially stabbing the wood and leaving the wound open. Water finds that hole, sits there, and invites fungi to the party. We are going to solve that today by matching the right barrier to your specific weather patterns so your frame lasts as long as your boards.
Is this stuff just a gimmick to take my money?
I get it. Every time you walk into a hardware store, there is a new “essential” product that looks like a fancy roll of electrical tape. But the science is hard to ignore. According to the American Wood Council, moisture content in wood that stays above 20% is the prime breeding ground for decay. Joist tape acts as a self-sealing gasket around every single fastener. Whether you are choosing the right composite decking for durable low-maintenance outdoor areas or using traditional cedar, that tape is the only thing standing between your joists and a slow, watery death. It is not a gimmick; it is insurance for your peace of mind.
Why Your Zip Code Changes Everything
Not all tapes are created equal, and your local weather should dictate what you buy. If you live in the high desert where the sun beats down relentlessly, a cheap asphalt-based tape might actually melt and ooze out from under your boards, creating a sticky mess. Conversely, in the frozen north, some tapes lose their “stick” before you even get them off the roll. Before you start the best way to level an uneven deck frame before decking, you need to understand the difference between Butyl and Bitumen. Have you ever pulled up a board only to find the wood underneath was soaking wet days after a rain? Tell me about your climate struggles in the comments. We also have to remember that why your composite boards need extra space to breathe is just as important as the tape itself, as trapped moisture is the enemy of any outdoor living space.
Prep Your Joists or Watch the Tape Fail
Before you even touch that roll of tape, you need to treat your joists like a canvas. One of the most common mistakes I see DIYers make is trying to apply expensive tape over a layer of construction dust and pollen. I remember a Tuesday in March when the wind was gusting at 30mph on a job site. I tried to skip the cleaning step and just roll the tape out quickly. Within twenty minutes, the tape was a tangled, sticky bird’s nest of expensive butyl and grit. I had to scrap forty dollars of material because I was impatient. Now, I always hit the tops of the joists with a leaf blower or a stiff brush first. If the wood is damp, stop. The adhesive won’t bond, and you’ll just be trapping moisture against the wood—the exact thing we are trying to prevent.
Clean Wood is Non-Negotiable
If you are working with older wood or even fresh pressure-treated lumber that is ‘wet’ from the yard, give it time to breathe. When you are ready, use a damp rag to wipe off any fine residue. This ensures that the tape creates a vacuum-like seal. While you are at it, this is the perfect time to ensure everything is straight; the best way to level an uneven deck frame before decking often involves a bit of planning before the barriers go down.
The Center-Out Roll Technique
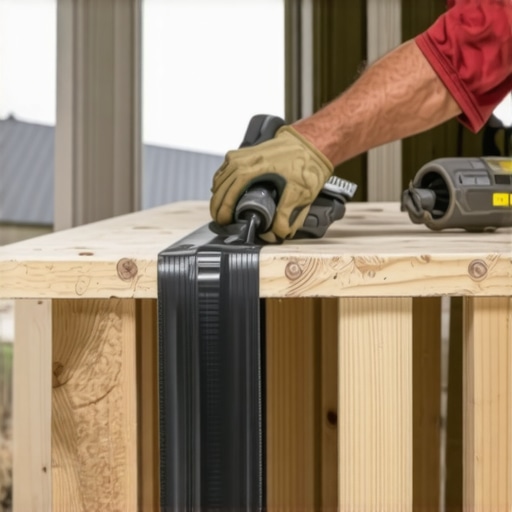
When you lay the tape, start at one end of the joist and press the center down first. Use your thumb or a small J-roller to push the air out toward the edges. If you trap an air bubble, you’ve created a tiny greenhouse where rot can thrive. I like to let the tape overhang the sides by about a quarter-inch. This creates a ‘drip edge’ so that water sheds off the side of the joist rather than clinging to the top grain. 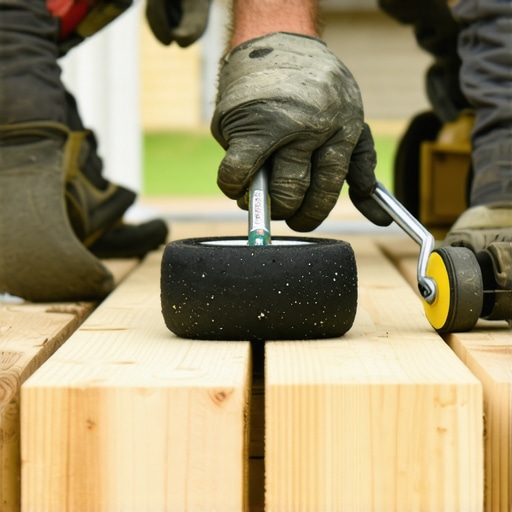
Protecting the Most Vulnerable Connection Points
The most dangerous part of any deck isn’t the middle of a joist; it’s where two pieces of wood meet. When I am framing for a high-end look, why i always use a double rim joist for picture frame borders becomes a priority. This creates a massive 3-inch wide surface where water loves to settle right in the seam. You must use a wider tape here or overlap two strips to ensure that center seam is bone-dry.
Don’t Ignore Your Stair Stringers
Stairs are the most high-traffic, high-stress part of the build. When designing safe and stylish stairs for outdoor decks in 2025, remember that the ‘teeth’ of the stringer are essentially raw wood waiting to soak up rain. I tape the entire top surface of the stringer. This is also why I avoid the hidden flaw in pre-built deck stairs from big box stores; they rarely have enough surface area for proper sealing, and they rot from the inside out within five years.
Seal the Ends and the Screws
Every time you cut a piece of lumber, you expose the thirsty, untreated inner fibers. This is why i always paint the cut ends of pressure-treated lumber with a copper naphthenate solution before taping over them. Finally, pay attention to your fastener depth. Using the screw depth trick for a perfectly smooth deck surface ensures the screw head sits flush. If you overdrive the screw, you punch a hole through the tape and create a funnel for water to reach the heart of the joist. This is a major reason i never use nails for deck boards anymore; they pop up, tear the tape, and let the rot begin.
Let’s dig deeper into a nuance that even some seasoned pros ignore: the ‘sealed coffin’ effect. Most people assume that if a little protection is good, more must be better. They want to wrap the entire joist in a waterproof membrane. In my experience, this is a recipe for disaster. If you wrap the sides and bottom of your lumber, you aren’t just keeping water out; you’re keeping it in. Once moisture inevitably finds its way through a screw hole or a hairline check in the wood, it becomes trapped against the grain. This accelerated decay happens significantly faster than if the wood were completely exposed to the elements. A study by the Forest Products Laboratory indicates that wood must be allowed to ‘breathe’ and release moisture to prevent the internal humidity from reaching critical rot levels. This is exactly why your composite boards need extra space to breathe—airflow is the silent partner in structural longevity.
The Dangerous Myth of the ‘Sealed’ Joist
Everyone says that more layers equal more protection, but I’ve found that the ‘top-only’ tape method is the only way to ensure the wood can shed moisture through the sides. When you work with a deck builder, ask them about their flashing strategy. If they suggest wrapping the joists like a mummy, run the other direction. You want a cap, not a glove. This nuance is especially critical when choosing the right composite decking for durable low-maintenance outdoor areas. While the surface might be plastic-capped, the skeleton is still organic. If you trap water under those heavy boards, you’ve created a dark, humid greenhouse for fungi.
Why Most DIY Stairs Fail Before the First Winter
The ‘oops’ factor usually hits hardest at the transition points. One specific trap involves the stair stringers. Most builders simply lean the stairs against the frame and call it a day. However, the hidden reason your deck stairs are pulling away from the frame is often a lack of a proper landing. Without a solid foundation, the seasonal frost heave or simple soil settling puts immense tension on the connection points. This is why your deck stairs need a concrete landing pad at the bottom to distribute that weight. I’ve seen beautiful stairs snap like toothpicks because the ground shifted just half an inch and there was no tape or structural screws to absorb the movement.
Is Joist Tape Actually Enough for Premium Composite Builds?
For those of you looking at high-end mineral core or PVC options, you might wonder if a 20-mil tape is sufficient. The answer is yes, but only if you avoid the hidden clip mistake that leads to buckling deck boards. Even the best tape can’t save a frame if the fasteners are over-torqued and create ‘craters’ where water can pool. When you understand the benefits of working with a professional deck builder in your outdoor projects, you realize you aren’t just paying for labor; you are paying for the knowledge of fastener tension and thermal expansion. Have you ever fallen into the ‘maintenance-free’ trap with composite only to find rot underneath? Let me know in the comments.
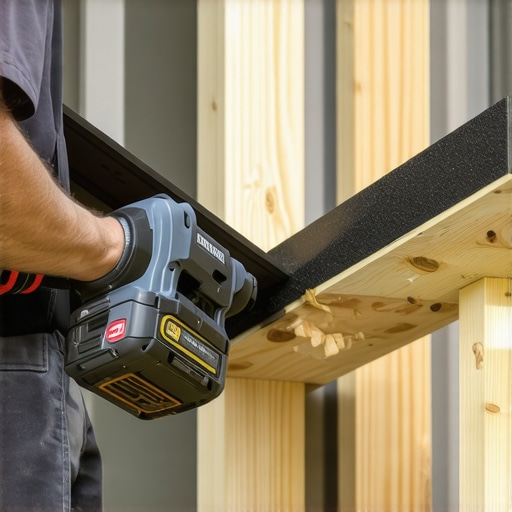
I’ve spent thousands of dollars on tools over the last decade, but the one that truly changed my workflow isn’t a massive miter saw—it’s a high-torque impact driver with a precision clutch. Most DIYers grab the first drill they see, but if you want to avoid the hidden clip mistake that leads to buckling deck boards, you need a tool that lets you set the exact depth of every fastener. I personally rely on the Milwaukee M18 Fuel Surge; the hydraulic powertrain is quieter and offers a smoother hit than a standard impact, which is crucial when you are trying to find the screw depth trick for a perfectly smooth deck surface without snapping heads off. If you do happen to strip one—and it happens to the best of us—I always keep the best tool for removing a single stripped deck screw in my pocket: a specialized VamPLIERS extractor. It has saved me hours of frustration on hot Friday afternoons when I just wanted to go home.
Stop Fighting the Sun and the Grilling Spills
Once the last board is laid, your job shifts from builder to guardian. I always tell my clients that a deck is a living part of the home, even if it’s made of plastic and wood flour. In the peak of summer, darker boards can become literal griddles. Learning how to keep your deck cool enough for bare feet in july usually involves a mix of strategic furniture placement and choosing boards with heat-reflective technology. According to the North American Deck and Railing Association (NADRA), regular inspections for fastener looseness and debris buildup in the gaps are the two most overlooked maintenance tasks that lead to structural failure. When you are hosting a summer BBQ, grease is your biggest enemy. You need to act fast to get grease stains off your composite deck before the UV rays bake the oil into the capping. A simple solution of Dawn dish soap and warm water is often more effective than any harsh chemical cleaner I’ve ever tested.
How do I maintain a composite deck over time?
The beauty of modern materials is that they don’t need sanding or staining, but they aren’t ‘zero maintenance.’ Twice a year, I take a soft-bristle brush and a leaf blower to my own deck. I make sure the gaps between the boards are clear of pine needles and pollen, which acts as a wick for moisture. If you notice your stairs feeling a bit spongy, don’t wait. Check if you need to know the hidden reason your deck stairs are pulling away from the frame, which is often a sign of soil movement or a failing landing. Looking toward the future, composite decking trends 2025 the ultimate guide for outdoor enthusiasts predicts a massive shift toward bio-based resins and ‘smart’ lighting integrated directly into the stair nosing for better safety. I’m already seeing more homeowners invest in the benefits of working with a professional deck builder in your outdoor projects to ensure these complex electrical and structural systems are installed to code. My best advice? Grab a roll of joist tape and a high-quality impact driver before you drive your next screw; it is the single best investment you can make for the next twenty years of your outdoor life.
Hard Truths from a Decade on the Knee Pads
If there is one thing that years of demolition have taught me, it is that moisture is a patient predator. I have seen massive beams snapped like twigs because a single screw didn’t have a seal. My biggest ‘lightbulb moment’ happened when I realized that a deck isn’t a static object; it is a breathing system. Every time the sun hits it, those boards expand, and every time it rains, they shrink. If you don’t use deck builder insights to account for this movement, even the best tape won’t save you. I also learned that why my favorite deck boards arent always the most expensive comes down to how they handle heat and moisture, not just the price tag on the shelf. The frame is the soul of your project; treat it with more respect than the surface.
- Airflow is your best friend: Never let debris sit in the gaps. It acts like a wet sponge against your joists.
- Gravity always wins: Ensure your tape creates a shedding path, never a pocket where water can pool.
- Fastener tension matters: A screw that is too tight is just as dangerous as one that is too loose because it compromises the protective barrier.
The Short List of Tools That Never Fail Me
Over the years, my toolkit has shrunk to only the essentials that actually deliver results. I never step onto a job site without my Milwaukee M18 Fuel Surge for that quiet, controlled power, and I swear by G-Tape for its incredible acrylic adhesive that survives both the Ozark humidity and the winter frost. For those interested in creating seamless transitions, a high-quality scribe tool and a sharp block plane are non-negotiable for getting those tight, professional fits against stone or siding. I trust these tools because they have survived the ‘drop test’ from twelve-foot ledgers and still drive straight the next morning.
Take the First Step Toward a Lifetime Structure
Building a space for your family to gather shouldn’t be a source of stress or a future financial burden. By taking these small, intentional steps today—like cleaning your joists, choosing the right tape, and respecting the wood’s need to breathe—you are ensuring your outdoor living area remains a sanctuary for decades. Don’t be afraid to slow down and do it right the first time. Whether you are a DIY enthusiast or looking into the benefits of working with a professional deck builder in your outdoor projects, the goal is always the same: a safe, beautiful, and rot-free place to call home. Have you ever found a surprise soft spot while cleaning your deck? Let me know in the comments below.
#IMAGE_PLACEHOLDER_E#