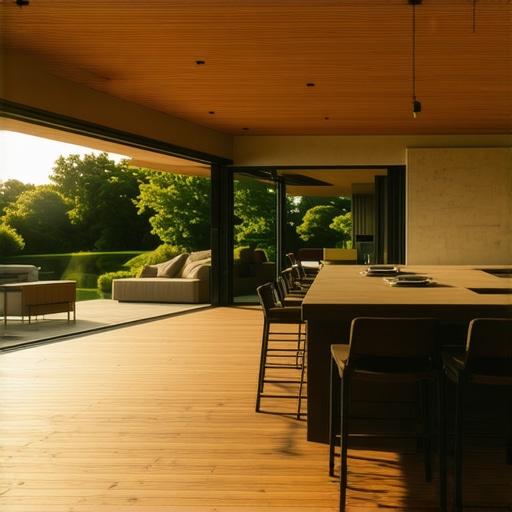
I remember the Fourth of July about three years ago like it was yesterday. I was balancing a heavy platter of marinated tri-tip and a stack of plates, trying to navigate the sliding glass door. My kitchen floor sat three inches higher than the door track, and the deck outside dropped another eight inches into a dark abyss. I didn’t just stumble; I performed a graceful, slow-motion face-plant that ended with my dinner on the lawn and a very bruised ego. My kitchen and my deck weren’t partners; they were rivals. That day, I realized that a deck isn’t just a platform you slap against a house. It’s supposed to be an extension of your home. If you have to look down at your feet every time you cross the threshold, you’ve failed the transition test. We’re going to fix that today. I’ll show you how to bridge that gap so your morning coffee moves from the percolator to the patio chair without a single hiccup.
Your Kitchen and Deck Should Be Best Friends
Most folks treat their outdoor space as a separate zip code. They hire a professional deck builder to give them square footage, but they forget about the flow. In my early DIY days, I made the classic mistake of not accounting for the thickness of my composite boards relative to my interior subflooring. I ended up with a giant step-down that felt like descending a mountain every time I wanted to grill. It felt disjointed. To get it right, you have to think about creating seamless transitions where the eye—and your feet—don’t hit any snags. This involves more than just height; it’s about material choice and even the way you secure the ledger. If you aren’t careful, you might find that the secret to a rock-solid deck-to-house connection is actually the key to getting that floor level perfect.
Does a Level Threshold Actually Matter?
You might be thinking, “Is it really worth the extra framing headache to make the deck flush with the kitchen floor?” Look, I get it. Lowering the deck makes flashing easier and prevents water from sneaking under the door. But a significant height difference is the number one reason people stop using their decks. According to a study by the National Association of Realtors, homeowners who invest in high-quality outdoor living transitions see a significantly higher ‘joy score’ and can recover nearly 100% of the project’s value upon resale. When your floor levels match, your kitchen feels twice as big. Have you ever felt like your deck was ‘cut off’ from the rest of your house because of a clunky door or a steep drop? I’d love to hear about your layout struggles. Often, the problem is that the deck stairs feel like a ladder because the initial transition wasn’t planned correctly. We’re going to look at the framing tricks and material secrets, like why I always use hidden fasteners for high-traffic entryways, to make sure your transition is as smooth as a fresh coat of sealant.
Stop Guessing Your Finished Floor Height
To get that perfect walk-out feel, you have to work backward from your interior flooring. Most people just bolt a ledger board to the house and hope for the best, but that is a recipe for a trip hazard. I once spent an entire afternoon in Branson West trying to fix a frame that was an inch too high because the homeowner didn’t account for the thickness of the 2025 composite decking trends they’d picked out. You need to measure the thickness of your interior subfloor and your finished flooring, then subtract the thickness of your deck boards and your joists. If you miss this step, your ‘seamless’ transition will feel like stepping over a curb every time you carry a tray of burgers. To get it right, I always use the best way to level an uneven deck frame before decking to ensure the sub-structure is laser-straight before the first board even touches the joists. 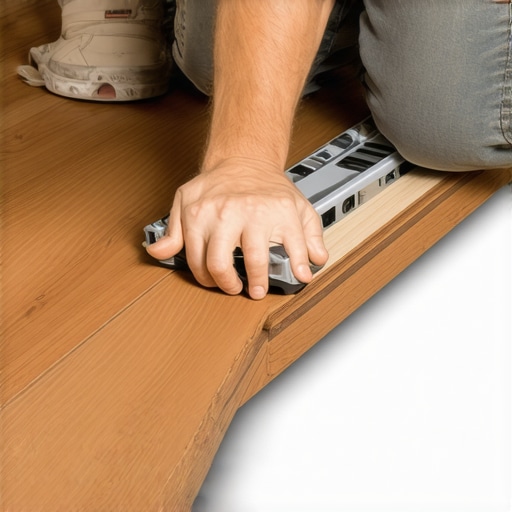
Leave a Gap Between the Ledger and Your Siding
This is where things get technical but vital. You cannot just slap wood against your house and expect it to stay dry. Think of your ledger board as the foundation’s handshake with your deck; if it’s too tight, you’ll trap moisture and rot your house from the inside out. I’ve seen beautiful homes ruined because a builder skipped the flashing. This is exactly why your ledger board needs a gap from the house siding. By using spacers or specific hardware, you allow water to run behind the board rather than soaking into your rim joist. It creates a breathable connection that protects your investment. When I’m working solo, I use the simple pivot move for carrying long composite boards alone to set my layout without needing a second set of hands, ensuring every piece of the ledger is perfectly aligned for that flush threshold.
Tighten Your Joist Spacing for That Solid Ground Feel
Walking on a deck shouldn’t feel like bouncing on a trampoline. If your joists are too far apart, composite boards will flex, especially on hot summer days. For a high-traffic entry point right off the kitchen, I never go wider than 12 inches on center. This is the joist spacing secret for a solid feeling composite surface that separates a DIY job from a professional build. It creates a rigid platform that mimics the feel of your indoor hardwood. I remember a project where the client insisted on 16-inch spacing to save money on lumber; three months later, they called me back because the boards felt ‘mushy’ under their feet. We had to go back and sister in extra joists, which cost twice as much in the long run.
The Final Trim That Makes the Threshold Disappear
The magic happens in the last two inches. To make the transition truly look like a professional designer handled it, you need to use a ‘picture frame’ border. This hides the raw, ‘honeycomb’ ends of the composite boards that face your sliding door. By knowing how to frame a picture frame border for composite decking, you create a finished edge that sits perfectly flush with your door track. For the screws near the door, I always use the screw depth trick for a perfectly smooth deck surface. This ensures no screw heads are sitting high enough to catch a toe or a sock as you transition from the kitchen to the outdoors.People often assume that if they buy the top-tier, most expensive material, the deck will naturally feel premium. But I’ve seen twenty thousand dollars worth of boards look like a funhouse floor because the builder ignored the substructure. In my experience, why my favorite deck boards aren’t always the most expensive comes down to the core technology and the framing rather than just the price tag. You can have a mid-range board that outperforms a premium one if you master the installation nuances.
Why a high price tag won’t save a bad frame
Most homeowners focus on the surface, but the real magic (or misery) happens in the gaps. Composite decking expands and contracts significantly more than wood throughout the seasons. If you do not account for this thermal movement, your beautiful flat surface will eventually turn into a series of waves. This is often caused by the hidden clip mistake that leads to buckling deck boards. I have had to tear up entire entryways because a DIYer pinned the boards too tight to the threshold without leaving room for the material to breathe. According to the North American Deck and Railing Association (NADRA), improper gapping is the leading cause of warranty claims in the decking industry. It is not just a suggestion from the manufacturer; it is a law of physics you cannot ignore. 
Is your deck color making it unusable in July?
One nuance many overlook is the heat retention of dark-colored composite materials. While deep charcoals and chocolates look incredibly sleek in the composite decking trends 2025, they can reach surface temperatures nearly 30% higher than lighter tans or greys. If your transition area faces south and has no shade, that ‘luxury’ dark grey might become a no-go zone for bare feet or pets during peak summer. This is why choosing the right composite decking for durable low-maintenance outdoor areas requires balancing aesthetics with your specific local climate. I often recommend mineral-core options for high-sun spots because they stay cooler and offer better dimensional stability.
The hidden gap mistake that ruins your layout
Don’t just trust the marketing brochure. A skilled deck builder knows how to anticipate these issues before the first joist is ever set. It’s about more than just the walk-out; it’s about the long-term integrity of the house-to-deck connection. Have you ever fallen into this trap where your ‘low maintenance’ deck became a high-stress project? Let me know in the comments. If you are already hearing noises when you walk out your back door, it might be time to look into how to stop your deck boards from creaking in the summer heat before the friction causes permanent damage to your fasteners.
The high-pressure trap that ruins your warranty
I have seen it a hundred times: a homeowner buys a top-of-the-line deck, and the first time it gets a little muddy, they break out the 3000 PSI pressure washer. It feels satisfying to see the dirt fly, but you are essentially sandblasting your investment. This is exactly why you should never use a pressure washer on composite decks. High-pressure water can etch the surface of the capping material, creating tiny pores that trap more dirt and eventually lead to permanent staining. According to the TimberTech Technical Installation Guide, using a pressure washer at close range or with a narrow tip will immediately void your product warranty. I personally recommend a soft-bristle deck brush and a bucket of warm, soapy water. It takes twenty minutes longer, but it preserves the wood-grain texture that you paid thousands of dollars to enjoy.
The impact bit that saves your knuckles
If you are doing this yourself, the most important tool in your belt isn’t the saw—it is your impact driver and the specific bits you choose. When you are installing thousands of fasteners, a standard Phillips head is your enemy. I have transitioned entirely to Torx (star) drive structural screws because they don’t cam out. If you do happen to strip one while trying to get a board perfectly flush, you need to have the best tool for removing a single stripped deck screw ready to go—usually a high-quality screw extractor. I also suggest why I use structural screws instead of lag bolts for stairs; they provide a cleaner look and have a much higher shear strength, making the whole assembly feel like one solid piece of furniture rather than a shaky outdoor platform. 
How do I maintain my composite decking over time?
People often mistake ‘low maintenance’ for ‘no maintenance.’ To keep your deck looking like a skilled deck builder just finished it, you need a seasonal routine. Every spring, check your gaps. Debris like pine needles and pollen can clog the spaces between boards, trapping moisture against your joists. You must know how to vent the space under your deck to prevent mold and wood rot, as stagnant air is the primary cause of substructure failure. I also make it a point to apply a quick coat of end-cut sealer whenever I make a fresh cut on the pressure-treated frame. Knowing the best way to seal the end cuts of pressure treated lumber to prevent rot will add a decade to the life of your frame, even if the composite boards on top are rated for thirty years.
Why smart integration is the future of outdoor living
As we look toward innovative outdoor living ideas with composite decking in 2025, the focus is shifting from just the boards to the technology beneath them. I am starting to see more ‘smart’ decks that incorporate low-voltage moisture sensors and automated lighting. By choosing the right composite decking for durable low-maintenance outdoor areas, you are setting the stage for these upgrades. I predict that within the next two years, we will see integrated heating elements in high-end composite boards to prevent ice buildup in colder climates. Before you finish your current project, I strongly urge you to try using a dedicated fastener jig for your border boards; it ensures perfectly consistent spacing that makes even a simple layout look like a custom masterpiece.
What I’ve Learned After Two Decades of Deck-to-Kitchen Fails
Building a deck that feels like a natural part of your home isn’t about the wood species or the price tag; it is about the 1/8th of an inch you probably didn’t measure. I’ve spent years fixing transitions where the homeowner felt like they were stepping over a trench just to get to their grill. One major lightbulb moment for me was the ‘Paper Test’—always leave enough of a gap for a piece of cardboard to slide between the door track and the first board. If it’s tighter than that, thermal expansion will turn your flat threshold into a buckled mess by July. I also learned that you should never trust a spirit level alone when matching interior floors; always use a laser level to account for the slight ‘dip’ most kitchen floors develop near heavy sliding doors. If you’re still feeling overwhelmed, checking out deck builder insights designing your dream outdoor space can offer that extra clarity needed for complex layouts.
My Secret Weapons for a High-End Outdoor Finish
You don’t need a massive workshop to get a professional result, but you do need the right resources. I personally swear by the NADRA (National Association of Deck and Railing Association) safety checklists—they are the bible for ensuring your ledger connection won’t fail in ten years. For hardware, I’ve moved away from standard bolts and now exclusively use structural wood screws like the GRK or Simpson Strong-Tie lines; they drive faster and hold tighter without splitting your rim joist. When you’re mapping out the footprint, maximizing space modern designs for composite decks can help you utilize every square inch without it feeling crowded. Finally, if your terrain is tricky, innovative stairs solutions for safe outdoor deck access provide the missing link between a high-set kitchen and a sloping lawn.
Build a Bridge to Better Mornings
At the end of the day, your deck is more than just a construction project; it is the stage for your future memories. Whether it’s a quiet cup of coffee at sunrise or a chaotic neighborhood barbecue, a seamless transition ensures that your focus stays on the people, not the floor beneath your feet. By taking the time to plan your framing and choosing the right composite decking, you are literally expanding the boundaries of your life. Ready to start your own project? You can always contact us to get a professional set of eyes on your blueprints before you cut your first joist. Have you ever had a deck transition that felt more like a hurdle than a doorway? Let me know your biggest layout struggles in the comments below!