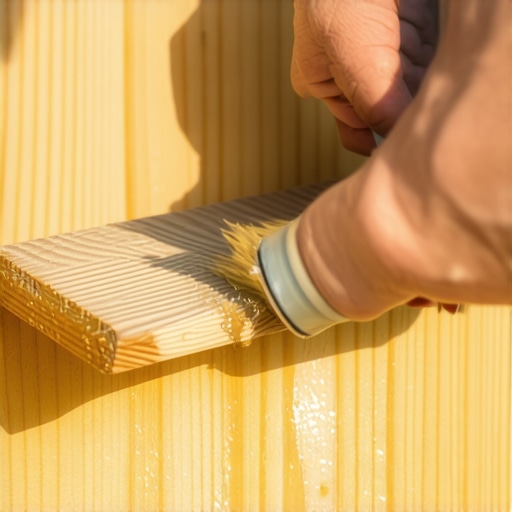
I’ll never forget the sinking feeling in my gut when I realized I had to tear apart a perfectly good staircase. I had spent weeks acting as my own deck builder, crafting what I thought was a masterpiece. I used ground-contact rated lumber, so I assumed I was safe. I was wrong. I had made beautiful, clean cuts, but I left those raw ends exposed to the elements. I didn’t realize that the preservative often only penetrates the outer layers of the wood. By cutting it, I was basically inviting rot to a buffet. If you’ve ever wondered why a deck that looks great on top starts feeling spongy after a few seasons, this is almost always the culprit. We’re going to talk about the simple, five-minute step that saves you years of structural headaches and thousands in repair costs. Have you ever noticed soft spots appearing on the ends of your lumber just a few years after installation? [image-placeholder]
Is sealing every single cut really worth the extra time?
I get it. You’re halfway through a project, the sun is setting, and you just want to get the boards down. You might think, ‘It’s pressure-treated! It’s fine!’ I thought the same thing. But here’s the reality: when you cut a 4×4 post or a 2×10 joist, you are exposing the untreated heartwood. According to the American Wood Protection Association (AWPA), field-cut ends of pressure-treated lumber must be treated with a copper naphthenate-based preservative to maintain the integrity of the wood’s defense system. Skipping the sealant is like buying a high-end waterproof jacket and then cutting the sleeves off.
The Secret Weakness of Your Pressure-Treated Lumber
Most folks think the treatment goes all the way through the board like a sponge soaked in dye. In reality, it’s more like a candy shell. The core of that lumber is often just as vulnerable as a piece of raw pine. When I was learning how to keep your deck joists from rotting under the boards, I realized that every time I pulled my miter saw handle down, I was creating a new vulnerability. I once built a frame and totally ignored the end-grain on the ledger board. Huge mistake. Moisture got trapped against the house, and within four years, the wood was black and crumbly. If I had just used a brush-on preservative, I wouldn’t have spent my weekend doing emergency repairs. If you’re tackling the trick to cutting perfect deck stringers on the first try, you are making a lot of intricate cuts. Every single one of those notches is a doorway for water to enter and sit. It’s time to close those doors for good before you even drive the first screw into your stairs.
Grab Your Copper Naphthenate and a Cheap Brush
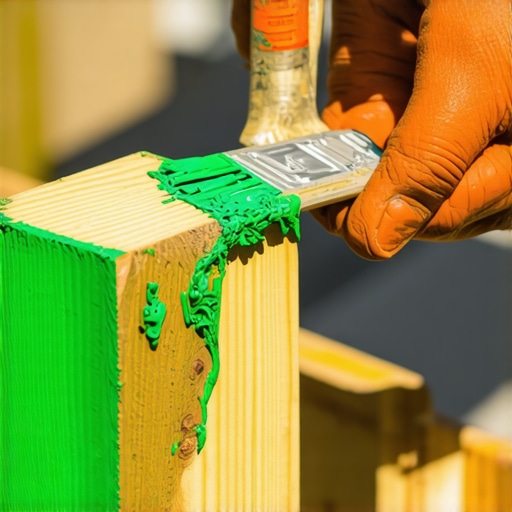
You don’t need a degree in chemistry to do this right, but you do need the correct juice. Look for a preservative containing at least 2% copper naphthenate. This stuff is usually a bright, neon green, and it smells like a workshop from the 1950s, but it is the gold standard for field treatment. Think of the end-grain of your lumber like a bundle of drinking straws. When you cut that board, those straws are wide open, ready to suck up every drop of rainwater that hits them. By brushing on the sealant, you are effectively plugging those straws with a chemical barrier. I remember a humid Tuesday in July when I was rushing to finish a frame. I had lost my dedicated brush, so I ended up using a rag tied to a stick. It was a messy, green disaster on my hands, but that ledger board is still rock-solid ten years later while my neighbor’s untreated deck is already being hauled to the dump.
Apply Generously to Every Single Notch
When you are tackling the trick to cutting perfect deck stringers on the first try, you end up with a lot of exposed surface area. Do not just dab the wood; you want to saturate it. If the wood stops absorbing the liquid, you’ve done your job. This is especially critical at the ‘throat’ of the stringer, where the wood is thinnest and most prone to stress. If you neglect this, you’ll eventually see why your deck stair stringers are cracking at the throat as moisture weakens the fibers from the inside out. I keep a small yogurt container filled with sealant right next to my miter saw. Cut, brush, install. It adds maybe fifteen seconds to each board, but it buys you decades of structural integrity.
Treat Your Joists Like the Backbone They Are
The top edges of your joists are the most frequent victims of rot because water gets trapped between the deck board and the joist. While you are sealing the ends, consider this the perfect time to learn how to keep your deck joists from rotting under the boards. Beyond the chemical sealant, using joist tape on these top edges provides a physical umbrella that sheds water away from those vulnerable screw holes. I once skipped the tape on a small landing, thinking the sealant was enough. Within five years, the screws were starting to pull out because the wood around them had turned to mush. It was a painful lesson in why we double-protect the framing.
Don’t Let Composite Gaps Fool You
If you are choosing the right composite decking for durable low-maintenance outdoor areas, you might think you’re off the hook for rot. While the boards themselves won’t decay, the wood frame underneath them certainly will. In fact, composite decks often trap more heat and moisture underneath them than traditional wood decks do. This creates a greenhouse effect for fungi. Every time you cut a the bracket that makes your deck stairs feel rock-solid into the frame, you must seal the wood it touches. Metal brackets can sweat in the morning dew, and that moisture sits directly against your raw wood cuts.
Seal Before You Secure
One of the biggest mistakes DIYers make is trying to seal the wood after it’s already been bolted down. Once you drive a structural screw or bolt through the wood, you’ve created a permanent path for water. You need to coat the end grain and the pre-drilled holes before the hardware goes in. It’s a bit like painting a room; the prep work is 90% of the success. When I’m acting as a deck builder on a high-end project, I make it a rule that no board touches another until the ends are green. It’s the difference between a deck that lasts through your kids’ childhood and one that needs a full renovation before they even hit middle school.
Everyone told me that switching to composite meant I could throw away my pressure washer and forget about the structure forever. That is one of the biggest myths in the industry. While the top surface is plastic-wrapped and tough, I’ve actually seen more composite failures in the last five years than wood ones, usually because the DIYer or the deck builder treated it exactly like lumber. Lumber doesn’t grow and shrink two inches in a single day, but composite can. If you don’t account for why your composite boards are expanding more than expected, your beautiful deck will literally try to tear itself apart or push your house siding off the wall. Have you ever fallen into this trap? Let me know in the comments.
Does the gap size change based on the thermometer?
It absolutely does. One nuance most beginners miss is thermal memory. A study by the North American Deck and Railing Association (NADRA) highlights that improper gapping is the primary cause of modern composite warranty denials. If you install on a 40-degree morning, those boards will expand significantly by the time it hits 90 degrees in August. This is why choosing the right composite decking for durable low-maintenance outdoor areas requires checking the manufacturer’s specific expansion coefficient chart rather than just eyeing it.
Why Your Joist Spacing Is Secretly Killing Your Deck
Another common ‘oops’ factor I see involves joist spacing. People think 16 inches on center is a universal law of nature. It isn’t. If you are maximizing space with modern designs for composite decks, especially if you want to lay boards on a diagonal, you must drop those joists to 12 inches on center. If you don’t, that high-end composite will start to feel like a trampoline in the summer heat as the plastic core softens. I once visited a homeowner who spent ten thousand on materials but skipped why we use double joists under every composite seam for a flat floor. Their seams were lipped, creating a trip hazard that no amount of adjustment could fix after the fact. 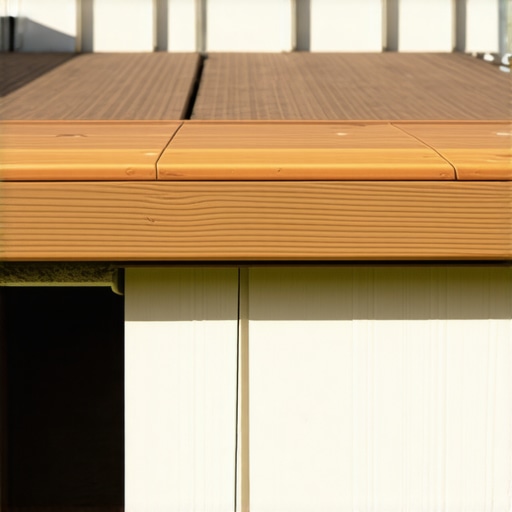
The Stealthy Danger of Trapped Heat
We also need to talk about the oven effect. Composite holds heat like a cast-iron skillet. I’ve seen stairs warp because they were built over a concrete pad with zero airflow. You need to understand how to vent the space under your deck to prevent mold and wood rot, even if the top is synthetic. Without a cross-breeze, the wood frame underneath stays in a permanent sauna, rotting twice as fast as an exposed wood deck would. When transforming your outdoor living with custom composite decking ideas, don’t just think about the colors; think about the physics of airflow. If you’re unsure about your layout, looking into why I never start a complex deck project without a digital 3d walkthrough first can save you from these structural traps before you buy a single board.
I used to think my standard drill was enough for any project, but the first time I acted as a deck builder on a full-scale composite build, I realized I was bringing a knife to a gunfight. If you want results that don’t look like a DIY disaster, you need to invest in a high-torque brushless impact driver. The precision it gives you when driving hidden fasteners prevents the stripping and snapping that ruins expensive boards. I specifically recommend the Starborn Smart-Bit depth setter because it stops the screw at the perfect depth every time, preventing that ugly ‘mushrooming’ effect where the plastic board bulges around the screw head. According to the InterNational Association of Certified Home Inspectors (InterNACHI), over 60% of deck failures happen at the ledger or stairs due to improper fastener choice, which is why I’ve completely shifted to the reason we use structural screws instead of old-fashioned lag bolts for every critical connection.
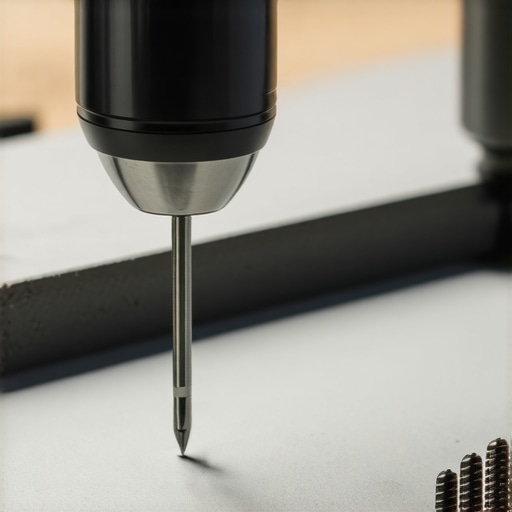
Stop Fighting Your Framing and Get These Tools
Beyond the driver, a 12-inch sliding miter saw is non-negotiable for stairs. You need that extra travel to cut through a 2×12 stringer in one clean pass. I also never step onto a job site without a digital angle finder. When you’re trying to figure out the stair stringer measurement mistake that ruins your stride, being off by even half a degree across five steps creates a noticeable slant. I once used a cheap plastic square on a multi-level project, and by the time I hit the third landing, my elevations were off by nearly two inches. Now, I double-check every cut with a digital level to ensure the the structural reason your stairs feel like they are leaning is never an issue for my clients.
How do I keep my composite deck looking brand new?
Maintenance is where most people drop the ball. Even though it’s ‘low maintenance,’ it is not ‘no maintenance.’ You need a dedicated cleaning routine. For instance, knowing the best way to clean bird droppings off dark brown composite boards saves you from permanent staining that high-acid waste can cause. I tell everyone to keep a bottle of Dawn dish soap and a soft-bristled brush handy. If you just finished a summer BBQ and noticed a spill, learning how to clean grease stains off composite without ruining the finish is vital; if that oil sits in the sun for a week, it can bake into the wood-plastic pores. Unlike the maintenance reality of owning an ipe hardwood deck, which requires annual oiling, composite just needs a deep scrub twice a year to prevent mold from growing in the grain patterns.
The Shift Toward Steel Bones
Looking ahead, the biggest trend in composite decking trends 2025 is the move away from wood framing entirely. I’ve started seeing the hidden benefit of using steel deck framing instead of wood firsthand. Steel doesn’t crown, warp, or rot, meaning your floor stays perfectly flat forever. If you are maximizing space with modern designs for composite decks, steel allows for longer spans and fewer posts, which opens up the area underneath for storage or a patio. If you’re planning a project right now, I strongly encourage you to try swapping out your standard galvanized nails for structural screws on your next stair stringer—you’ll feel the difference in stability immediately. If the complexity feels overwhelming, you can always contact us to walk through the technical specs of your layout.
The Hard-Earned Lessons That Saved My Framing From Rot
Looking back at my first few projects, I realize I spent far too much time worrying about the color of the boards and not enough about the invisible anatomy of the frame. One thing that finally clicked was that moisture is a patient enemy; it doesn’t need a flood to destroy your work—it just needs a single unsealed cut. I also learned the hard way that why your composite boards are expanding more than expected is usually a result of ignoring the thermometer during installation. It’s always better to leave an extra eighth of an inch of gap today than to watch your boards buckle against your house siding next July.
Another lightbulb moment came when I stopped trying to ‘eyeball’ stair angles. If you want to avoid the structural reason your stairs feel like they are leaning, you have to treat every stringer notch like a piece of fine furniture. Finally, never underestimate the power of airflow. Even the most expensive composite decking needs a way to breathe from underneath, or you’re effectively building a giant petri dish for mold and wood decay.
My Must-Have Toolkit for Every Outdoor Project
If you’re serious about getting professional results, you have to skip the bargain-bin tools. I swear by my high-torque brushless impact driver because it handles heavy-duty structural screws without breaking a sweat or my wrist. For stairs, a digital angle finder is the only way to ensure your rises and runs stay consistent across the entire flight. I also never start a project without a fresh tub of copper naphthenate and a stack of cheap throwaway brushes. If you want to see exactly how these tools fit into a high-end design, checking out why I never start a complex deck project without a digital 3d walkthrough first can give you a clear roadmap before you even make your first cut.
Start Your Next Project With Confidence
Building a deck is about more than just adding square footage; it’s about creating a space where memories are made. Whether you are working with a professional deck builder or tackling the installation yourself, prioritizing structural integrity ensures that those memories aren’t interrupted by costly repairs five years down the road. With the right prep work and a commitment to sealing every cut, your composite decking will remain a beautiful, safe anchor for your home for decades to come. Don’t be afraid to take that first step toward your dream outdoor space—just make sure it’s a level one.
Have you ever had a deck board buckle or a stair squeak because of the changing weather? Let me know your biggest outdoor building challenge in the comments below!