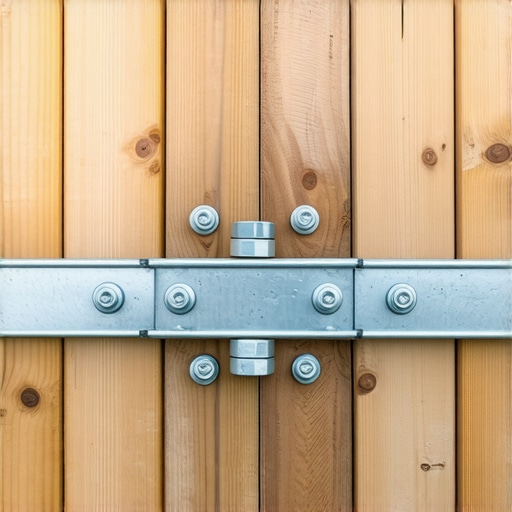
I was standing under a client’s kitchen bump-out back in 2012, holding a massive structural screw and feeling a cold sweat break out on my neck. The house’s floor joists just hung there, suspended in mid-air with nothing but air and siding beneath them. If I bolted that ledger board directly to those overhanging joist ends, I wasn’t just building a platform for a grill; I was effectively trying to leverage the kitchen right off the foundation. It was a terrifying realization for a young deck builder trying to make a name for himself. We all want that seamless transition from the kitchen to the deck, but when your house has a cantilevered floor, the rules of physics change. Today, I am going to show you how to handle this structural nightmare so your dream of modern outdoor living doesn’t result in a sagging floor or a collapsed rim joist. Have you ever noticed your indoor floors bouncing when someone walks on the deck? If so, you might already be dealing with a botched cantilever attachment.
That Cantilevered Bump-Out Is More Fragile Than It Looks
A cantilever is essentially a see-saw. When you add the weight of heavy composite decking and a crowd of people to the outside end, you are exerting an enormous upward force on the interior side of those floor joists. Early in my career, I made the mistake of thinking I could just treat it like a standard wall. I used standard lag bolts, and within six months, the homeowner called because their kitchen tiles were cracking. I had ignored the fact that according to the American Wood Council’s DCA6 standards, attaching a deck ledger to a cantilevered floor is generally prohibited without a custom engineered design. It turns out, I was pulling the rim joist away from the house because those joists weren’t meant to carry a vertical load at their very tips. You can’t just slap on some hardware and hope for the best. You need a strategy that either bypasses the cantilever entirely or reinforces it so it can handle the stress. I eventually learned that using structural screws instead of lag bolts is part of the solution, but the framing layout is what really saves the day.
Is building against a cantilever actually worth the risk?
It absolutely is, provided you stop thinking of the house as your primary support. Many folks worry that a freestanding deck will look clunky or
Build an Independent Structure and Sleep Better at Night
The secret to a successful deck build next to a cantilever is simple: stop relying on the house for support. I remember a project back in 2016 where the homeowner wanted a massive heavy pizza oven right on the edge of a three-foot kitchen bump-out. If I had attached a ledger, that oven would have literally pulled the kitchen floor down. Instead, we shifted to a freestanding design. This means you are essentially building a four-legged table that happens to sit very close to your house. You will need a second beam and a set of posts about two feet away from the foundation. It feels like extra work, but it is the only way to guarantee your modern outdoor living space won’t cause structural damage.
Double Down on Your Rim Joists
When you go freestanding, your frame needs to be stiffer because it isn’t locked to the house. I have found that using a double rim joist is non-negotiable here. It provides the rigidity needed to prevent the deck from swaying, especially when you are using premium composite decking which is heavier than cedar or pressure-treated pine. 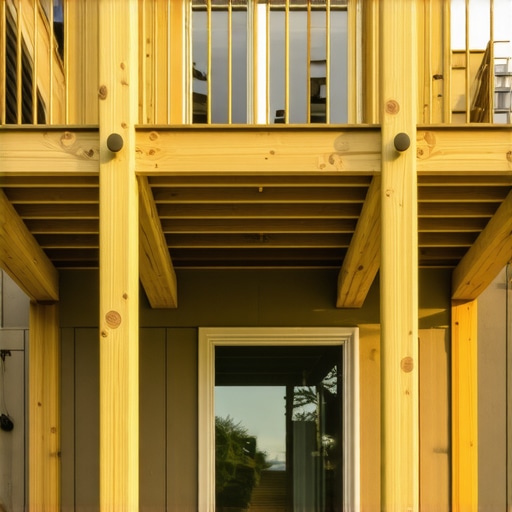
Master the Drainage Gap to Prevent Rot
One of the biggest mistakes DIYers and even some pros make when building near a cantilever is packing the deck tight against the house. You need air. If you don’t leave a space, you create a moisture trap. I once had to tear out a two-year-old rim joist because of the drainage gap error that traps rot. The wood was literally mush. Now, I always leave at least a half-inch gap between the deck’s last board and the house siding. This prevents water from wicking back into the house’s framing.
Don’t Skimp on Your Joist Layout
To get that high-end feel, the joist spacing secret for a solid feeling composite surface is key. I typically drop my spacing to 12 inches on center instead of the standard 16. This is especially vital when you are working around a bump-out because the framing gets complex. You are likely dealing with short joist spans and long spans mixed together. A tighter grid ensures the transitions feel seamless underfoot. When I am securing these joists to the beams, using structural screws instead of lag bolts makes the process ten times faster and significantly more secure. You want a connection that won’t back out when the wood naturally expands and contracts through the seasons. For the stairs, I apply the same logic, using structural screws instead of lag bolts for stairs ensures they never pull away from that independent frame.
Stop Falling for the Pre-Built Convenience Trap
Most homeowners—and even some general contractors—think they can save a few hours by grabbing pre-cut stringers from a warehouse. It is a classic mistake. I have found that the hidden flaw in pre-built deck stairs from big box stores is the lack of precision; they are rarely cut to the exact height of your specific site, leading to a bottom step that is either a trip hazard or a ‘shin-killer.’ To make matters worse, why I never use plastic shims for stair stringers comes down to long-term stability. Shims compress or slide out over time, leaving you with a squeaky, wobbly mess. According to the International Residential Code (IRC) Section R311.7, the greatest riser height within any flight of stairs shall not exceed the smallest by more than 3/8 inch. When you use pre-built components on a slightly uneven backyard, you are almost guaranteed to violate this safety standard. 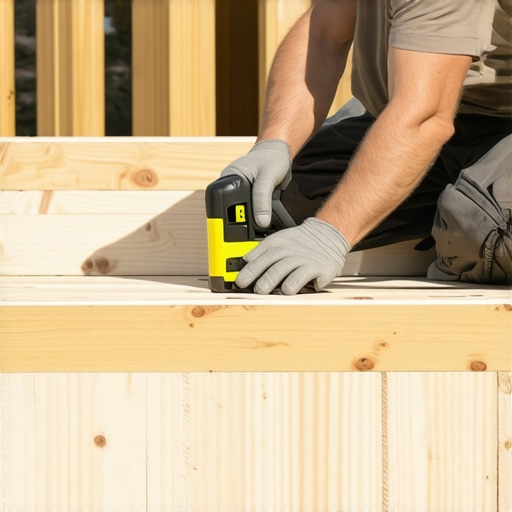
Why your deck stairs feel like a ladder and how to fix the rise?
If you feel like you are climbing a mountain rather than walking onto a patio, your rise-to-run ratio is likely off. A common myth is that steeper stairs save space, but they actually make your modern outdoor living area feel cramped and dangerous. I always recommend designing safe and stylish stairs for outdoor decks in 2025 by aiming for a 7-inch rise and an 11-inch run. This ‘magic ratio’ is what makes high-end resorts feel so comfortable. To pull this off with composite materials, you have to be careful with the finish; I have seen many pros struggle with aesthetics, but learning how to hide the ugly edge of a composite stair tread turns a functional element into a design feature.
Avoid the Sinking Feeling with Proper Footings
The ‘oops’ factor I see most often isn’t on the deck itself, but where the stairs meet the ground. Many folks think they can just rest their stringers on a few leftover pavers. Within a year, the soil settles, and suddenly you have the hidden reason your deck stairs are pulling away from the frame. This is why why your deck stairs need a concrete landing pad at the bottom is my hill to die on. A solid pad prevents frost heave and settlement from tearing your hardware out of the rim joist. If you are building near water, the stakes are even higher; for those projects, why I choose mineral core decking for every poolside build is because it handles the moisture from the ground and the splash-zone without expanding like traditional wood-plastic composites. For a cleaner, more sophisticated look, I always suggest that why your deck stairs should have closed risers for a modern look is about more than just hiding the framing—it prevents debris from gathering underneath. Have you ever noticed your stairs starting to gap at the top? Have you ever fallen into this trap? Let me know in the comments. I am curious to hear if your deck builder addressed these structural nuances or just slapped it together. When you are ready to finalize the details, remember that using structural screws instead of lag bolts for stairs is the only way to ensure that connection stays tight for the next twenty years.
Once the skeleton is rigid and the stairs are rock-solid, we shift to the long game. Building for longevity is where the amateurs get separated from the pros. I’ve seen beautiful decks turn into eyesores in three years because the owner didn’t know how to protect their investment. It’s not just about cleaning; it’s about the hardware you choose at the start. For instance, why I always use hidden fasteners for high-traffic entryways isn’t just for looks—it’s because every surface-driven screw is a potential entry point for moisture and a future snag for a bare foot.
How can I keep this deck looking new for twenty years?
The beauty of modern materials is that they don’t rot, but they do require a specific touch. According to the Trex Decking Care and Cleaning technical documentation, you should never use a pressure washer closer than 12 inches from the surface, as high pressure can permanently etch the grain or damage the protective cap. Instead, I tell my clients to stick to a soft-bristle brush and a specialized composite cleaner. If you’re hosting a summer BBQ, knowing how to get grease stains off your composite deck immediately is the difference between a clean finish and a permanent shadow on your boards. I always keep a small bottle of Dawn dish soap handy during my final walk-throughs to show homeowners the miracle of simple degreasing.
The tools that actually live in my truck
People always ask me what the secret tool is. It isn’t a massive saw; it’s the small stuff that ensures precision. I never step onto a job site without my Camo Drive tool—it saves my back and ensures every board is spaced perfectly according to manufacturer specs. However, even with the best gear, mistakes happen. When a screw head snaps off in a piece of tough framing, the best tool for removing a single stripped deck screw is a specialized hollow-core extractor. It’s a five-dollar bit that saves five hundred dollars in frustration. We also have to be careful with the installation process; the hidden clip mistake that leads to buckling deck boards is usually caused by over-tightening or ignoring thermal expansion zones. 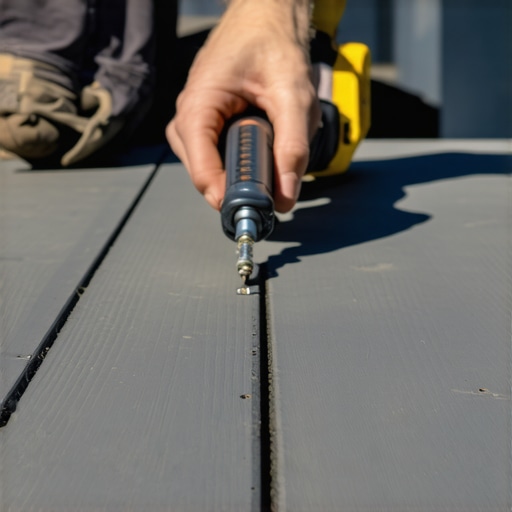
Stop the wobbles before they start
If you want that built-like-a-tank feel, you need to address the railing early. I’ve found that the bracket that keeps your railing from wobbling forever is an internal structural post mount that bolts directly to the joists, not just the rim. It’s these deck builder insights designing your dream outdoor space that separate a deck that lasts from one that needs a rebuild in a decade. Looking forward, I predict we are going to see even more integration of smart-home tech directly into our frames—think built-in weight sensors for structural monitoring or integrated moisture sensors. For now, focus on the basics. Go grab a high-quality structural screw and replace one of your aging lag bolts today; you’ll feel the difference in stability immediately.
Hard Lessons from a Decade of Cantilever Headaches
The biggest lightbulb moment I ever had wasn’t about a fancy new tool; it was about finally accepting the physics of the house itself. I realized that no matter how strong your hardware is, you cannot out-argue gravity. If the house frame wasn’t originally engineered to carry the leverage of an exterior platform, don’t force it. Shifting to a freestanding model changed my career because it removed the risk of internal floor damage entirely. Another hard-earned truth is that moisture is a silent, patient killer. That half-inch air gap between your deck and the house might look like a small detail, but it is the only thing standing between your rim joist and structural rot. I also learned to trust the math over my ‘gut feeling’—always reference the span tables before you cut. A solid deck builder knows that over-engineering a frame is never a waste of money; it’s an insurance policy for your peace of mind.
The Tool Kit That Saves My Back and Your Deck
If you are serious about a high-end finish, you need more than just a hammer and a level. First, I never start a job without the Camo Drive tool. It allows for perfect board spacing and hidden fastening while keeping you off your knees, which is vital when choosing the right composite decking for a large surface area. Second, I always keep the Simpson Strong-Tie Wood Construction Connectors manual in my truck. It’s the gold standard for code compliance and structural safety. Finally, when mistakes happen—and they will—I rely on the best tool for removing a single stripped deck screw to save me from hours of frustration. These resources ensure that every connection, from the pier to the railing, is built to last.
Your Path to a Masterpiece That Stands the Test of Time
Building a deck around a cantilevered bump-out is a complex puzzle, but it is one of the most rewarding projects you can undertake. It transforms a problematic architectural feature into a beautiful, functional hub for innovative outdoor living. By focusing on independent support, proper drainage, and the right hardware, you aren’t just adding a platform to your home; you are creating a legacy space where your family will gather for decades. Don’t be intimidated by the structural requirements. When you take the time to do it right, especially when using structural screws instead of lag bolts for stairs and frames, the result is a rock-solid investment you’ll be proud of every time you step outside. Have you ever found a surprising structural issue when tearing off an old deck or trying to build against a bump-out? Let me know in the comments below.