I’ll never forget the sound of my wife’s voice when she stepped out onto our “finished” deck that first humid July. “Is something dead under here?” she asked, wrinkling her nose. I had spent three weekends and way too much money building a beautiful low-profile retreat right on top of our old, cracked concrete patio. It looked like a magazine cover. But beneath those boards, I’d accidentally created a swamp. I didn’t realize that concrete is porous and flat, which means water doesn’t just “go away”—it sits, it soaks, and it invites every spore of mold in the neighborhood to move in.
Stop Building a Mold Factory Under Your Feet
Most homeowners think that because concrete is hard and durable, it’s the perfect foundation. I thought so too. I just threw down some sleepers and started nailing. Big mistake. Without a proper air gap and a way to channel runoff, you’re basically trapping moisture in a dark, warm coffin. If you’re working with a professional deck builder, they’ll tell you right away that the “secret” isn’t just about the deck—it’s about what happens in those two inches of space between the wood and the stone. When I finally ripped up a section of that deck to see the damage, the joists were already fuzzy with white growth. It was a mess. I learned the hard way that you need to vent the space under your deck to prevent rot from winning the war. It’s not just about the wood; even if you use composite decking, the frame underneath is still vulnerable if it can’t breathe. Have you ever noticed a weird, damp smell coming from your patio after a rainstorm? Let me know in the comments if you’ve faced this specific issue.
Do these drainage systems really make a difference?
You might be thinking this sounds like an expensive over-complication for a simple DIY project. I felt the same way until I saw the data. According to the North American Decking and Railing Association (NADRA), moisture-related failures are one of the leading causes of early deck retirement. If you don’t manage the water, the water will manage your wallet. My biggest blunder was ignoring the pitch of the concrete. I assumed it drained “well enough,” but even a 1% slope can be the difference between a dry subframe and a rotting one. Today, I’m going to show you exactly how to bypass my failures. We aren’t just talking about slapping boards down. We are talking about creating a system where under-joist drainage systems or simple grading tricks keep your structure rock-solid for decades. We’ll look at how to handle stairs and landing pads so the transition is seamless and, more importantly, bone-dry.
Test the Pitch with a Simple Garden Hose
Before you even look at a miter saw, you need to know where the water goes. I once worked on a project in Reeds Spring where the patio looked perfectly flat to the naked eye. We started framing, only to realize after a heavy rain that the center of the patio was actually a shallow bowl. We had to tear out two days of work because water was pooling right under the main ledger. Grab a hose and soak the concrete. If the water doesn’t clear out within fifteen minutes, you aren’t ready to build. You need to apply the grading trick that saves landscaping by using a self-leveling compound or a thin-set mortar to create a path for that water to escape. Ideally, you want a quarter-inch drop for every foot of distance away from your house. If you skip this, you’re essentially building a wooden raft that’s destined to rot. 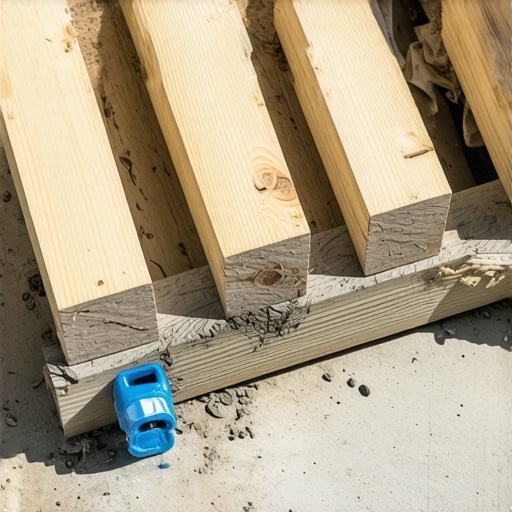
Build a Frame That Actually Breathes
When you are working with limited vertical clearance, you can’t use traditional 2×8 joists. You’re likely looking at a ‘sleeper’ system using 2x4s or 2x6s laid flat or on edge. The mistake I see most often is placing these sleepers directly onto the concrete. This creates a capillary effect where the wood sucks moisture right out of the stone. Instead, use plastic shims or stand-off brackets to lift the wood at least a quarter-inch off the surface. This tiny gap is the lungs of your deck. To ensure the floor feels like a structural floor and not a trampoline, pay attention to the joist spacing secret for a solid-feeling composite surface. For low-profile builds, I recommend 12 inches on center rather than the standard 16. It reduces the bounce and accounts for the smaller lumber size.
Don’t Forget the Armor for Your Joists
Since this deck is closer to the ground, it’s going to face 100% humidity for most of the summer. Even pressure-treated lumber will fail if the top edge stays wet. I now consider joist tape a non-negotiable expense. I learned this after a client called me back five years later; the boards were fine, but the screws were pulling out because the joist tops had turned to mush. Avoid the hidden cost of skipping joist tape by sealing those tops before the first board goes down. For an extra professional touch, paint the tops of your joists black. It hides the bright green of the treated wood in the shadows between the deck boards, making the whole installation look high-end.
Keep Your Stairs from Sinking into the Grass
Your deck shouldn’t just end; it needs to transition. If your new deck sits six inches above the yard, you need a safe way down. A common DIY fail is landing the wood stringers directly on the dirt. This is a fast track to rot and shifting. This is why your deck stairs need a concrete landing pad. Even a simple 4-inch thick pad ensures the stairs stay level and dry. When you are choosing the right composite decking for these high-traffic transition points, look for boards with a high slip-resistance rating. I once installed a beautiful dark grey board that turned into an ice rink every time the sprinklers hit it—always check the friction specs before you commit.
Stop Your Frame From Rotting While Your Boards Stay New
It’s a common industry myth that if you buy the most expensive boards, your deck is ‘done’ for life. In my experience, the surface is rarely the first thing to fail—it’s the skeleton underneath. When homeowners invest in custom composite decking ideas, they often overlook that a 25-year board is being held up by a frame that might only last 15. This mismatch is the silent killer of premium outdoor living spaces. To combat this, I’ve stopped using traditional hardware in high-stress areas. I’ve found that why I use structural screws instead of lag bolts for stairs is a game-changer for long-term stability. Lag bolts can loosen as wood shrinks and swells over seasons, but structural screws bite and hold, maintaining that ‘like-new’ rigidity for a decade longer. If you are sinking thousands into the aesthetics, don’t skimp on the bones.
Why Your Stair Stride Feels Awkward
The ‘Oops’ factor hits hardest at the transition points. Most people measure their stringers based on the raw ground level, forgetting that a composite board is often thicker than a standard pressure-treated 2×10. If you don’t account for that 1/8th of an inch difference, you end up with a bottom step that is slightly taller or shorter than the rest. It sounds minor, but it’s the stair stringer measurement mistake that ruins your stride and creates a literal tripping hazard. According to the National Fire Protection Association (NFPA), even a 1/4-inch variation in stair height significantly increases the risk of falls. This is a nuance a professional deck builder won’t miss, but a weekend warrior almost always does. 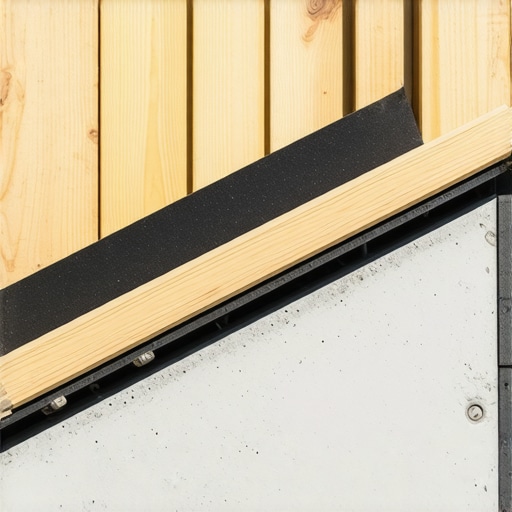
Can composite decking really handle the heat without buckling?
Many people believe that ‘hidden fasteners’ are just for looks. While they do look sleek, their real job is movement management. Composite boards expand and contract significantly with temperature changes—sometimes as much as 1/4 inch over a 20-foot span. If you pin them too tightly or use the wrong spacing, you’ll inevitably see the hidden clip mistake that leads to buckling deck boards. You need a system that allows the boards to ‘slide’ slightly within the clips. Have you ever stepped onto your deck on a hot July afternoon and heard a loud ‘pop’ or noticed a board looking wavy? Let me know in the comments if you’ve faced this specific issue. It’s usually a sign that your installer didn’t respect the thermal physics of the material. Building for the future means understanding that your deck is a living, breathing thing, even if it’s made of plastic and wood fibers.That ‘living’ aspect is exactly why I’ve become obsessed with the tool kit I carry to every job. When you’re mid-build and a screw head snaps off in a joist, it feels like the universe is testing your patience. I used to spend twenty minutes with a pair of vise-grips and a prayer, but now I won’t step onto a job site without the best tool for removing a single stripped deck screw—a pair of specialized screw extraction pliers with vertical serrations. It saves my sanity every single time. Beyond the rescue tools, I’ve switched entirely to high-torque impact drivers over traditional drills. A drill tries to spin the screw; an impact driver hammers it home. This difference in force prevents the bit from ‘camming out’ and stripping the head, which is vital when you are working with the dense caps found in mineral core decking.
Stop Blasting Your Deck with a Pressure Washer
I see it every spring: a homeowner gets a little too excited with a 3,000 PSI pressure washer and tries to ‘clean’ their composite deck. By the time they’re done, they’ve etched permanent wand marks into the surface. According to the Trex Company’s Care and Cleaning Guide, using a pressure washer with a PSI higher than 1,500 or holding the nozzle too close can permanently damage the embossed wood-grain pattern of a composite board. This is why you should never use a pressure washer on composite decks unless you’re an expert with a fan tip and a light touch. Instead, I tell my clients to stick to a simple bucket of warm, soapy water and a soft-bristle brush. It sounds old-fashioned, but it’s the only way to ensure you aren’t stripping the UV-resistant coating. 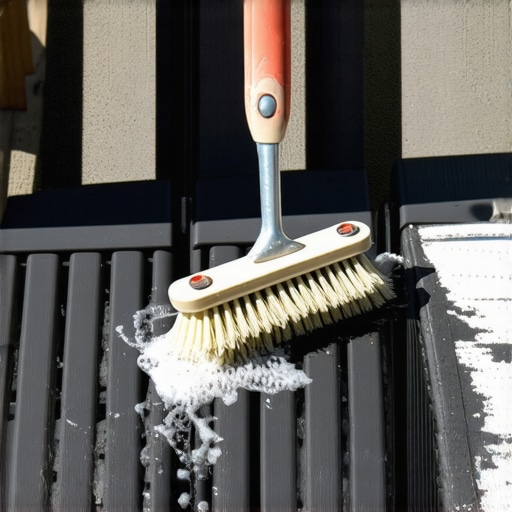
How do I keep my composite boards looking new for twenty years?
Maintenance isn’t just about cleaning; it’s about choosing your battles. If you live in a high-pollen area or have a lot of oak trees, the best deck colors for hiding pollen and dust are usually the mid-tone tans and greys rather than the deep chocolates or blacks. Looking ahead, I predict we are going to see a massive shift toward ‘smart decks’ where sensors embedded in the joists can alert you to moisture build-up before the rot even starts. But until that tech is standard, the best insurance you have is the benefits of working with a professional deck builder who understands the long-term physics of your specific yard. If you’re building your own this weekend, try this: before you screw down that first board, wipe a little bit of end-cut sealer on any wood you’ve trimmed. It takes five seconds but adds five years to the life of the frame. Give it a shot—your future self will thank you when your deck still feels rock-solid in 2040.
What the Joists Taught Me About Longevity
I used to think the ‘perfect deck’ was all about the color of the boards. I was wrong. After twenty years in this trade, I’ve realized that the most expensive composite decking in the world is only as good as the air moving underneath it. If I could go back to my first build, I’d tell myself to prioritize the joist spacing secret for a solid-feeling composite surface over the fancy railing. When you tighten that last screw, you aren’t just finishing a floor; you’re managing a micro-ecosystem of moisture and heat.
- Air is your best friend: Never sacrifice ventilation for a ‘cleaner’ look near the ground. Trapped moisture is the silent killer of even the best frames.
- Respect the reach: If your stairs feel like a ladder, it’s usually because the stringer rise didn’t account for the final thickness of the composite tread.
- Don’t fear the expansion: Composite moves. If you don’t give it room to slide within its clips, it will force itself to move by buckling.
My Go-To Kit for a Bulletproof Build
Creating a high-end space for outdoor living requires more than just a hammer. These are the three items I never step onto a job site without. First, high-quality joist tape—it’s the cheapest insurance policy you’ll ever buy to prevent rot. Second, an impact driver with a depth-setting bit; it ensures every screw head is perfectly flush without tearing the composite cap. Finally, I always keep a bottle of end-cut sealer in my pocket. Every time you cut a piece of treated lumber for the frame, you expose raw wood. Sealing it on the fly is what separates a 10-year deck from a 30-year legacy.
Your Backyard Legacy Starts Under the Boards
The transition from a simple concrete pad to a custom-built retreat is one of the most rewarding home improvements you can tackle. It changes how you drink your morning coffee and how you host your friends. While the technical details—like drainage and fasteners—can feel overwhelming, don’t let the complexity stop you. If you hit a wall or realize your layout is more complicated than expected, there is no shame in leaning on the benefits of working with a professional deck builder to bridge the gap. Your home deserves a space that is as safe as it is beautiful. If you’re ready to start planning your transformation, contact us to see how we can bring those ideas to life. Have you ever noticed your composite decking expanding or making strange ‘popping’ noises in the peak summer heat? Let me know in the comments below!