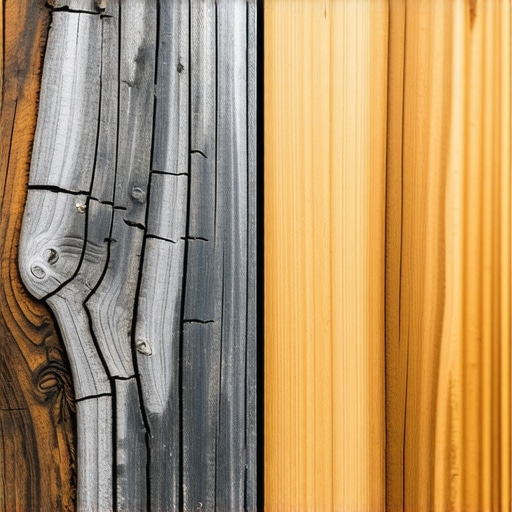
I stood on my back porch with a lukewarm coffee in my hand, staring at the gray flakes littering my lawn. Three months earlier, I had spent two grueling weekends applying what I thought was a bulletproof solid-color stain. It looked like a million bucks—for exactly one season. By November, the wood looked like it had a skin disease. It is a gut-punch many homeowners know all too well. You put in the sweat equity, you buy the premium bucket at the big-box store, and within a year, your outdoor oasis looks like a neglected pier. I made the classic rookie mistake of thinking that more pigment meant more protection. I was wrong. This is the trap of solid-color stains, and today, I am going to show you why it happens and how to break the cycle of endless sanding.
The Day My Dream Deck Started Peeling Off Like a Bad Sunburn
Much like finding the hidden flaw in pre-built deck stairs from big-box stores, the issue with solid stains is often invisible until the weather turns. When I first started as a deck builder, I assumed the thick, paint-like consistency was a shield. In reality, it was a suffocating layer. Solid stains are film-formers. They sit on top of the wood fibers rather than soaking into them. When the sun beats down and the rain pours, the wood naturally expands and contracts. The stain? It just sits there, rigid and stubborn, until the tension causes it to snap and flake away. [IMAGE_PLACEHOLDER]
Does a thicker coating actually provide more protection?
I used to think so, but the science says otherwise. According to the USDA Forest Products Laboratory, film-forming finishes are notoriously prone to failure because they trap moisture behind the coating. This trapped water leads to internal rot and eventually pushes the stain right off the surface. If you are trying to pick a deck color that doesn’t show every footprint, you might be tempted by the opaque look of solid stains, but you are essentially signing up for a full-strip and sand project every two years. Have you ever spent a whole weekend staining only to see it peel by the next spring? Drop a comment or reach out—I need to know I am not the only one who learned this the hard way.
Why Traditional Paint Logic Fails on Horizontal Wood Surfaces
The biggest realization for me was that a deck is not a wall. While solid colors work great on vertical siding, they are a disaster for walking surfaces. When we talk about choosing the right composite decking for durable low-maintenance outdoor areas, we do it specifically to avoid the exact headache solid stains create. The constant friction of footsteps combined with standing water creates the perfect storm for delamination. Instead of a protective barrier, you have created a moisture-trapping blanket that accelerates the aging of your wood. To fix this, we need to stop thinking about covering the wood and start thinking about nourishing it.
You Have to Strip Away the Mistakes Before You Can Move Forward
I once spent an entire Saturday in July with a heavy-duty drum sander, convinced I could just ‘buff out’ the peeling solid stain. Within twenty minutes, the sandpaper was gummed up with a sticky, melted mess that looked like spent chewing gum. That is the reality of trying to fix a solid-color failure without a plan. You cannot just layer more product on top of a failing film. If you want a deck that lasts, you have to get back to the raw wood. Think of it like trying to heal a wound; you can’t just put a fresh bandage over old dirt and expect it to get better. For those who find this process too grueling, many eventually pivot toward choosing the right composite decking for durable low-maintenance outdoor areas to avoid the sander entirely. But if you love the feel of real timber, the hard reset is your only path to redemption.
The Chemical Strip vs. The Mechanical Sand
Most people reach for the sander first, but I have learned that a high-quality chemical stripper does 70% of the heavy lifting. Apply the stripper, let it dwell until the old stain starts to crinkle like a bad sunburn, and then use a pressure washer with extreme caution. If you get too close, you will chew up the wood fibers and create a ‘fuzzy’ texture that is a nightmare to stain. Once the wood is dry, a light pass with 60-80 grit sandpaper is all you need to open the ‘pores’ of the wood. This is also the perfect time to address structural annoyances, like learning how to stop your deck from creaking every time someone walks, before you lock everything down with a new finish.
Choose a Penetrating Oil to Feed the Wood Instead of Hiding It
The ‘aha’ moment for me came when I realized that wood is essentially a bundle of straws. Solid stains plug the top of those straws, while penetrating oils actually fill them. When you use a penetrating oil, the wood stays flexible. It can breathe. I remember a specific project where I used a high-solids oil on a cedar deck in the middle of a humid Missouri summer. I applied it so thick that it stayed tacky for three days. That taught me my second big lesson: less is more. You want the wood to drink the oil, not drown in it. 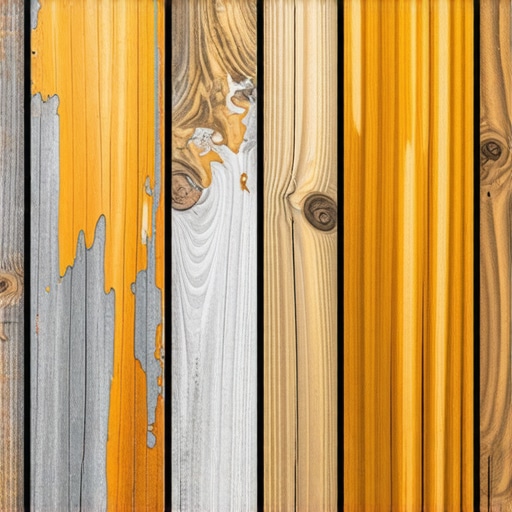
Why I Always Paint the Cut Ends During Installation
If you are replacing boards during your refresh, don’t forget the vulnerable spots. I have seen countless decks rot from the inside out because the installer skipped one simple step. It is why why I always paint the cut ends of pressure-treated lumber. Those end grains are like the open mouth of those straws I mentioned; they suck up moisture faster than any other part of the board. Sealing them during the process is what separates a five-year deck from a twenty-year deck.
Avoid the Footprint Trap with the Right Pigment Level
When you are deciding on a look, remember that the more pigment you add, the more heat the deck will absorb. If you are trying to pick a deck color that doesn’t show every footprint, look for a semi-transparent ‘cedar’ or ‘natural’ tone. These provide enough UV protection to prevent graying but aren’t so dark that they burn your feet in July. Also, consider the fastener system. I’ve found that the reason I never use nails for deck boards anymore is that they eventually pop up, creating little ‘wells’ where water sits and rots the wood around the hole, regardless of how good your stain is.It is easy to get hyper-focused on the aesthetics of a finish, but I have learned that the most beautiful stain cannot hide a structural failure. Most homeowners believe that switching to composite decking is a ‘get out of jail free’ card for maintenance. They think once the boards are down, the job is done. In my experience, that is exactly when the real problems begin if you haven’t adjusted your framing logic. Composite material is inherently more flexible than natural timber. If you stick to the standard 16-inch on-center joist spacing used for traditional wood, your ‘luxury’ deck will likely feel like walking on a trampoline by the time the first summer heat wave hits. I always insist on the joist spacing secret for a solid-feeling composite surface, which usually means tightening those gaps to 12 inches to prevent that sagging sensation.
Why do my deck stairs feel like a ladder after just one winter?
This is one of the most common complaints I hear from homeowners who tackled a DIY build. Often, it comes down to a fundamental misunderstanding of ‘rise and run’ and how wood behaves under a load. According to the American Wood Council’s Design for Code Acceptance (DCA 6), the stringers—the diagonal backbone of your stairs—require precise calculations and specific attachment points that many novices ignore. If you find why your deck stairs feel like a ladder and how to fix the rise, you will likely discover that the stringers weren’t properly anchored to the frame or the ground shifted because they lacked a frost-protected concrete footing. One massive ‘oops’ factor I see in almost every failed project is the use of flimsy pre-cut stringers. I call them ‘deck-killers.’ Much like the hidden flaw in pre-built deck stairs from big-box stores, these mass-produced components are often made from lower-grade lumber and rarely account for the specific height of your unique landing area. 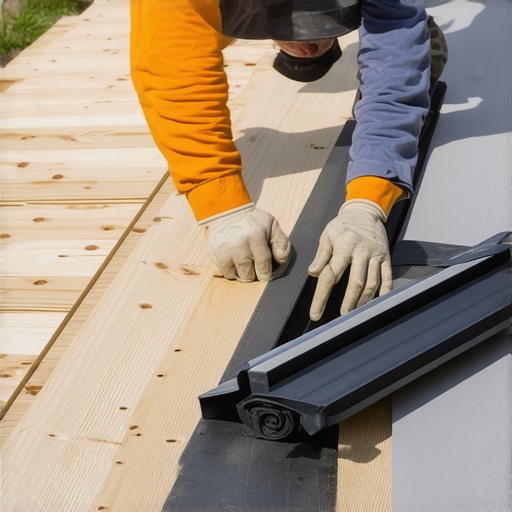 People often try to fix the resulting gaps with cheap shims, but why I never use plastic shims for stair stringers is simple: they compress and eventually slide out under heavy foot traffic, leading to that terrifying ‘sink’ when you step down with a tray of food. Another nuance that separates the experts from the amateurs is how we treat the frame before the boards even go on. Because composite traps more heat and moisture underneath it than wood, the tops of your joists are at constant risk of ‘sandwich rot.’ This is why I paint the tops of my joists black before installing composite or apply specialized joist tape. It creates a secondary moisture barrier that keeps the skeleton of your deck alive just as long as the expensive boards sitting on top of it. Plus, the black finish hides the bright pressure-treated wood from peeking through the gaps, which is a subtle but essential aesthetic move. If you are moving into the finishing stages, don’t ignore the ‘white meat’ of the boards. You need to know how to hide the ugly edge of a composite stair tread to give the project that finished, high-end furniture look. Have you ever fallen into the trap of over-engineering the look but under-engineering the frame? Let me know in the comments—I’ve made enough mistakes for both of us, and I’m here to help you skip the frustration.Once the structure is sound and the boards are down, the game shifts from construction to preservation. I have seen beautiful builds turn into rickety hazards in five years because the owner thought ‘low maintenance’ meant ‘zero maintenance.’ If you are working with a professional, they can show you how a skilled deck builder can turn your garden into a private oasis, but the long-term health of that oasis is often determined by the tools you use during the build and the care you provide afterward.
The Three Tools I Won’t Step onto a Job Site Without
People often ask why my decks look so much tighter than the average DIY project. It is not just practice; it is the gear. For example, I never start a composite project without a dedicated board-straightening tool like the Bowrench. If a board has a slight crown, you cannot just ‘muscle’ it into place and expect it to stay. It will eventually pull against the fasteners and cause unsightly gaps. I also swear by high-torque impact drivers paired with specific bits. If you have ever fought a rounded-off head, you need to know the best tool for removing a single stripped deck screw because it will save your sanity during a mid-summer repair. For the heavy lifting, why I use structural screws instead of lag bolts for stairs comes down to shear strength and speed; they bite into the wood without requiring a pilot hole, creating a connection that is technically superior to the old-school bolt.
How do I maintain my deck’s stability over the years?
Stability starts with keeping the wood dry and the hardware tight. Every spring, I do a ‘walk-and-knock’ test. I walk the perimeter and look at the ledger connection. According to the International Residential Code (IRC) Section R507, the connection between the deck and the house is the most common point of catastrophic failure. I check for any signs of the ledger pulling away. I also check the boards for ‘fuzzy’ fibers. While it is tempting to blast away winter grime, why you should never use a pressure washer on composite decks is a lesson I learned the hard way—it can actually etch the surface and void your warranty. Instead, a simple soft-bristle brush and specialized soap are all you need to keep those custom composite decking ideas looking fresh. 
Where Outdoor Living is Heading in 2025 and Beyond
We are moving away from simple platforms and toward integrated ‘outdoor rooms.’ The future is all about mineral core technology. I am seeing a massive shift toward materials that have zero organic fibers, meaning they literally cannot rot or grow mold, even if submerged in a pool. I predict that within five years, we will see smart sensors embedded in joists that can alert homeowners to moisture buildup or structural shifts before they are visible to the naked eye. If you want to elevate your current project, I challenge you to try the screw depth trick for a perfectly smooth deck surface on your next board replacement. It is a small detail, but it is exactly what separates a ‘backyard project’ from a professional-grade masterpiece.
Hard Truths from a Decade Spent on My Knees Stripping Wood
If there is one thing I have learned as a deck builder, it is that shortcuts always send a bill later. When I see someone reach for a solid-color stain to hide old wood, I see a homeowner who will be sanding again in 18 months. Wood needs to breathe, and the more you try to suffocate it with ‘thick’ protection, the faster it will reject the coating. Here are the lightbulb moments that changed how I approach every project:
- The moisture trap is real: Always leave that tiny gap at the house connection. Learning why your ledger board needs a gap from the house siding isn’t just about following code; it is the difference between a dry rim joist and a $10,000 rot repair.
- Respect the fiber grain: If you use a pressure washer too aggressively, you are basically opening the floodgates for rot. A soft scrub and chemical neutralizer is always better for the long-term health of the timber.
- Stairs are structural, not decorative: Never skimp on the landing. Understanding why your deck stairs need a concrete landing pad at the bottom is a lesson in stability you do not want to learn when a stringer eventually sinks into the soft Missouri mud.
[IMAGE_PLACEHOLDER]
The Gear That Saves My Sanity on Every Build
I do not believe in buying every gadget at the hardware store, but I do believe in the ‘power three’ that separate professional results from DIY headaches. First, I have completely abandoned old-fashioned fasteners; why I use structural screws instead of lag bolts for stairs is simple—they do not split the wood and they hold with a permanent, vice-like grip. Second, I always keep the DCA 6 (Prescriptive Residential Wood Deck Construction Guide) on my tablet to ensure every joint is up to spec. Third, if you are upgrading to man-made materials, staying ahead of the curve by checking out composite decking trends 2025 will show you how hidden fastener systems have evolved to make the surface look like a piece of high-end furniture.
Take the Leap Toward a Maintenance-Free Summer
Building or restoring an outdoor space is a labor of love, but it should not be a cycle of frustration. Whether you decide to tackle the labor yourself or realize the benefits of working with a professional deck builder in your outdoor projects, the goal remains the same: a safe, beautiful place to relax. By integrating innovative outdoor living ideas with composite decking in 2025, you can create a space that requires nothing more than a soap-and-water scrub once a year. Take the time to prep the wood correctly, choose products that feed the timber, and never ignore the skeleton underneath. Your future self—the one sitting on the deck with a cold drink instead of a belt sander—will thank you for the extra effort today. Have you ever had a deck stain fail on you after just one season? Let me know in the comments what you used and how you fixed it!