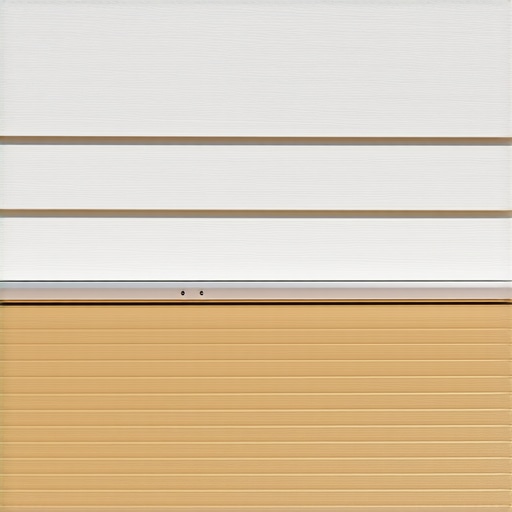
I was standing out there with a lukewarm coffee in my hand, admiring the way the morning sun hit my new cedar planks, when I saw it. A long, nasty, rusty-brown streak bleeding down the pristine white vinyl of my house. My heart sank. I’d spent thousands on the lumber and weeks of my life on the build, only to realize I’d accidentally turned my home into a giant canvas for water damage. It wasn’t just dirt; it was the tannins and the metal oxides from my fasteners literally tattooing the siding. I learned the hard way that a deck shouldn’t just sit next to a house—it needs to respect it. Today, I’m going to walk you through the exact steps I use now to ensure every project stays clean and every wall stays dry. We are going to fix that “bleeding” effect once and for all.
Proper Flashing is the Only Thing Saving Your Wall
[image placeholder]Most people think the biggest threat to their home is a storm, but it’s actually the slow, silent drip of water behind a ledger board. When I started out, I thought a bead of high-quality caulk was enough. It wasn’t. Caulk dries, cracks, and fails. You need the secret to a waterproof connection where the deck meets the wall. Without actual metal or PVC flashing tucked under the siding and over the ledger, water will find its way into your sheathing. According to the International Association of Certified Home Inspectors (InterNACHI), improper flashing is one of the leading causes of structural wood rot in residential decks. It’s a small detail that carries a massive price tag if you get it wrong. If you’re currently hiding the gap between your deck and the house siding with just trim, you might be trapping moisture instead of letting it escape.
Do These Stains Actually Mean My House is Rotting?
It’s easy to look at a green smudge or a brown streak and think, “I’ll just power wash that off next spring.” But here is the reality: those stains are the “check engine light” for your home’s exterior. They tell you that water is dwelling in places it shouldn’t. If you don’t act, you aren’t just looking at a cleaning bill; you’re looking at having to protect your deck frame from rot after the damage has already moved inward. Have you ever noticed those weird dark lines appearing on your siding after a storm, or are you just starting your build and want to avoid my past nightmares? Let me know, because catching it early is the difference between a $20 piece of flashing and a $10,000 siding and framing repair.
Create an Air Gap to Save Your Siding
You cannot simply bolt a piece of lumber to your home’s rim joist and expect the elements to stay out. To prevent the moisture traps that lead to those nasty brown streaks, you have to create a mechanical break. I use a technique involving stainless steel washers or specialized spacers to keep the ledger about half an inch off the house. This allows water and debris to run straight down behind the deck instead of wicking into your wall sheathing. I remember a project early in my career where I skipped this ‘fussy’ step because I was in a rush. Two years later, I was back at that same house, peeling away soft wood because that tiny pocket of trapped moisture had never dried out. Now, I always tell people that the simple way to check if your deck ledger is pulling away from the house is to look for early signs of staining behind the board. If you build with spacers from the start, you allow for constant airflow, which is the only real way to keep your framing bone-dry.
Seal Every Penetration Before the Siding Goes Back
Whenever you drive a lag bolt into your house, you are creating a highway for water. Before the ledger even touches the wall, I suggest using a high-quality butyl tape or a liquid-applied flashing around the bolt holes. If you are working as your own deck builder, do not underestimate this step. A single unsealed hole can rot a wall stud in less than five seasons. Wrap the top of your ledger board in joist tape as well; this ensures that even if water gets past the metal flashing, it won’t sit on top of the wood and cause it to fail prematurely.
Layer Your Flashing Like a Shingled Roof
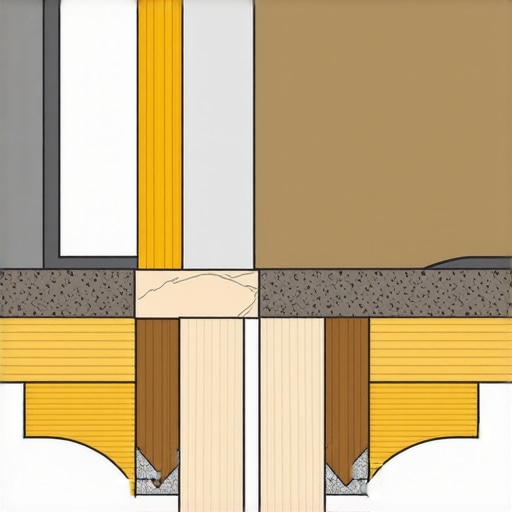 Effective water management is all about gravity. Your flashing must start tucked behind your house’s water-resistive barrier (like Tyvek) and then drape over the top of the ledger. This is where most DIYers fail; they put the flashing over the siding, which just funnels water directly into the wall. I always use a ‘Z-flashing’ profile. It catches the water coming down the house and kicks it out past the ledger. If you are integrating innovative outdoor living ideas with composite decking in 2025, you need to be even more careful with your flashing heights, as composite boards can be thicker than traditional wood and might require a taller flashing leg to clear the surface. When done correctly, this creates the secret to a waterproof connection where the deck meets the wall that can last as long as the house itself.
Prevent Composite Boards from Crowding Your Walls
One thing many people forget is that modern materials move. If you butt your boards tight against your vinyl siding, they will buckle when the sun hits them. This is often why your composite boards are expanding more than expected and popping your J-channel trim right off the wall. I leave a minimum 1/2-inch gap between the end of the deck boards and the house siding. To keep it looking professional, you can learn how to hide the gap between your deck and the house siding using a frieze board or specialized trim that covers the expansion space without trapping water. This gap isn’t just for movement; it’s your second line of defense for drainage. By knowing how to stop composite boards from expanding into your vinyl siding, you protect both the aesthetic of your home and the structural integrity of your frame. When water has a clear path to the ground, it won’t stay long enough to leave a stain. Knowing how to protect your deck frame from rot starts with these small, intentional gaps that prioritize ventilation over a ‘tight’ look.
Why a Tight Fit is Your Decks Worst Enemy
Many homeowners and even some builders believe that a ‘tight’ deck—one where every board is butted firmly against the next—is a sign of superior craftsmanship. In my experience, that is the fastest way to ruin a project. Wood and composite materials need room to breathe and move. If you don’t account for thermal expansion, you’ll find out exactly why your composite boards are expanding more than expected when they start buckling and popping fasteners. Professional deck builder tips for stunning outdoor living always emphasize drainage and airflow over aesthetic tightness. I’ve seen beautiful builds destroyed in three years because the owner thought caulking every gap was a good idea. It wasn’t; it just trapped moisture against the rim joist.
Is Steel Framing Actually Overkill for a Standard Backyard?
The industry is shifting, and many pros now argue that traditional pressure-treated lumber is no longer the gold standard. While wood is cheaper upfront, the hidden benefit of using steel deck framing instead of wood lies in its absolute straightness and resistance to rot. According to the North American Decking and Railing Association (NADRA), structural failure is often linked to the slow degradation of wood fasteners and ledger decay. Steel eliminates the ‘crown’ in joists that makes a deck feel uneven. If you are transforming your outdoor living with custom composite decking ideas, pairing a 25-year board with a 15-year wood frame is a mathematical mistake. You want your substructure to outlast your surface.
Don’t Let Your Stair Stringers Crack Under Pressure
Stairs are where the amateur mistakes become dangerous. Most people focus on the ‘look’ of the treads, but the real work happens in the ‘throat’ of the stringer—the uncut portion of the wood that carries the weight. A common ‘oops’ factor is over-notching the stringer to make the stairs fit a specific height. This is why your deck stair stringers are cracking at the throat; you’ve effectively turned a 2×12 into a weak 2×4. 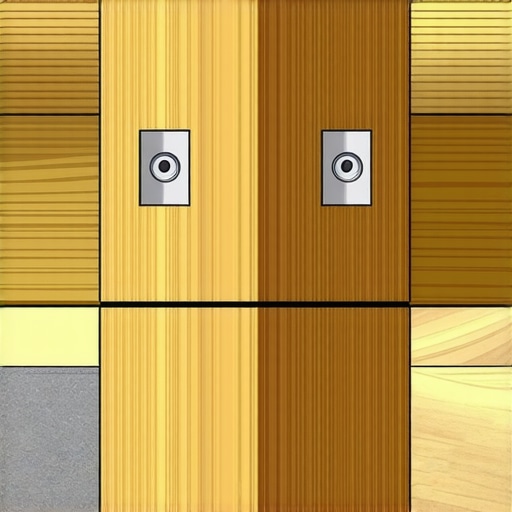 To prevent this, I always use the bracket that makes your deck stairs feel rock solid, which reinforces the connection without requiring deeper cuts. If you’ve ever felt a slight ‘give’ when walking up a flight of stairs, you’re likely feeling a stringer that was cut too deep or lacks proper mid-span blocking.
The Nuance of Structural Stability
Another advanced mistake is ignoring the ‘bounce.’ If your deck feels like a trampoline, it’s usually not the boards—it’s a lack of lateral bracing or blocking. I’ve found that the affordable fix to stiffen it up is often as simple as adding bridging between joists. This prevents the joists from rolling and distributes the load more evenly across the frame. When designing safe and stylish stairs for outdoor decks in 2025, remember that stiffness is just as important as strength. Have you ever fallen into this trap of prioritizing looks over the structural ‘skeleton’? Let me know in the comments.
The Gear That Separates Pros from Weekend Warriors
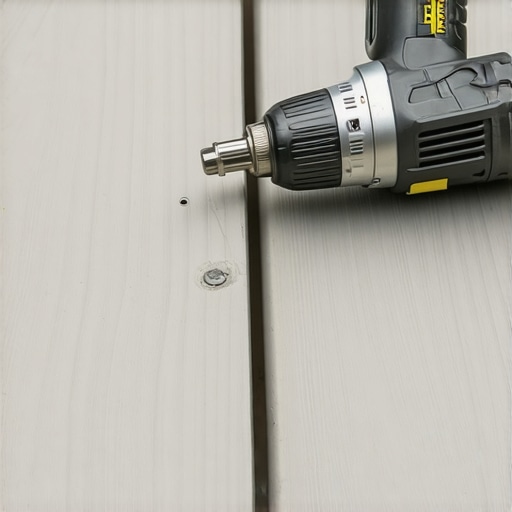
I’ve spent a lot of time on my knees over the years, and if there’s one thing I’ve learned, it’s that the right tools save more than just your back—they save the project. I used to think a basic hammer and a circular saw were enough, but once you start getting into complex outdoor living spaces, your toolkit has to evolve. For example, I never build a frame anymore without a dedicated sealant for every cut I make. If you don’t know the best way to seal the end cuts of pressure-treated lumber to prevent rot, you are essentially leaving the front door open for moisture to bypass the chemical treatment. I personally keep a small bucket of end-cut solution and a foam brush on my saw stand at all times. It’s a five-second step that adds a decade to the deck’s lifespan. I also highly recommend using a high-torque impact driver over a standard drill; composite materials are dense, and a drill often strips the heads of stainless steel screws before they are fully seated.
How do I keep my deck looking brand new for decades?
The biggest mistake people make is trying to ‘blast’ their problems away. You’ll see neighbors out there with a 3000 PSI gas-powered unit, but let me tell you, why you should never use a pressure washer on composite decks is because it can actually delaminate the protective ‘cap’ of the board or leave permanent etch marks. Instead, I use a soft-bristle brush and a specialized composite cleaner once every six months. If you are choosing the right composite decking for durable low-maintenance outdoor areas, you’re already ahead of the game, but it still needs that seasonal gentle scrub to prevent pollen and dust from baking into the texture.
Future-Proof Your Deck with Integrated Tech
 I’m seeing a massive trend toward ‘smart’ outdoor spaces. In a few years, we won’t just be building platforms; we’ll be building outdoor hubs. This is why I always suggest running conduit for low-voltage wiring during the framing stage. It’s much easier than trying to fish wires later when you want the lighting setup that turns a standard deck into a private outdoor cinema. I recommend investing in the best low-voltage transformers for large outdoor lighting projects from the start—specifically ones with Bluetooth or Wi-Fi connectivity so you can dim the lights from your phone. According to the American Wood Council’s Design for Code Acceptance (DCA) 6, proper joist spacing and lateral load connections are the legal standard, but integrated tech is the future of comfort. If you want to avoid expensive rework, remember that why a digital designer is the best move for planning a complex backyard deck isn’t just about the layout; it’s about mapping out your electrical runs and drainage systems before a single board is laid. Don’t wait for your house to start ‘bleeding’ again—go out to your deck this weekend and inspect your ledger board. If it is tight against the siding without a gap, try the washer-spacer trick I mentioned earlier to save your house before the next rainy season hits.
Hard Truths I Learned While Watching My First Deck Age
Building a deck is a massive achievement, but the real test isn’t the day you finish—it’s five years later when the novelty has worn off and the weather has done its worst. One of my biggest lightbulb moments was realizing that the aesthetics of the surface are only as good as the protection underneath. For instance, visual consistency matters more than you think. This is why I paint the tops of my joists black before installing composite; it hides the bright pressure-treated lumber that otherwise peeks through the gaps. I also learned that skipping on hardware is a recipe for disaster. Corrosion is inevitable in high-moisture areas, which is why we always use stainless steel hardware for poolside deck frames and ledger connections. Finally, remember that stability is a feeling. If your stairs vibrate, the whole deck feels cheap. Using the bracket that makes your deck stairs feel rock solid ensures that every step feels as permanent as the house itself.
The Tool Kit That Changed My Building Game Forever
Over the years, I’ve moved away from the standard hardware store aisles and toward specific solutions that solve recurring headaches. If you want to build like a professional, I highly recommend these three focus areas. First, stop guessing on your layout. I’ve found that why a digital designer is the best move for planning a complex backyard deck isn’t just about the 3D render; it’s about getting an accurate material list that prevents three extra trips to the lumber yard. Second, invest in your electrical backbone. Don’t settle for cheap power boxes; look for the best low-voltage transformers for large outdoor lighting projects to ensure your LEDs stay bright and flicker-free for years. Lastly, don’t ignore the noise. Use the simple way to stop deck stairs from squeaking when you step by applying a bead of subfloor adhesive to the stringers before screwing down the treads. Your ears will thank you later.
Turn Your Backyard Vision into a Reality That Lasts
You now have the blueprint to avoid the bleeding house syndrome and the structural rot that plagues so many DIY builds. Taking the time to flash your ledger correctly, create that essential air gap, and choose the right materials isn’t just about following code—it’s about pride of ownership. Whether you are doing the heavy lifting yourself or hiring a professional deck builder to bring your vision to life, these details are what separate a temporary platform from a lifetime sanctuary. Don’t be afraid to take it slow and get the flashing perfect. Have you ever noticed water stains or mysterious streaks appearing on your siding after a heavy rain? Let me know in the comments below, and let’s figure out how to stop it together!