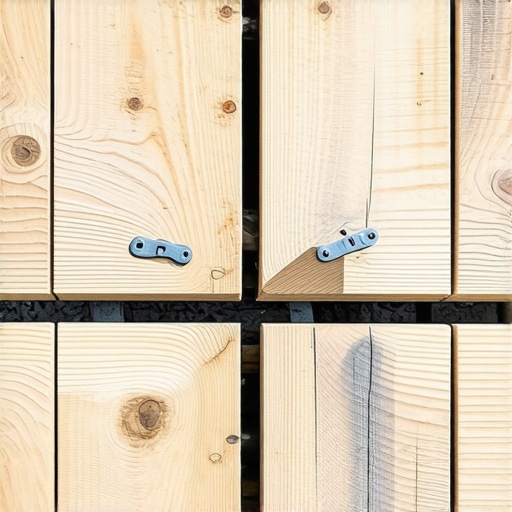
I remember the sweltering July afternoon when I stepped out onto my ‘masterpiece’ of a deck, only to find it looking like a ripple in a pond. It was supposed to be a seamless, high-end surface—my crowning achievement. Instead, three of my center boards had heaved up nearly half an inch. I had used those sleek hidden fasteners everyone raves about, thinking I’d finally beaten the ‘ugly screw head’ problem. I was wrong. I had made the one mistake that almost every homeowner makes when they first dive into the world of composite decking. It’s a gut-punch moment. You spend thousands on premium materials, only to have the sun turn your flat floor into a roller coaster. Today, I’m going to show you exactly how to avoid that wavy-board nightmare. We’ll look at the physics of why your boards move and the one specific clip placement error that ruins a perfectly good outdoor living space. Have you ever walked out to your backyard and noticed a board sticking up just enough to trip you or catch your toe? Let’s fix that.
Stop Your Deck Boards from Waving Like a Flag
Composite materials are marvels of engineering, but they aren’t static. Unlike traditional wood, which mostly expands and contracts across its width, composite boards primarily expand along their length. If you don’t give them room to breathe, they will find that room by force, usually by buckling upward or pushing against your vinyl siding. Early in my career, I assumed ‘tight’ meant ‘right.’ I slammed those boards together, tightened every clip to the max, and walked away. I didn’t realize that I was essentially building a ticking time bomb. According to research from the North American Deck and Railing Association (NADRA), temperature fluctuations can cause a 20-foot composite board to expand by as much as half an inch. Without proper gapping and the right clip technique, that expansion has nowhere to go. This is why why your composite boards are expanding more than expected is the first thing I check when a client calls me about a ‘failed’ deck. It’s rarely the board’s fault; it’s almost always the installation method.
Do These Invisible Clips Actually Work?
There is a lot of skepticism around hidden fasteners. Some old-school builders swear they are just a gimmick that loosens over time. I’ll be honest: if you use them the wrong way, they absolutely are a gimmick. The ‘hidden clip mistake’ isn’t just about the clip itself; it’s about the ‘locking’ mechanism. If you don’t use a starter clip or a specifically placed face screw to anchor the board in the center, the board will ‘crawl’ toward one end. One side gets a huge gap, and the other side smashes into your stairs or house wall. You need to understand why we use hidden clips for the field but screws for the perimeter to ensure the deck stays put for decades. If you’ve been afraid to try hidden fasteners because you’re worried about stability, I’m here to tell you they are rock solid—provided you follow the rules of thermal movement that I had to learn the hard way.
Leave a Gap or Watch the Boards Buckle
The biggest mistake I see DIYers make is treating composite decking like interior hardwood. You want those tight, seamless joints inside your living room, but out in the elements, ‘tight’ is a recipe for disaster. Think of your deck boards like a long line of cars in heavy traffic; if everyone is bumper-to-bumper and the heat goes up, someone is going to get rear-ended. I learned this the hard way on a project in 2018 when I installed a 30-foot run of boards during a cool morning. By mid-afternoon, the sun hit that deck, the boards grew by a quarter-inch each, and the ends started how to stop composite boards from expanding into your vinyl siding became my immediate obsession as I watched my beautiful perimeter trim literally pop off the frame. You must leave at least a 3/16-inch to 1/4-inch gap at the butt joints and where the board meets the house. This isn’t just a suggestion; it’s the only way to ensure the material doesn’t destroy your siding or itself.
Pin the Center to Control the Creep
If you are using hidden fasteners, you have to understand ‘thermal creep.’ Because these clips allow the board to slide back and forth, a long board will eventually migrate toward one end of the deck over several seasons of expansion and contraction. To stop this, you need to ‘pin’ the board. I always drive one single face screw (with a color-matched plug) or a specialized locking clip through the center of every board into the joist. This forces the board to expand equally outward in both directions from the middle, rather than shoving all its energy into one corner. 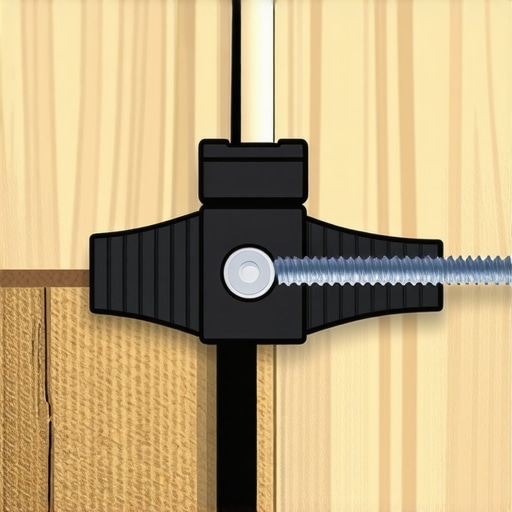 I remember a client who called me because their deck had ‘moved’ three inches to the left over two years. They hadn’t pinned the centers, and the boards had walked themselves right off the edge. This is specifically why we use hidden clips for the field but screws for the perimeter; the screws act as the anchors that keep the whole ‘floating’ field centered.
Double Up Your Joists at Every Seam
A common point of failure is where two board ends meet. Most people try to sister a small block of wood or, worse, try to screw both boards into a single 1.5-inch joist. This is a mistake. There isn’t enough surface area for the fasteners to grip without cracking the board ends. You should always use two joists side-by-side at every butt joint. This is part of why we use double joists under every composite seam for a flat floor. It gives each board end its own dedicated support and plenty of room for the hidden clips to bite into the wood. Combined with the joist spacing secret for a solid-feeling composite surface—which usually means 12 inches on center for composite rather than the standard 16 inches for wood—you’ll eliminate that ‘spongy’ feeling underfoot.
Don’t Let Your Stairs Become an Afterthought
The most dangerous place for expansion issues is on your stairs. Because stair treads are shorter, people often forget to gap them, but a buckled tread is a major trip hazard. I’ve seen treads arch up like a cat’s back because they were wedged too tightly between the stringers. When building, I always use the bracket that makes your deck stairs feel rock solid to ensure the frame itself doesn’t move, which allows the composite to do its thing without compromising safety. If you’re worried about the look, how to hide the cut edges of a wrap around stair stringer can keep the aesthetic clean while still providing the structural integrity needed for heavy foot traffic.Most experts tell you that composite is the ultimate ‘maintenance-free’ solution, but that is a dangerous half-truth that often leads to total structural failure within a decade. In my years as a professional deck builder, I have seen more ‘low maintenance’ decks torn down prematurely than I have traditional wood ones. The reason is simple: people treat the substructure like an afterthought. When you decide on choosing the right composite decking, you are not just buying a floor; you are changing the entire ecosystem of your backyard. Wood breathes, but plastic traps moisture. If you do not prioritize how to keep your deck joists from rotting by using butyl joist tape, you are essentially building a greenhouse for fungus directly under your expensive new surface. Research from the Forest Products Laboratory suggests that moisture trapped between non-porous surfaces like composite and wood can accelerate decay rates by up to three times compared to exposed wood. Always seal those joists.
The Maintenance Myth That Rotting Joists Reveal
Everyone says composite is ‘stronger’ than wood, but in terms of span and rigidity, that is actually a myth. Composite is heavy and flexible—more like a noodle than a beam. A common ‘oops’ factor is sticking to the standard 16-inch joist spacing used for lumber. If you do that, your deck will feel like a trampoline. For a truly high-end feel, you have to follow the joist spacing secret for a solid-feeling composite surface, which usually means tightening those joists to 12 inches on center. This extra framing might cost a bit more upfront, but it prevents the boards from sagging under their own weight during the hot summer months.
Why Does My High-End Deck Feel Like a Trampoline?
It comes down to the modulus of elasticity. Composite materials have a much lower stiffness rating than Southern Yellow Pine. When the sun beats down, the internal resins soften slightly. If your joists are too far apart, that softening leads to a perceptible ‘bounce’ that screams amateur installation. I always tell my clients that the ‘stiffness’ of the deck is won or lost in the framing, not the decking material itself. This structural integrity is also vital for your stairs; without rigid support, the treads will flex and eventually pull their fasteners. This is exactly why we always double block the middle of a long stair run for stability to ensure every step feels as solid as concrete.
Board Color Is More Than Just a Design Choice
You might pick a dark chocolate or deep charcoal board because it looks sophisticated, but you are also choosing how much stress your fasteners will endure. Dark boards act as massive heat sinks. According to data from the Building Research Establishment (BRE), dark surfaces can reach temperatures 50 to 70 degrees Fahrenheit higher than the ambient air temperature. 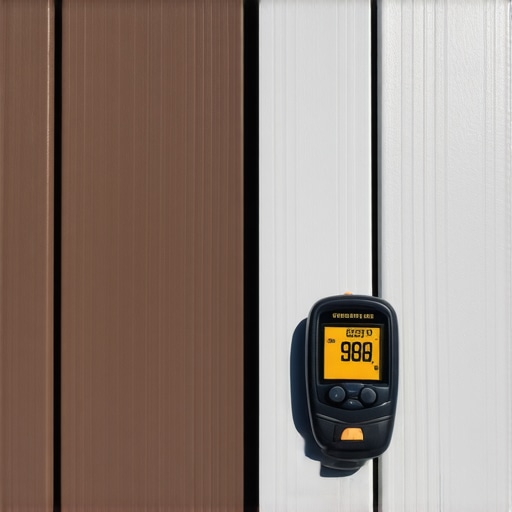 This extreme heat causes the boards to expand with incredible force. If you have not accounted for this by using specific expansion gaps, that dark, beautiful board will literally shear the heads off your screws or pop your hidden clips. This is why dark brown decking gets significantly hotter than light gray boards and why your gapping strategy must be more aggressive with darker palettes. Have you ever fallen into this trap of thinking composite is indestructible only to find your boards buckling? Let me know in the comments. To avoid these pitfalls, I always recommend a expert deck builder who understands the specific thermal coefficients of the brand you have chosen.
The Tool That Saved My Back and My Sanity
After years of wrestling with warped boards and sore thumbs, I finally realized that the secret to a high-end finish isn’t just in the hands—it’s in the specialized equipment. If you are taking on a DIY project, do not start without a Camo Lever. This specific board-bending tool locks onto the joist and allows you to crank a stubborn, bowed board into a perfectly straight line with one hand while you fasten it with the other. It’s the difference between a deck that looks ‘fine’ and one that looks like it was precision-milled in a factory. To ensure that everything is structurally sound from the ground up, I have also completely ditched old-school lag bolts for LedgerLOK structural screws. The American Wood Council’s NDS (National Design Specification) has paved the way for these code-compliant fasteners that don’t require pre-drilling, which is exactly why I use structural screws instead of lag bolts for stairs today. They provide more shear strength with half the labor, ensuring your heavy stairs never pull away from the frame. 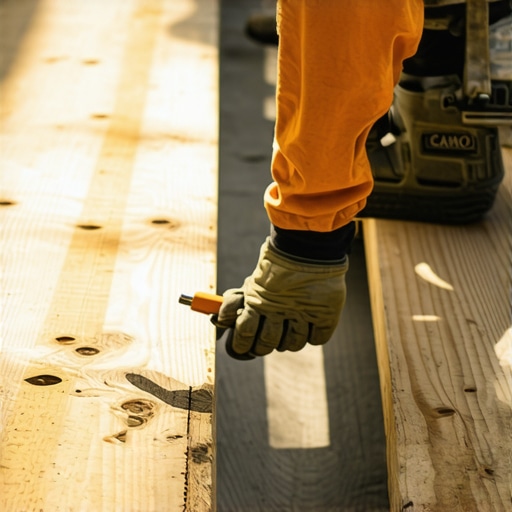
Why the Framing Matters More Than the Floor
We often talk about the beauty of the surface, but the real ‘forever’ part of a deck happens in the substructure. Even the most expensive choosing the right composite decking won’t save you if your frame rots out from underneath. I now use butyl joist tape on every single horizontal surface of my framing. This acrylic adhesive self-seals around every screw you drive, preventing water from seeping into the wood grain. If you want to know how to protect your deck frame from rot for thirty years, this is the single most important step. Without it, moisture trapped between the non-porous composite and the wood creates a ‘greenhouse’ for fungi. Additionally, protecting the foundation is vital; knowing how to protect your deck frame from underground termite damage with proper soil treatment and flashing can save you thousands in future repairs.
How do I keep my composite deck looking new?
Many homeowners assume they can just blast their deck with a pressure washer every spring, but that is a massive mistake. Why you should never use a pressure washer on composite decks is the first thing I teach my clients; the high pressure can etch the plastic surface and void your manufacturer warranty. Instead, stick to a soft-bristle brush and a pH-neutral cleaner. If you have dark boards, learning the best way to clean bird droppings off dark brown composite boards without scratching the grain will keep your outdoor living space looking pristine for years.
What is next for the backyard in 2025?
Looking toward composite decking trends 2025, we are seeing a massive shift toward mineral-based composites that contain zero wood flour. These boards are virtually ‘immortal’ because they cannot absorb moisture. To plan for these high-performance materials, why a digital designer is the best move for planning a complex backyard deck is becoming clear; you need precision modeling to handle these rigid materials perfectly. I challenge you to try this one advanced tip on your next project: use joist tape on every beam and joist. It adds a few hundred dollars to the budget but adds decades to the life of the deck.
What Most Manuals Forget to Mention About Heat
If I could go back to that sweltering July day, I’d tell myself that the ‘maintenance-free’ label is only as good as the physics behind the installation. One lightbulb moment for me was realizing that choosing the right composite decking is actually a secondary step to building a rigid, ventilated frame. I’ve seen boards expand like a harmonica because the builder didn’t understand why your composite boards are expanding more than expected in direct sunlight. Another truth: your deck needs to breathe. If you enclose the underside completely without ventilation, you’re just building a rot-trap. Don’t let the marketing fool you; even the most expensive boards require air movement to prevent the joists from sweating and decaying prematurely.
The Kit I Never Leave the Truck Without
To get that high-end finish, you need more than just a drill and a dream. I personally swear by butyl joist tape; it’s the only way to ensure you actually know how to protect your deck frame from rot for thirty years. I also suggest moving away from traditional hardware in high-stress areas; using structural screws instead of lag bolts for your ledger and stairs provides a much more secure, code-compliant bite. If you’re feeling overwhelmed, remember that the benefits of working with a professional deck builder often include access to industrial-grade board benders and hidden fastener systems that make a DIYer’s life a thousand times easier and the final product significantly more durable.
Build Your Legacy in the Backyard
Your backyard is more than just a collection of boards; it’s where memories are made and quiet mornings are enjoyed. By taking these extra steps—gapping correctly, pinning the centers, and taping your joists—you aren’t just building a floor; you’re creating a permanent sanctuary. Start with a solid plan, perhaps exploring custom composite decking ideas that fit your unique lifestyle and aesthetic. When you do it right the first time, your outdoor living space will stay flat, safe, and beautiful for decades to come. Have you ever noticed your deck boards ‘walking’ or shifting after a particularly hot summer? Let me know in the comments below!