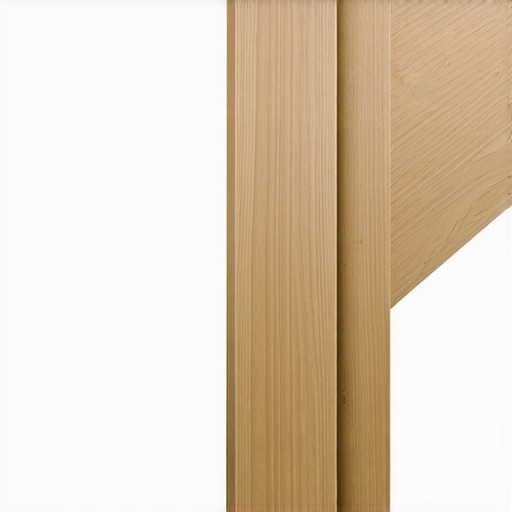
I stood back, wiped the sawdust off my forehead, and felt that sinking sensation in my gut. My new composite deck looked like a million bucks—until you looked at the stairs. Those wrap-around steps were supposed to be the “wow” factor, the grand entrance to my backyard oasis. Instead, they looked like a half-finished puzzle. The beautiful, sleek surface of the boards was constantly interrupted by the yellowish, hairy, pressure-treated “meat” of the stringer cuts. It was an eyesore. I had done the hard part, the math was perfect, the stringers were cut perfectly, but the finish was a total disaster.
Hide Those Ugly Raw Edges Once and for All
It is a common trap for many DIYers and even some pros who are rushing the job. You focus so much on the layout and the structural integrity that you forget about the “jewelry.” When you build wrap-around stairs, those jagged triangular cuts on the stringers are exposed for the whole world to see. If you don’t cover them, your deck looks amateur. I am going to show you how to wrap those stringers with fascia so they match your high-end boards. I learned the hard way that picture framing your deck isn’t just a design choice for the main floor; it is a philosophy that needs to follow you all the way down to the grass. By using a matching fascia or rim joist cover, you can create a seamless transition that makes the stairs look like a solid piece of furniture rather than a construction site. This level of detail is exactly how a skilled deck builder turns a standard backyard into a luxury retreat.
Is This Extra Detail Actually Worth Your Time?
You might think, “Eh, nobody will notice the underside of the stairs.” Trust me, they will. My first big mistake early in my career was trying to use a color-matched stain to hide the cut ends of the pressure-treated lumber. It looked okay for exactly three weeks. Then the wood dried, the stain peeled, and the raw edges stood out like a sore thumb. Beyond the aesthetics, there is a structural reason to cover these cuts. According to the USDA Forest Products Laboratory, end-grain wood can absorb moisture significantly faster than the face of a board, which means those exposed cuts are essentially straws sucking up rainwater. Capping them with a proper fascia board protects the wood from rot and extends the life of your stairs. If you are investing in durable composite decking, you owe it to yourself to make sure the frame lasts just as long as the boards. Have you ever finished a project only to realize one small detail was ruining the whole look? Let me know in the comments if you’ve ever battled with ugly stringer edges.
Measure Twice to Avoid the Sawdust Heartbreak
Before you even pick up the saw, you need to treat your stairs like a three-dimensional puzzle. The biggest mistake I see is people measuring the ‘rise’ and ‘run’ of the stringer and thinking that is the size of the fascia board they need. It isn’t. You have to account for the thickness of the tread and the overhang. I remember a job back in ’18 where I skipped the mitered corners on the stringer wrap. I just butt-jointed the fascia boards because it was Friday and I wanted to go home. By Monday, the homeowner called. Over the weekend, the boards had shrunk, leaving a half-inch gap that looked like a missing tooth. I spent the whole next day ripping it out. Now, I always treat the stairs with the same precision as a kitchen cabinet. Using the best way to hide the end grain of your deck boards ensures that even from the side, the stairs look like a continuous, solid structure.
Treat Your Fascia Like Fine Furniture
When you are cutting the fascia to match the zig-zag of the stringer, think of it as skinning a beast. You aren’t just slapping a board on; you are creating a veneer. Use a scrap piece of your actual fascia material to trace the exact profile of your steps onto the back of your long fascia board. This is where most people fail because they use a standard tape measure instead of a template. If your stringer is slightly off—and let’s be real, wood moves—your pre-calculated math will fail you. Once you have your lines, use a circular saw for the long cuts and a jigsaw for the tight corners. If you’re working with high-end materials, remember the best way to seal the cut ends of composite boards to prevent internal moisture from delaminating the finish later.
The Glue and Screw Method for Lasting Results
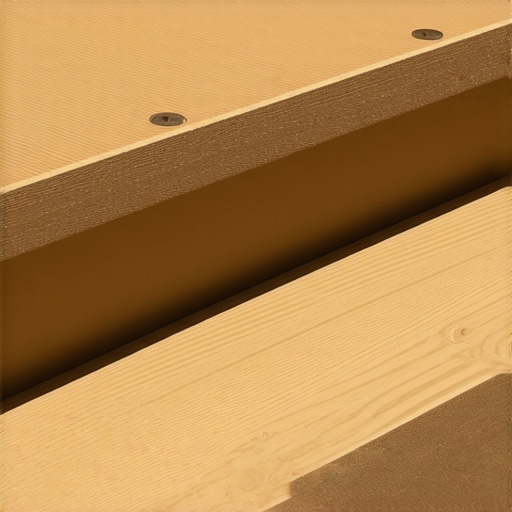
Mechanical fasteners are great, but they aren’t enough when dealing with the expansion and contraction of outdoor materials. To get that ‘skilled deck builder’ look, you need a secondary bond. I use a high-quality exterior construction adhesive on the face of the stringer before I press the fascia into place. This stops the boards from ‘rattling’ or bowing out during a heatwave. When you do go to screw them in, don’t just blast them anywhere. Use a color-matched trim screw and place them in a consistent pattern. If you’ve ever wondered why stair treads need more than just screws to stay quiet, the same logic applies to the fascia—movement leads to noise and eventually to failure. Align your screws so they are hidden by the tread overhang whenever possible to keep the face of the fascia looking clean.
Seal the Ends or Watch the Rot Take Hold
Once the boards are on, you have a hidden enemy: trapped moisture. The gap between your fascia and the pressure-treated stringer is a breeding ground for fungi. This is why I always emphasize how to protect your deck frame from rot for thirty years by using joist tape or a liquid sealer on the top of the stringer cuts before the treads go on. It creates a waterproof umbrella that sheds the rain away from the vulnerable end-grain. Also, be mindful of the temperature when you are doing this final install. Knowing the spacing secret for installing composite decking in winter can save you from a buckled mess come July. If you leave a tight joint when it’s 30 degrees outside, that fascia will have nowhere to go when it hits 90, and it will literally rip the screws out of the wood.
Everyone tells you that building a deck is just a giant LEGO set for adults, but the stairs are where that metaphor dies a quick, painful death. I’ve seen $20,000 decks ruined because the builder ignored the geometry of the stringer. You can have the most beautiful durable composite decking on the market, but if the bones are weak, the whole structure is a ticking time bomb. Most DIYers think that as long as the steps are level, they’re golden. In reality, the most dangerous part of a stair build is the ‘throat’—the narrow part of the wood left behind after you’ve cut out your steps.
Why Do Even Pro-Cut Stringers Sometimes Fail?
The common myth is that adding more screws or a thicker fascia board will compensate for a poorly cut stringer. In my experience, that is a recipe for disaster. According to the International Residential Code (IRC) Section R311.7, you need a minimum of 5 inches of effective depth (the throat) to maintain structural integrity. If you over-cut your lines by even half an inch, you’re creating a stress point. This is exactly why your deck stair stringers are cracking at the throat and causing that unsettling bounce when you walk. I once visited a site where the homeowner had cut the throat down to 3 inches to make the stairs fit a weird landing. Two weeks later, the wood split under the weight of a heavy grill, and the whole flight collapsed. Have you ever fallen into this trap of over-cutting your lumber? Let me know in the comments.
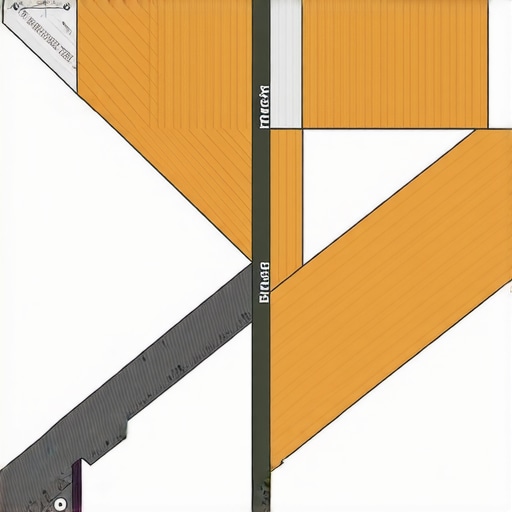
Another nuance that separates a weekend warrior from a skilled deck builder is how they handle lateral stability. People often assume that the weight of the stairs keeps them in place. This is a dangerous lie. Without proper tension ties and specialized hardware, you’ll eventually find a structural reason your stairs feel like they are leaning away from the house. I always recommend using a bracket that makes your deck stairs feel rock-solid at the base. It’s not just about the vertical load; it’s about preventing that side-to-side wobble that slowly unscrews your fasteners over time.
The Truth About Composite Thermal Expansion
Contrarian view: Your ‘gapless’ stairs are actually a failure waiting to happen. In the composite world, everyone wants that tight, indoor-flooring look. But if you are designing safe and stylish stairs for outdoor decks in 2025, you have to respect the plastic content. Composite boards move way more than wood. If you butt your treads tight against the fascia, the summer sun will cause them to buckle. This is why your composite boards are expanding more than expected and popping the screw heads off. I’ve learned to leave a deliberate 1/8-inch ‘breathing gap’ at the ends of my treads. It looks like a shadow line, but it’s actually a safety valve. When you combine this with the stair tread depth that feels safest, you create a staircase that isn’t just a way to reach the lawn, but a permanent, stable piece of engineering that outlasts the house itself.
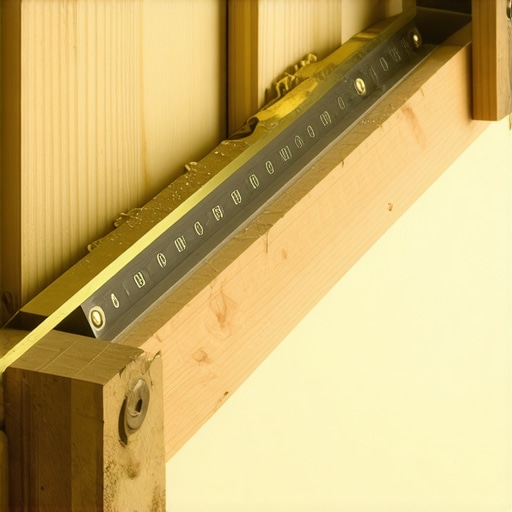
I have seen guys try to eyeball these cuts with a speed square and a prayer, but if you want that professional finish, you need a set of brass stair gauges. These little knobs clamp onto your framing square and lock in your rise and run perfectly. It is the trick to cutting perfect deck stringers on the first try without suffering from the dreaded incremental error. This error happens when every step is off by just a tiny fraction, but by the time you reach the bottom, your last step is two inches too short. I never touch a stringer without my gauges and a high-torque impact driver that won’t strip those expensive color-matched screws. If you are planning a big build, I can’t stress enough why i never start a complex deck project without a digital 3d walkthrough first; it helps you see exactly where the stair landing will meet the yard before you ever waste a single board.
How do I keep these stairs looking brand new for ten years?
Maintenance for a high-end staircase isn’t just about a pressure washer—in fact, you should keep high-pressure water far away from your composite boards to avoid etching the surface. To keep the finish pristine, you need to know how to clean grease stains off composite without ruining the finish, especially if your stairs are near a grilling area. I always keep a bottle of mild dish soap and a soft-bristle brush handy for seasonal cleanups. Also, make it a habit to check your hardware every spring. Even the most reliable bracket that makes your deck stairs feel rock-solid can settle slightly over a winter of heavy snow loads. While the maintenance reality of owning an ipe hardwood deck involves constant oiling and sanding, your composite setup just needs a good rinse and a quick check of the tension ties to ensure the frame remains tight.
The Future of Smart Outdoor Access
Looking ahead to 2025 and beyond, we are moving toward ‘intelligent’ stairs. I am seeing more homeowners ask for integrated motion sensors that trigger the glare-free way to light your deck stairs for safety as soon as your foot hits the first tread. It is no longer just about wood and plastic; it is about safety and automation. According to the Simpson Strong-Tie Deck Connection and Fastening Guide, the industry is shifting toward more robust lateral load requirements, meaning the ‘traditional’ way of simply nailing a staircase to a rim joist is officially a thing of the past. Professional builders are now using structural screws and tension ties as the standard. If you want a staircase that won’t wobble in five years, I challenge you to try the ‘glue and screw’ method: apply a bead of high-quality exterior construction adhesive to every stringer face before you screw down your fascia or treads. It is a five-minute move that completely changes the structural feel of the build. Don’t skip the small stuff—your future self will thank you when those stairs are still silent and sturdy a decade from now.
Small Nuances That Turn Average Stairs into Architecture
Over the years, I’ve realized that building a staircase isn’t about the wood—it’s about managing the environment. Here are the lightbulb moments that changed my approach to innovative stairs solutions for high-end projects:
- Respect the Wood’s Memory: Pressure-treated lumber is often wet when you buy it. If you wrap it in fascia immediately without leaving a breathing gap, that fascia will buckle when the stringer eventually shrinks. I now let my frames sit for a week if possible before the final skinning.
- The Shadow Line Secret: You don’t need a perfectly flush butt joint to look professional. Sometimes a deliberate 1/8-inch reveal looks more ‘architectural’ than a tight joint that eventually opens up into an ugly gap.
- Silencing the Squeak Early: Most people think squeaks come from the treads, but they often come from the fascia rubbing against the stringer. A bead of subfloor adhesive between the two is the simple way to stop deck stairs from squeaking before they even start.
The Specialized Kit Every Stair Builder Needs
I don’t believe in buying every gadget at the hardware store, but for stairs, these three items are my holy trinity. First, a set of Brass Stair Gauges is mandatory; they turn your framing square into a precision jig that ensures every single step is identical. Second, I never start a layout without why a digital designer is the best move for your planning phase. It catches the ‘math fails’ that happen when your yard slopes more than your eyes can see. Finally, invest in Structural Wood Screws (like those from Simpson Strong-Tie). They have the shear strength that old-fashioned lag bolts lack, and they drive in without the need for frustrating pre-drilling.
Your Staircase is the Gateway to Better Outdoor Living
Don’t let the complexity of stringers and fascia scare you away from elevate your home top stairs designs. When you take the time to wrap those raw edges and secure your frame with the ‘glue and screw’ method, you aren’t just building a way to get to the grass—you’re building a lasting first impression. This level of care is at the heart of all deck builder insights: the difference between a project and a masterpiece is always found in the last 5% of the work. Grab your square, take your time with those miter cuts, and create a set of stairs that feels as solid as the house itself. Have you ever had a fascia board pop off or buckle after a hot summer? Let me know your stair-building horror stories in the comments below!