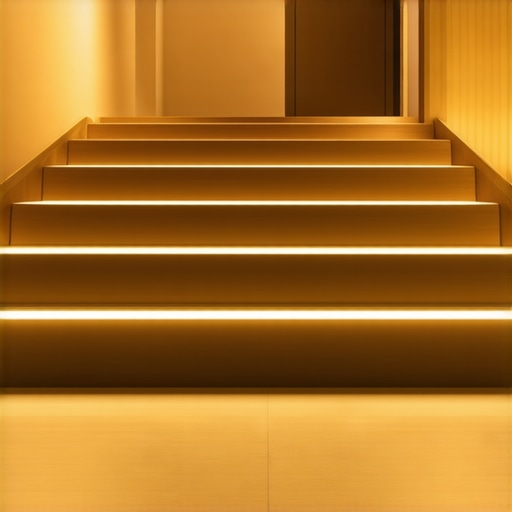
The grill was sizzling, the stars were out, and my confidence was at an all-time high as I headed down to the yard with a full tray of ribs. Then, my heel caught nothing but air. I didn’t fall—not exactly—but I did a frantic, limb-flailing dance that ended with BBQ sauce on my shoes and a very bruised ego. The culprit wasn’t a loose board or a slippery surface; it was the massive floodlight I’d installed right above the back door. It was so bright that it washed out the edges of the steps, leaving the actual treads in a deceptive, pitch-black shadow. I had spent weeks maximizing my outdoor living space, yet I had accidentally turned my stairs into a nocturnal obstacle course. It was a visceral realization: light doesn’t always equal sight.
Lighting That Guides Instead of Blinds
Most of us assume that more light automatically equals more safety. It’s a logical thought, right? If you can see the sun, you can see the stairs. But at night, our eyes work differently. High-intensity light sources create what experts call disability glare, which actually reduces your ability to see contrast and depth. When I first started as a deck builder, I made the rookie mistake of thinking one big, powerful beam was the safest choice. I couldn’t have been more wrong. The secret to safe outdoor deck access isn’t about the volume of light; it’s about the direction. You want to illuminate the path, not the person walking it. By focusing light downward onto the tread, you maintain your night vision and clearly define where one step ends and the next begins. This approach ensures that you are designing safe and stylish stairs that look as good as they function.
Is professional lighting actually worth the investment?
I get it—adding wiring and individual fixtures to every riser seems like a lot of work when you could just flip on the porch light. But have you ever walked out onto your deck and felt like you were stepping into a black hole because your eyes couldn’t adjust to the harsh shadows? That is exactly what we are going to fix today. We’ll dive into the glare-free way to light your deck stairs so you can host dinners without worrying about guests misjudging a step. According to the American Lighting Association, effective outdoor lighting should provide enough illumination to navigate safely without being so bright that it obscures the surrounding landscape or causes eye strain. We are aiming for a soft, inviting glow that treats stairs as key elements in outdoor living, rather than a hidden danger. Have you ever had a near-miss on your own deck stairs after the sun went down? Let’s make sure that was the last time you ever have to second-guess where your feet are landing.
Put the Light Exactly Where Your Feet Land
The secret to lighting that works is placing the source as close to the tread as possible. In my early days, I used to think mounting a light on the post next to the stairs was enough, but that often creates a ‘shadow box’ effect where the post casts a dark line right across the very step you are trying to find. Now, I exclusively recommend riser lights or ‘eyebrow’ fixtures. These small, hooded LEDs sit in the vertical part of the step and cast a pool of light directly onto the flat surface below. This is particularly crucial when you consider the stair tread depth that feels safest for kids and the elderly; if the light doesn’t hit the full width of that tread, the depth perception is lost, and the safety benefit vanishes. I once worked on a massive wrap-around staircase in Park City where the homeowner wanted it to look ‘grand.’ I over-installed, putting a high-output LED on every single riser. When we turned it on at dusk, it looked less like a home and more like a runway at LAX. It was blinding. I ended up swapping them for lower-wattage bulbs and skipping every other riser to create a rhythmic, soft glow that felt much more natural. 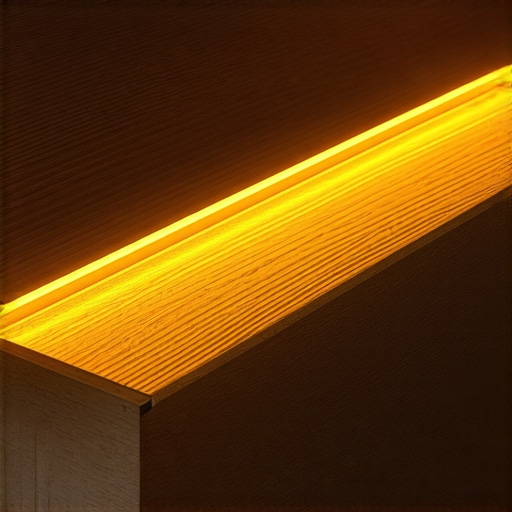
Make the Installation Rock Solid
Before you even pull a wire, you need to ensure the stairs themselves aren’t going to shift and snap your connections. I always check the structural integrity first, often using the bracket that makes your deck stairs feel rock solid to prevent any racking. If the stringers move, your light housings will eventually pop out of their holes. Once the frame is tight, focus on the path of the wire. The goal is to keep the electronics protected from the elements and the weed-whacker.
Hide the Wires to Protect the Connection
Nothing ruins the look of a high-end deck faster than a spaghetti mess of black wires hanging under the joists. Just like learning how to wire a deck for sound without leaving visible cables, you want to route your lighting through the ‘hollow’ spaces of the deck frame. I prefer to run my main trunk line along the inside of the rim joist, then branch off to each individual step. When you are drilling through the stringers, keep the holes small and centered to maintain structural strength. Knowing how to run wire for deck lights without drilling huge holes is a skill that separates the pros from the amateurs. It keeps the wood strong and the wires tucked away where neither squirrels nor snow can reach them.
Pick a Transformer That Can Handle the Load
Your lighting system is only as reliable as its power source. Most DIYers grab the cheapest plastic transformer they can find, only to have it burn out after the first heavy rain. I’ve learned the hard way that spending the extra money on a stainless steel, multi-tap transformer pays for itself in avoided service calls. When you are figuring out how to choose the right deck lighting transformer, always calculate your total wattage and then add a 20% cushion. This prevents the unit from running hot and ensures that the light at the very end of the run is just as bright as the one closest to the power source. This consistency is the foundation of the glare-free way to light your deck stairs for safety. By managing the voltage properly, you avoid that flickering or dimming that makes stairs look unreliable and spooky.Most homeowners—and even some contractors—believe that if you use the most expensive, densest composite boards, your stairs will naturally be the strongest. But in my years as a professional deck builder, I’ve seen $10,000 staircases that feel like walking on a trampoline. The density of the board doesn’t matter if your sub-structure isn’t rigid. Everyone prioritizes the ‘pretty’ side of choosing the right composite decking, but the real nuance lies in the physics of the stringer. Specifically, the structural reason your stairs feel like they are leaning usually has nothing to do with the wood itself and everything to do with lateral load bracing.
Why Thicker Boards Won’t Save Your Wobbly Stairs
One common ‘trap’ is ignoring thermal expansion during the stair install. Composite is essentially a giant thermometer. If you pin those treads down too tight without a plan for movement, they will eventually bow upward or, worse, shear your fasteners. I’ve seen beautiful installs ruined because the builder didn’t understand why your composite boards are expanding more than expected. You have to treat the stairs like a living, breathing part of the outdoor living space.
How do you stop that annoying stair bounce without rebuilding the frame?
The secret isn’t more screws; it’s blocking. According to the International Residential Code (IRC) R311.7, stair treads must support a concentrated load of 300 pounds. To meet this and exceed it for that rock-solid feel, I always use a technique where we always double block the middle of a long stair run for stability. This prevents the stringers from ‘rolling’ or spreading under weight. It’s the difference between a staircase that lasts five years and one that stays silent for thirty. 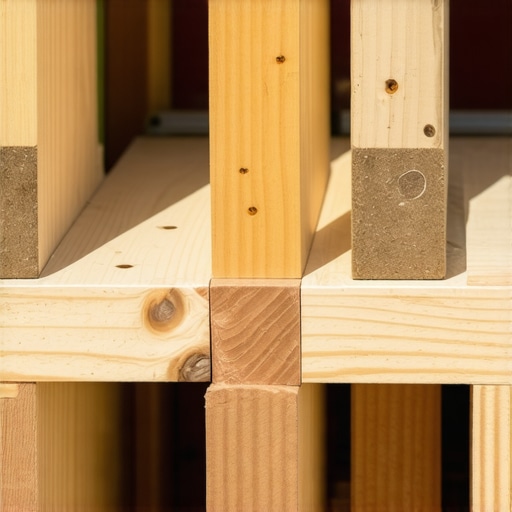
Don’t Let Thermal Expansion Ruin Your Treads
If you’ve ever noticed a persistent noise, it’s likely because of a friction point. I’ve found the simple way to stop deck stairs from squeaking when you step is to apply a high-quality sub-floor adhesive between the stringer and the tread before fastening. This creates a gasket that absorbs the micro-movements of the composite. It’s a tiny detail, but why stair treads need more than just screws to stay quiet is a lesson usually only learned after a client calls to complain about a ‘ghost’ in their steps. Beyond the frame, another mistake is the transition. I often see people run composite right into the dirt. Even though it’s ‘low maintenance,’ the best way to transition from a composite deck to a green lawn involves a landing pad to prevent moisture from wicking into the stringer ends. This is the hidden nuance of stairs as key elements in outdoor living—they aren’t just a path; they are a bridge between two different environments. Have you ever fallen into this trap of over-fastening or ignoring the frame? Let me know in the comments.
Ditch the Lag Bolts for Structural Screws
I used to spend hours pre-drilling for massive lag bolts, sweating over whether they’d actually grab the wood. Now, I exclusively use structural screws. Understanding the reason we use structural screws instead of old-fashioned lag bolts comes down to shear strength and installation speed. I specifically reach for Simpson Strong-Tie SDWS screws because they don’t require pre-drilling and the coating is specifically designed for ACQ-treated lumber. This is a game-changer when you are a professional deck builder trying to hit a deadline without sacrificing safety. When you are securing a ledger or a heavy stringer, why I use structural screws instead of lag bolts for ledgers becomes obvious the moment you feel the screw pull the two members together with zero effort.
Can your composite stairs actually last thirty years?
People buy composite because it is ‘maintenance-free,’ but the truth about maintenance-free decking claims is that you still have to deal with nature’s elements. If you’ve got kids or host a lot of BBQs, you’re eventually going to get stains. I’ve found that how to clean grease stains off composite without ruining the finish involves a very specific mix of Dawn dish soap and warm water—never a pressure washer on high blast. According to the North American Deck and Railing Association (NADRA), annual inspections are the only way to catch ledger board decay before it becomes a catastrophe. You also need to know the best way to clean bird droppings off dark brown composite boards because the acidity can actually etch into the cap layer if left in the baking sun.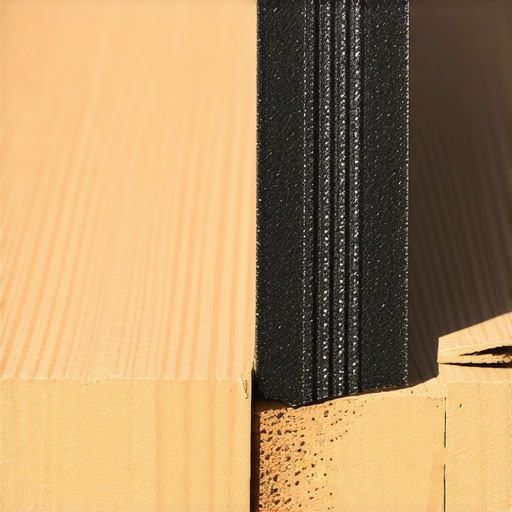
Stop Rot Before it Starts with Joist Tape
Looking ahead to 2025 and beyond, I see a shift toward ‘smart decks.’ We are already seeing composite decking trends 2025 focusing on heat-reflective technology and integrated sensors. For now, the most advanced thing you can do for your project is focus on how to protect your deck frame from rot for thirty years using butyl joist tape. It’s a small $50 investment that saves a $20,000 deck from internal decay. My advice? Go grab a roll of butyl tape for your next stair repair—it’s the single best thing you can do for longevity. By sealing the top of those stringers, you ensure that the wood stays dry even when moisture gets trapped under the composite treads. It’s these tiny, unseen details that separate a ‘nice deck’ from a legacy structure.
The Hardest Lessons I Learned on the Job
Through years of being a deck builder, I’ve realized that the most expensive materials cannot fix a poor foundation. First, lighting is about human psychology, not just wattage; if people can’t see the depth of the tread, they will never feel truly safe. Second, always account for the ‘living’ nature of composite materials. Even though it is synthetic, why your composite boards are expanding more than expected is usually due to temperature swings you didn’t plan for. Lastly, I learned that a squeaky stair is a sign of movement, and movement eventually leads to failure. Using the reason we use structural screws instead of old-fashioned lag bolts ensures that the frame stays tight for decades, not just seasons. #IMAGE_PLACEHOLDER_E#
My Personal Checklist for a Professional Finish
If you are tackling this yourself, I highly recommend a few specific tools and techniques that have saved my reputation on dozens of projects. I never start a build without how to protect your deck frame from rot for thirty years using high-quality butyl joist tape. For the aesthetics, why picture framing your deck is more than just a style choice—it actually protects those vulnerable cut ends of the composite boards from moisture. For the planning phase, check out deck builder insights designing your dream outdoor space to visualize the flow before you ever pick up a saw. These resources aren’t just ‘good to have’; they are the difference between a standard DIY project and a professional-grade masterpiece.
Start Building Your Safe Outdoor Haven
Building the perfect set of stairs isn’t just about following a code; it’s about creating a safe, inviting entrance to your outdoor living area. Whether you are upgrading your lighting or reinforcing your frame with structural screws, every small detail contributes to a space where you can relax without a second thought about safety. If you ever feel stuck or need a professional set of eyes on a complex design, don’t hesitate to reach out to a pro or contact us for guidance. Your home deserves a transition that is as sturdy as it is beautiful. Have you ever had a set of stairs that felt ‘bouncy’ or made a strange noise in the summer heat? Let me know in the comments below!