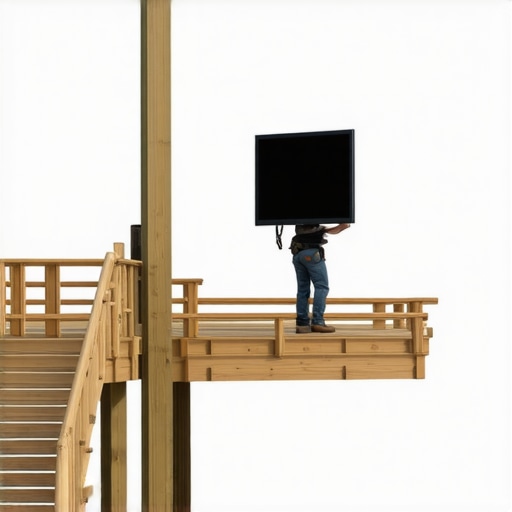
It was a blazing summer afternoon when I finally decided to attach my new outdoor TV to the deck post—something I’d been procrastinating on for weeks. I thought, “How hard can it be?” I watched a few YouTube videos, bought the necessary hardware, and dove in. An hour later, I was staring at a wobbling, slightly crooked TV that seemed ready to fall at the slightest breeze. That lightbulb moment hit me hard: mounting a TV on a deck post isn’t just about nailing a bracket and calling it a day.
Why Properly Mounting Your TV Matters
Outdoor living spaces are all about creating that seamless transition between indoors and out. But safety should never be sacrificed for style—or convenience. A poorly mounted TV isn’t just a matter of an unsteady picture—it’s a potential hazard, especially when outdoor elements like wind or a curious pet are thrown into the mix. I learned this the hard way, and I’m here to tell you that doing it right from the start makes all the difference.
Is It Really That Critical to Focus on Safety?
Absolutely. Early on, I made the mistake of underestimating the stress a deck post faces—like when a gust of wind shakes the entire structure or if someone accidentally bumps the TV. The stakes are higher than you think. A secure mount ensures your outdoor entertainment system remains safe and functional, even during a storm or a lively backyard gathering. Trust me, I wish I had known this before risking the safety of my family and guests. For more insights on outdoor safety, check out the guide on designing your dream outdoor space.
Now, I’m committed to helping you understand the best practices for mounting a TV to a deck post—so your outdoor oasis can be enjoyed safely and stylishly. Ready to banish those wobbles and worries? Let’s dive into the key steps and common pitfalls to avoid.
Gather Your Tools and Materials
Before starting, ensure you have all necessary equipment: a weatherproof TV mount rated for outdoor use, suitable lag bolts or anchors, a drill with masonry or wood bits, a level, measuring tape, and a pencil. Having these on hand prevents interruptions and ensures precise installation.
Use a high-quality weatherproof mount
Choose a mount specifically designed for outdoor environments, resistant to moisture and UV rays. This prevents corrosion and maintains stability over time, reducing the risk of future accidents. I once used a standard indoor mount outdoors, and within a year, it rusted and loosened—making me wish I had invested in a proper outdoor-rated product.
Determine the Optimal Position
Measure and mark the desired location on the deck post, considering sightlines, shade, and cable access. Use a level to ensure your markings are even—an uneven mount can cause your TV to wobble and create a distracting viewing experience. I once mounted my TV a bit crooked, leading to a constant headache trying to adjust the picture—so double-checking measurements is crucial.
Ensure the deck post can support the weight
Assess the post’s structural integrity—weak or decayed wood can’t support the mount and TV. Reinforce if necessary, or choose a different post. I replaced a rotting section of my post with concrete anchors, which provided a sturdy base and peace of mind.
Pre-Drill and Attach the Mount
Mark the drill points on the post using the mount template, then pre-drill holes slightly smaller than the lag bolts. This prevents the wood from splitting and makes installing easier. Insert the bolts through the mount into the pre-drilled holes, tightening firmly with a wrench. Remember, over-tightening can damage the post or strip the threads—tighten just enough for a secure fit.
Use expansion anchors for added security
If attaching to concrete or brick beneath the post, use appropriate expansion anchors to ensure the mount stays firm against the elements. I fumbled initially by using the wrong anchors, which loosened over time, but switching to proper concrete anchors solved the issue.
Mount the TV and Final Checks
Attach the TV to the mount following the manufacturer’s instructions, ensuring all brackets are tight and locked. Use a level to verify the TV is perfectly vertical. Connect the power and cables, then test the setup—testing under wind conditions helps confirm stability. I once failed to test during a breeze, only to find my TV wobbling as the wind picked up, prompting me to add additional braces.
Secure the cables against weather
Use weatherproof conduits and securing clips to prevent cables from becoming loose or damaged by outdoor elements. Proper cable management prolongs the life of your setup and maintains a clean look. This step is often overlooked, yet it’s crucial for durability and safety.
Many homeowners assume that choosing the right materials is all it takes to create a stunning outdoor space, but true mastery lies in understanding nuanced details that often get overlooked. One prevalent myth is that all composite decking is equally durable; however, experts emphasize the importance of selecting boards with proper UV inhibitors and moisture resistance for longevity—see our guide on choosing the right composite decking. A common mistake in deck stairs is ignoring the significance of proper tread depth and riser height for safety, especially for elderly or young users; this advanced detail can dramatically reduce trip hazards, as discussed in outdoor stairs safety. Many think that simply framing a deck evenly is enough, but miscalculating joist spacing can lead to unintended flex or bounce, compromising appearance and structural integrity. According to a study by the American Wood Council, tighter joist spacing enhances the load capacity of composite decks, which is crucial for heavy outdoor furniture or hot tubs—more tips at transforming your outdoor space. Overlooked details also include proper flashing and waterproofing around stairs and deck junctions, which prevent hidden rot and costly repairs later. An often underestimated nuance is ensuring that the deck’s drainage slopes away from the house, avoiding water pooling that deteriorates framing over time—get more insights into water drainage. Here’s a question for the discerning DIYer: How do advanced flashing techniques like peel-and-stick membrane installations improve long-term waterproofing? Incorporating such strategies can significantly extend your deck’s lifespan, aligning with expert advice on seamless outdoor transitions. Remember, the devil is in the details—skipping rigorous planning and execution nuances can result in safety hazards or costly renovations. Have you ever fallen into this trap? Let me know in the comments!”}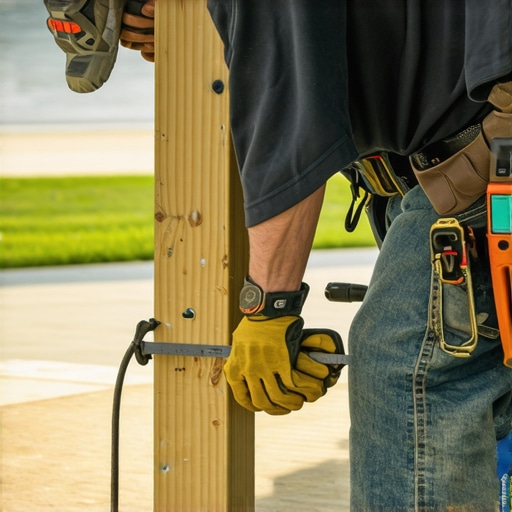 }Maintaining your deck, stairs, and composite decking over time requires more than just routine inspections. Investing in the right tools and adopting precise techniques can significantly extend the lifespan and safety of your outdoor living area. One tool I personally swear by is a digital moisture meter. It helps me identify areas where water might be seeping into the wood or composite materials, preventing rot before visible signs appear. This proactive approach aligns with expert advice emphasizing moisture management, such as detailed in our guide on deck maintenance. Using a high-quality moisture meter, like the Protimeter Surveymaster, allows me to scan inaccessible areas under the deck or around joints, providing peace of mind and helping me decide when to re-seal or reinforce sections. Additionally, I recommend a cordless electric sander with variable speed settings. It’s invaluable for smoothing out minor surface imperfections on composite boards or sanding down splinters that develop over time. The trick is to use a fine-grit disc (around 220 grit) to avoid damaging the surface finish, especially when dealing with capped composite materials. For long-term preservation, applying a weatherproofing sealant formulated specifically for outdoor wood or composite surfaces makes a tangible difference. I prefer products like DAP 2552, which provides UV protection and water resistance without compromising the aesthetic. Remember, regular cleaning is key; I use a pressure washer with a fan tip and adjust the pressure to prevent gouging the surface. For stubborn stains or mold, I rely on a solution of diluted oxygen bleach, which is gentle yet effective. Predicting future trends, I believe smart outdoor maintenance tools—integrating IoT sensors that monitor moisture, temperature, and weather conditions—will become standard, enabling homeowners to automate routine checks and receive alerts on their smartphones. Want to make your maintenance more efficient? Start by integrating a moisture meter into your seasonal checks; it’s a small step but can save you from costly repairs down the line.
How do I maintain my outdoor surfaces to ensure longevity?
Regularly inspect and clean your deck and stairs, avoid neglecting signs of wear, and use appropriate weatherproofing products. Keep an eye on high-traffic areas and reapply sealants as recommended by the manufacturer. Incorporating advanced tools like moisture meters not only helps in early detection of issues but also optimizes your maintenance routine. For comprehensive guidance, explore our insights into designing and maintaining your outdoor space.
Lessons I Wish I Had Learned Earlier About Outdoor Deck Mastery
One of the biggest lightbulb moments was realizing that every detail, from the joist spacing to weatherproofing techniques, significantly impacts the longevity and safety of an outdoor deck. Skipping proper drainage slopes or overlooking the importance of deck flashing can lead to costly repairs down the line. I learned that taking the time to understand the nuanced differences in materials—like the UV inhibitors in composite boards—can mean the difference between a beautiful deck that lasts and one that rots away prematurely. My biggest regret was rushing the mounting process for my outdoor TV; a sturdy, weatherproof mount and precise measurements saved me from wobbling wires and potential hazards. And perhaps most importantly, I discovered that investing in quality tools like moisture meters and specialized sealants isn’t just optional—it’s essential to keeping your outdoor space safe and resilient.
Tools and Resources That Have Transformed My Deck Building Journey
My go-to toolkit now includes a digital moisture meter such as the Protimeter Surveymaster, which helps me detect hidden water infiltration before it causes damage. For sanding and finishing, a cordless variable-speed sander with fine-grit discs ensures a smooth, damage-free surface. When it comes to choosing materials, I rely on expert-reviewed guides on selecting durable composite decking and creating seamless transitions in outdoor living. For maintenance tips and trend insights, I follow industry-leading blogs and consult trusted brands that prioritize weather resistance and safety, ensuring my outdoor projects stand the test of time.
Keep Building With Confidence and Creativity
Your outdoor space has the potential to be a sanctuary of beauty and safety—if you pay attention to the tiny details that make a big difference. Every project is a chance to learn, adapt, and improve your skills. Whether you’re installing a new deck, upgrading your stairs, or simply maintaining what you already have, remember that the joy of outdoor living often lies in the craft of creation. Don’t hesitate to experiment with new materials or design ideas; innovation begins with a willingness to learn from each step. Embark on your next project with confidence, and turn your outdoor area into a stunning, secure retreat everyone will enjoy for years to come.