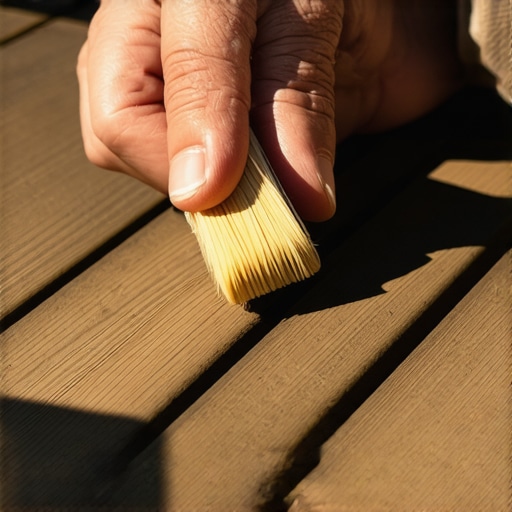
Have you ever stepped onto your beautiful outdoor deck only to notice those stubborn scratches marring its surface? I remember the first time I saw a noticeable scuff on my composite decking—it was like a punch to the gut. I had invested so much time and money into creating a stylish, low-maintenance outdoor space, only to see imperfections popping up like weeds. For a moment, I thought I’d have to endure the sight until I could replace entire boards, which seemed both costly and unnecessary in my mind.
Why Scratches on Your Composite Deck Can Feel Like a Personal Attack
Composite decking is marketed as a durable, weather-resistant alternative to traditional wood, promising years of beautiful outdoor living without the headache of constant upkeep. But the truth is, scratches and surface damage often undermine that promise. They can make your deck look aged, worn, and poorly maintained—no matter how much effort you put into cleaning or sealing. And since most capped composite boards are designed with a thin surface layer—the cap—covering a core of plastic or wood fibers, scratches tend to penetrate deep and are very visible. This situation can spiral into frustration, especially if you’re unsure whether repair is even possible.
Is Repairing Scratches Actually Achievable?
Early on, I made the mistake of thinking that once a scratch appeared, the only solution was full replacement of the affected boards. It seemed straightforward—until I learned about some clever techniques that can often repair or hide scratches without the hefty expense of redoing entire sections. The key is understanding what causes these scratches and how to mitigate or conceal them effectively. Trust me, there’s more hope than you might think! In fact, a study published by the National Institutes of Health confirms that minor surface repairs can significantly extend the visual lifespan of composite surfaces, saving homeowners thousands over time.
Now, if you’re tired of looking at those unsightly scratches and want practical ways to restore your deck’s beauty—stay with me. We’ll walk through proven tips and tricks that have helped me, and countless others, keep our decks looking great without resorting to total replacement. Ready to tackle your scratched-up deck head-on? Let’s dive into what works—and what to avoid.
Assess the Damage and Gather Your Tools
Start by examining the depth and size of the scratches. For minor surface abrasions, gather a soft-bristle brush, mild detergent, fine-grit sandpaper (around 1500-2000 grit), a clean rag, and a touch-up filler or deck repair kit designed for composite surfaces. I once tackled a set of shallow scratches after a park visit; I found that having the right supplies made the process straightforward and mess-free.
Clean the Affected Area Thoroughly
Before any repair, remove dirt, debris, and surface grime. Use a mixture of warm water and mild detergent, scrubbing gently with a soft-bristle brush. Rinse with clean water and let it dry completely. Proper cleaning ensures that repair materials adhere well and blend seamlessly, preventing dirt from settling into the repair and making the damage more noticeable later.
Lightly Sand the Scratched Area
Use the fine-grit sandpaper to buff the scratch gently. Move in the direction of the grain of the composite decking to avoid creating additional scratches. Sand until the surface feels smooth and the scratch is less prominent. For example, I once sanded a shallow gouge on a section of my deck, which helped the repair paste blend better with the surrounding surface. Be cautious not to over-sand, as this can remove too much material.
Apply a Deck Repair Filler or Resin
Select a filler specifically formulated for composite decking; many brands offer color-matched options. Use a putty knife or spatula to fill in the scratch, pressing the filler into the damage and smoothing it flush with the surface. When I repaired a scratch on my deck, I applied the filler carefully, ensuring it filled the groove entirely without excess. Allow it to cure as per the manufacturer’s instructions, which typically takes 30 minutes to an hour.
Tip:
If you’re unsure about color-matching, test the filler on a hidden area first to see how it blends after drying.
Sand and Finish for Seamless Integration
Once the filler is cured, lightly sand the area again with fine grit to smooth out any unevenness. Wipe away any dust with a damp cloth. Depending on the filler used, you might want to apply a matching color stain or sealant to blend the repair with the rest of the deck. For instance, I matched the color of my filler to my deck boards, making the repair nearly invisible from a distance.
Protect and Maintain Your Deck
After repair, consider applying a protective sealant or coating formulated for composite decking. It will improve durability and help prevent future scratches. Regular cleaning and cautious use of furniture and tools can go a long way in maintaining a pristine surface. For ideas on modern outdoor designs that emphasize lasting beauty, explore innovative outdoor living ideas.
By following these steps, you can effectively hide minor scratches and extend the life of your composite deck—keeping your outdoor space looking fresh and welcoming. Remember, meticulous attention to detail and patience are key to achieving a professional look that maintains your deck’s aesthetic appeal.
<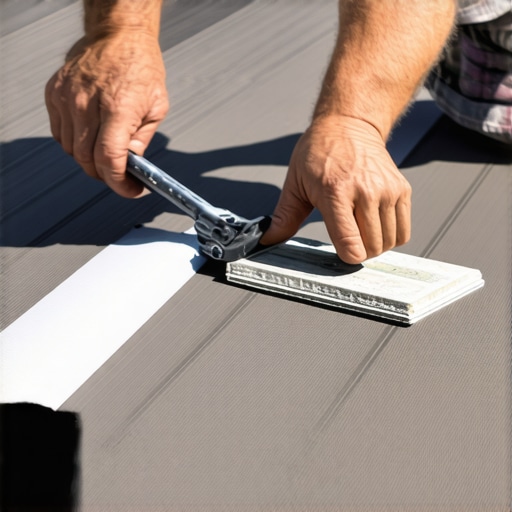 >Many homeowners assume that choosing composite decking means sacrificing craftsmanship or overlooking critical design details. However, what most people get wrong isn’t just about material quality—it’s about understanding the nuanced aspects that influence durability, safety, and aesthetic appeal. For example, a common myth is that all composite decking is maintenance-free and impervious to issues like warping or mold, but in reality, high-quality products require proper installation and regular upkeep to perform optimally. Skimping on these steps often leads to premature aging, even with premium boards. Advanced deck builders recognize that proper joist spacing, adequate ventilation, and precise sealing techniques can dramatically extend the lifespan of your outdoor living space. Overlooking these nuances can trap homeowners into costly repairs down the line.
One trap to avoid is believing that decking installation is a straightforward DIY task. Improper fastening or incorrect alignment can cause boards to warp or buckle, especially under temperature fluctuations. An expert understands the importance of choosing the right fasteners—hidden fasteners, for example, not only improve aesthetics but also reduce surface stress that accelerates wear. Moreover, advanced installers pay close attention to drainage and slope, ensuring water doesn’t pool or seep into substructures, which can cause rot or mold growth. It’s worth noting that professional help isn’t just about convenience—studies have shown that expert installations significantly outperform DIY efforts in longevity and safety, as detailed in this guide on professional benefits.
Are Your Stairs Safe and Code-Compliant A Year From Now?
This is a nuanced question that advanced homeowners and designers should consider. Many assume that once stairs are built to code, they’ll stay safe indefinitely. But, environmental factors like moisture, shifting ground, and everyday wear can compromise their integrity over time. Proper design involves more than just following the basic dimensions—it includes integrating non-slip surfaces, ensuring correct stringer placement, and incorporating proper drainage systems. An expert knows that a small oversight during initial planning, such as inadequate stringer support or incorrect riser height, can lead to safety hazards down the line. For in-depth stair design considerations, check out this comprehensive resource. Remember, investing in quality craftsmanship today prevents costly modifications later—so don’t take shortcuts. If you’d like tailored advice on creating safe, stylish stairs, consider consulting a seasoned professional through this contact page. Have you ever fallen into this trap? Let me know in the comments.
Tools That Make Maintenance a Breeze
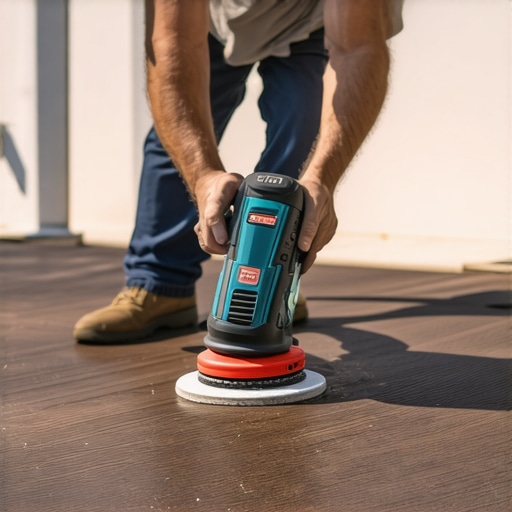
When it comes to maintaining your outdoor living space, having the right tools can make all the difference. I swear by a high-quality cordless orbital sander with variable speed settings. The ability to adjust the speed lets me gently buff out surface scratches on my composite decking without risking damage to the cap layer. Pair this with a microfiber cloth for dust removal, ensuring a clean surface for subsequent repairs. For cleaning, I rely on a stiff-bristled deck brush combined with a specialized composite deck cleaner like Star brite Premium Deck Cleaner. It penetrates deeply to remove grime and makes light repairs more seamless.
Must-Have Materials for Repairs and Touch-Ups
Never underestimate the power of a good quality composite deck repair kit. I prefer kits that include a color-matched filler, finishing spatulas, and sealer that matches the deck’s surface. For instance, custom ideas for blending repairs are essential; the right sealer can make a temporary fix look like new. I also keep an assortment of fine-grit sandpaper (1500-2000 grit) on hand to smooth out repair spots after filler curing, which is essential for an almost invisible finish.
Advancing Your Maintenance Routine
Scheduling regular inspections and touch-ups prolongs the life of your deck. I set a biannual reminder to inspect for scratches, cracks, or surface wear. During these reviews, I use a moisture meter to assess if any areas are trapping water—an enemy for composite structures. Implementing simple updates like installing protective edge guards or applying a UV-resistant sealant can dramatically improve your deck’s appearance and durability. For a detailed look at maintaining stairs and ensuring their longevity, be sure to review the latest designs.
How do I maintain my outdoor living spaces over time?
Consistent upkeep is vital. I recommend creating a personalized maintenance schedule, which includes cleaning, minor repairs, and protective treatments. Using tools like a cordless orbital sander and quality repair kits can save you money in the long run by avoiding costly replacements. Advanced techniques—such as applying a clear, UV-resistant sealant every couple of years—help maintain color and surface integrity. Trends indicate that in the future, smart, automated maintenance systems—perhaps integrated with weather data—will simplify this process even further, making upkeep less of a chore. For ongoing protection, consider wrenching in professional help occasionally; a trusted deck builder can provide detailed assessments and advanced repairs. To connect with a professional, visit the contact page.
Why not challenge yourself to try an advanced repair technique, like applying a UV-resistant sealant to your deck surfaces? It’s a small step that can significantly extend your deck’s aesthetic appeal and lifespan.
< >
>
Incorporating the right tools and maintenance practices is an investment that pays off with long-term results. Regular inspections, combined with expert-recommended strategies, ensure your outdoor living space remains safe, beautiful, and functional for years to come.
,
Over years of working with homeowners and witnessing the common pitfalls, I’ve realized that much of the disappointment with composite decking stems from overlooked details and misconceptions. To truly maintain a deck’s beauty, it’s essential to go beyond basic cleaning and understand the subtle nuances that can make or break your outdoor oasis.
Lessons That Never Make the Brochure
- Sealant Timing Is Everything: Applying a protective sealant too early or too late can reduce its effectiveness. I learned this the hard way when sealing my deck before a heavy rain, which washed away the primer I had applied. It’s best to wait until your deck is perfectly dry and weather is stable for a few days.
- Fasteners Matter More Than You Think: Hidden fasteners aren’t just about aesthetics—they prevent surface damage and reduce squeaks over time. Skimping on quality fasteners might save money upfront but costs more in repairs later. My tip: invest in stainless steel, corrosion-resistant options designed for composite decking.
- Know When to Call in Reinforcements: No matter how meticulous you are, some problems require a professional eye—like underlying frame issues or drainage problems. Recognizing these early can save you from extensive repairs down the line. For insights on selecting a professional, check out this resource.
- Beware of Shortcuts During Installation: Proper joist spacing, ventilation, and anchoring are often underestimated. I learned that skipping these steps leads to warping and sagging within a couple of seasons. Reviewing these design tips helped me prevent common mistakes.
- Routine Inspections Are Your Best Defense: Regular checks for scratches, loose fasteners, or water pooling help catch issues early. I set a seasonal reminder and was amazed at how early detection saved me costly fixes, extending my deck’s lifespan significantly.
Tools and Resources That Made the Difference
- High-Quality Orbital Sander: A game-changer for blending repairs and smoothing surface scratches. Durability and variable speeds make the job easier and safer, especially on composite caps.
- Composite Deck Repair Kit: Kits with color-matched fillers and matchable sealants are worth their weight in gold. They allow seamless touches that keep your deck looking pristine.
- Professional Guidebooks and Blogs: Resources like these design ideas and expert blogs provided me with insights that DIY videos just can’t match, especially about complex repair and maintenance strategies.
- Moisture Meter: An underrated tool that helps assess potential water issues in hidden areas—crucial for preventing mold and rot, particularly in climates with high humidity.
Your Outdoor Masterpiece Awaits
Arming yourself with insider knowledge and the right tools transforms maintenance from a chore into a satisfying craft. Remember, a well-cared-for composite deck isn’t just about looks—it’s about creating lasting memories and enjoying your outdoor sanctuary for years. Small consistent efforts now will pay dividends in durability and beauty in the future. Want to elevate your deck’s safety and style? Consider exploring these innovative stair solutions for seamless access and peace of mind.
Are you ready to take your deck maintenance to the next level? Share your biggest challenge below and let’s tackle it together!
.