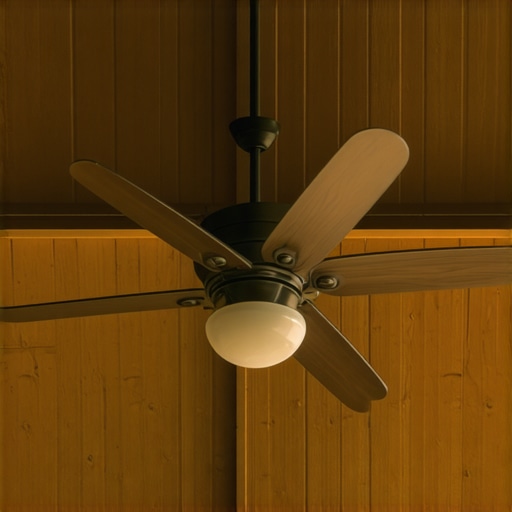
I remember the first time I sat out on my new deck with a cold drink, flipped the switch on my brand-new ceiling fan, and watched in horror as the whole thing started bucking like a bronco. It wasn’t just a little vibration; the downrod was oscillating so hard I thought the blades were going to clip the ceiling. That rhythmic click-clack-thump didn’t just ruin the peace—it felt like a personal failure. I had spent weeks researching innovative outdoor living ideas with composite decking, but I hadn’t spent five minutes thinking about the physics of a rotating motor hanging from a wooden beam. Experience is a brutal teacher, but it is effective. If you are tired of your outdoor retreat sounding like a helicopter landing pad, you are in the right place. We are going to fix that wobble once and for all.
Get That Breeze Without the Constant Rattling
Outdoor living should be about relaxation, not troubleshooting. When we talk about deck builder insights designing your dream outdoor space, we usually focus on the floor or the railings, but the ceiling is where the comfort happens. A ceiling fan is essential for those humid afternoons, but a wobbling fan is more than just an eyesore; it is a mechanical hazard that puts unnecessary stress on your mounting hardware and electrical connections. Just as you might wonder about the structural reason your deck feels bouncy, a shaky fan usually points to a lack of rigidity at the source. Today, I am going to show you how to create a mount that is so solid you could practically hang a hammock from it. We will cover the specific blocking techniques and the hardware that separates the amateurs from the pros. Have you ever had a fan shake so hard you were afraid to sit under it? You are definitely not alone.
Does Every Outdoor Fan Eventually Start to Shake?
Most people believe a little wobble is just the nature of the beast, especially outside where wind and humidity play a role. I used to be one of them. My biggest mistake early on was thinking a standard plastic electrical box screwed into a piece of trim was ‘good enough.’ It wasn’t. According to the Energy Star guidelines, a ceiling fan must be mounted to an outlet box marked ‘Acceptable for Fan Support’ to handle the dynamic loads of a spinning motor. If your mount flexes even a millimeter, that motion is amplified at the tips of the blades. To get this right, you need to treat the fan mount like a structural component of the deck itself. Before you even think about the wiring or why your deck needs a dedicated circuit, you have to get the bones of the mount right. We are going to look at why ‘close enough’ is the enemy of a silent, still outdoor fan.
Build a Foundation That Refuses to Move
I’ll start with the most critical part: the blocking. Think of your fan as a high-torque engine. If you bolt an engine to a thin piece of plywood, it is going to shake the whole car. Your deck ceiling works the same way. To kill the vibration before it starts, you need to install ladder blocking between your joists. I prefer using 2×6 or 2×8 pressure-treated lumber, cut to fit snugly between the rafters. This isn’t just about supporting the weight; it is about resisting the torque of the motor starting and stopping. A shaky fan usually points to a lack of rigidity at the source, much like the structural reason your deck feels bouncy when you walk. When I first started building, I thought one single block was enough. Then I watched a heavy fan actually twist that block over time. Now, I always double up the blocking to create a rigid, non-flexing bridge for the mounting box.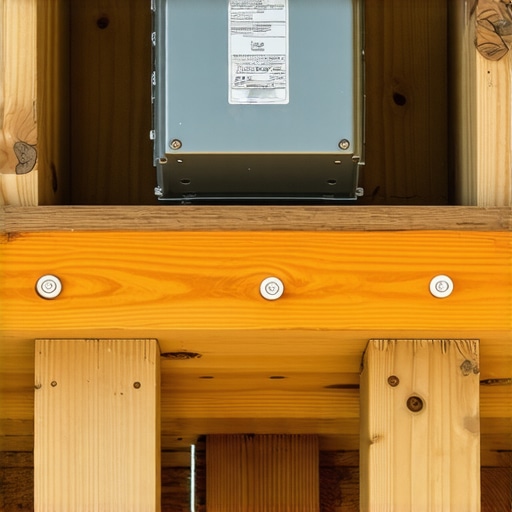
Swap Out Flimsy Hardware for Structural Power
When you are installing your blocking, use a heavy-duty metal fan-rated box. Don’t even look at the plastic versions; they are meant for static light fixtures, not rotating masses. You want to screw this box directly into your new blocking using 2.5-inch structural screws. The reason we use structural screws instead of old-fashioned lag bolts is that they offer incredible pull-out resistance without splitting the wood, which is vital when you are working within the smaller surface area of a 2×6. This level of precision and stability is the secret to making your deck feel like an indoor room where everything feels permanent and high-end. I once helped a neighbor who tried to mount a massive industrial fan to a single cedar board. By day two, the screws had started to ‘oval out’ the wood and the fan was swaying three inches in either direction. We had to go in, pull the boards, and add the correct blocking. It felt like overkill to him at first, but three years later, that fan is still as silent as a stone.
The One Box That Keeps Your Ceiling From Humming
Once your blocking is tight and your box is centered, you must check the level. If your box is even slightly tilted, the downrod will hang at an angle, causing the fan to fight gravity with every single rotation. This ‘pendulum effect’ is the primary cause of that rhythmic thumping sound that drives people crazy. Think of it like why your deck stair stringers are cracking at the throat—it is all about concentrated stress points. When the fan hangs perfectly straight, the weight is distributed evenly across the internal bearings. If it is crooked, you are wearing out the motor and the mount simultaneously. If your fan is part of a larger exterior renovation, remember that why your outdoor kitchen needs its own structural support applies here too; weight and motion require their own dedicated ‘skeleton’ to function safely over the long haul. Finally, make sure your wiring is tucked neatly away; a loose wire nut rattling against the inside of a metal canopy can sound like a woodpecker once the fan hits its highest speed setting.
Beyond the Fan: The Hidden Science of Rock-Solid Stairs
This same philosophy of rigid ‘bone structure’ applies to every inch of your outdoor space, especially the stairs. Most homeowners, and even some novice builders, think that if a staircase can hold a person’s weight, it is safe. But that is a dangerous oversimplification. In my years of experience, the biggest nuance people miss is lateral stability. A staircase isn’t just a ladder; it is a cantilevered structure that wants to pull away from your deck every time you step on it. If you haven’t looked at the structural reason your stairs feel like they are leaning, you might be ignoring a major red flag. Just like that fan motor, a staircase creates dynamic loads. When a 200-pound person walks down quickly, they aren’t just applying 200 pounds of pressure; they are creating a force that pushes outward and downward simultaneously. If your stringers are only held up by a few nails into a rim joist, you are essentially betting your safety on a prayer. I always recommend using the bracket that makes your deck stairs feel rock-solid because it transfers that energy directly into the frame of the deck rather than relying on the shear strength of a fastener.
Why Your Stringers Might Be a Ticking Time Bomb
Here is the ‘Oops’ factor that I see constantly: over-notching. Builders want to get the rise and run perfect, so they cut deep into the 2×12 stringer. However, every inch you cut away reduces the ‘effective’ lumber left to support the load. This is exactly why your deck stair stringers are cracking at the throat. In my contrarian view, ‘standard’ stringer spacing is also a myth when it comes to high-end materials. While code might allow for 16 inches on center, if you are choosing the right composite decking for durable low-maintenance outdoor areas, you absolutely must drop that spacing to 12 inches or even 9 inches on center. Composite material is more flexible than wood, and a ‘standard’ layout will leave your stairs feeling like a trampoline. According to the American Wood Council’s DCA 6 guidelines, the structural integrity of a staircase depends heavily on the ‘throat’ thickness of the stringer. If you cut too deep, you’ve basically turned a structural 2×12 into a flimsy 2×4. Have you ever noticed your stairs starting to ‘smile’ or dip in the middle? Let me know in the comments, as that is usually the first sign of a stringer failing under-the-radar. 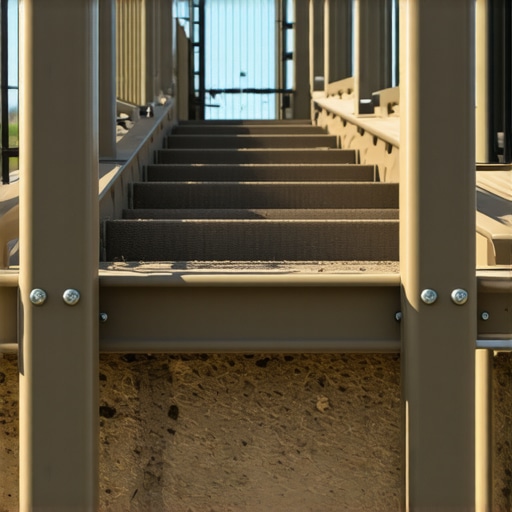
Is There a Secret to Removing the “Bounce” from Composite Treads?
Advanced DIYers often ask why their expensive composite boards still feel ‘mushy’ even with extra stringers. The hidden nuance here is the tread-to-stringer connection. Most people just screw the boards down and call it a day. But to get a truly premium feel, you need to use construction adhesive in tandem with your fasteners. This creates a monolithic bond that stops the boards from micro-sliding against the wood. It’s a similar logic to the stair stringer measurement mistake that ruins your stride; if the boards move even a fraction of an inch, your brain registers it as instability. When you combine structural screws, tight stringer spacing, and high-grade adhesive, you aren’t just building stairs; you are building a foundation. Have you ever fallen into this trap of thinking the boards themselves would provide the rigidity? I’d love to hear your horror stories or ‘aha’ moments below.
I used to think that once the last screw was driven, my job was over. I was wrong. Building a deck is a marathon, but keeping it in peak condition is the victory lap. If you’ve followed my advice on the bracket that makes your deck stairs feel rock-solid, you’ve already won half the battle. But even the best-engineered structures need a specialized toolkit and a rhythm of care to stay silent and safe for thirty years. Let’s talk about the gear that actually stays in my truck and the maintenance reality that most ‘pros’ won’t tell you about.
Tools That Actually Survive a Full Deck Build
You can’t build a 2025-standard deck with 1990s tools. If you are still using a standard drill for your structural fasteners, you are doing it wrong. I switched to a high-torque 18V impact driver with a brushless motor years ago, and I never looked back. Why? Because when you are driving 6-inch structural screws into a triple-layered beam, a standard drill will either strip the head or burn out the motor. This precision is essential when you are learning how to protect your deck frame from rot for thirty years; you need fasteners that seat perfectly every time to avoid creating water pockets. I also swear by a dedicated stair-routing jig. It’s the only way to ensure the stair tread depth that feels safest for kids and the elderly is consistent across every single step. If your rises are off by even a quarter-inch, your brain will notice it, and eventually, you’ll trip.
How do I maintain my composite deck and stairs over time?
Maintenance is the biggest selling point of choosing the right composite decking for durable low-maintenance outdoor areas, but ‘low maintenance’ doesn’t mean ‘no maintenance.’ Every spring, I perform a ‘structural physical’ on my deck. According to the North American Deck and Railing Association (NADRA), most deck failures occur at the ledger board or the stairs, so those are the first places I check for any signs of fastener fatigue. For the surface, skip the power washer—it’s too easy to scar the composite. Instead, I use a soft-bristle brush and a mild detergent. If you have kids or throw frequent parties, you’ll eventually need to know the best way to clean bird droppings off dark brown composite boards or how to clean grease stains off composite without ruining the finish. It’s about being proactive rather than reactive.

Why 3D Modeling is No Longer Optional
Looking ahead, the biggest shift I see in the industry isn’t in the lumber; it’s in the software. I’ve started telling every homeowner I work with that why a digital designer is the best move for planning a complex backyard deck isn’t just about the ‘cool’ factor—it’s about error prevention. We can now simulate sunlight patterns to see if innovative outdoor living ideas with composite decking will actually be usable in the July heat. In the next few years, I predict we will see augmented reality (AR) apps that allow you to stand on your old patio and ‘walk’ through your new multi-level deck before a single board is cut. This level of planning ensures that maximizing space modern designs for composite decks are optimized for your specific lifestyle. My advice? Don’t even pick up a hammer until you’ve seen a 3D rendering of your project. It’s the single best way to avoid the ‘I wish we had done that differently’ conversation three months after the project is finished. Before you start your next weekend project, I challenge you to go out and check your current stair-to-deck connection—if you see nails instead of structural brackets, make that your first upgrade.
What My Most Expensive Mistakes Taught Me About Outdoor Structure
After two decades in the dust, the biggest “lightbulb moment” I can share is that code compliance is just the floor, not the ceiling. If you build to the absolute minimum, your deck will feel “minimum.” For instance, why your composite boards are expanding more than expected isn’t a product failure; it’s usually a framing failure to account for thermal movement. Another hard-earned lesson: lateral stability is the unsung hero of safety. You can have the thickest boards in the world, but if you don’t understand the structural reason your stairs feel like they are leaning, you’re missing the forest for the trees. Finally, remember that moisture is a silent killer. Learning how to protect your deck frame from rot for thirty years early on will save you from a complete tear-down long before the boards themselves wear out.
The Gear I Keep in My Truck to Guarantee a Silent Deck
I don’t leave for a job site without a few specific items that separate a DIY project from a professional installation. First, high-quality construction adhesive is non-negotiable; it is the simple way to stop deck stairs from squeaking when you step and creates a monolithic bond that screws alone can’t achieve. Second, I rely heavily on 3D modeling because why a digital designer is the best move for planning a complex backyard deck becomes obvious when you catch structural clashes before the first cut. For fasteners, I only trust the reason we use structural screws instead of old-fashioned lag bolts for their superior shear strength. Lastly, I always recommend checking the NADRA safety guidelines to audit your own work and ensure every connection meets modern standards.
Turn Your Backyard Vision into a Structural Masterpiece
Building a space that lasts isn’t just about the aesthetics; it’s about the peace of mind that comes when you sit down and realize nothing is shaking, clicking, or sagging. Whether you are implementing innovative outdoor living ideas with composite decking in 2025 or just fixing a wobbly railing, the effort you put into the “bones” of the project will pay dividends for decades. Don’t be afraid to over-engineer. Your future self—and your guests—will thank you when they experience the comfort of a truly solid build. What’s the one part of your deck that still gives you a bit of anxiety when you look at it? Let me know in the comments below!