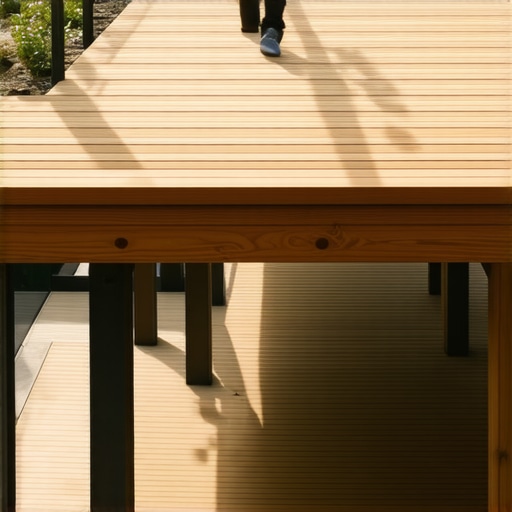
One summer afternoon, I was leisurely strolling across my deck, expecting the usual sturdy feel underfoot. Instead, I was greeted with an unsettling bounce that made me question if my outdoor space was on the verge of collapse. It was a lightbulb moment for me. I realized that my deck, which I thought was built solidly, had a hidden structural issue that was compromising its stability.
The Hidden Causes of a Bouncy Deck
Feeling that unsettling spring in your step on your deck can be more than just annoying; it could indicate a fundamental problem with the way your deck was constructed or how it has aged over time. Understanding the underlying reasons is crucial because ignoring this issue might lead to safety hazards or costly repairs down the line. The good news is, with some insight and a bit of investigation, you can pinpoint the cause and take steps to fix it.
Have You Faced This Bouncing Problem?
If you’ve ever felt that your deck doesn’t feel firm, especially when walking or shifting weight, you’re not alone. It’s a common issue among homeowners, and surprisingly, many decks develop this springy feel even if they seem visually sound. The key to a safe and enjoyable outdoor space lies in identifying the root cause, which often comes down to structural weaknesses or improper building techniques—a mistake I made early on by overlooking the importance of proper joist spacing and support. Want to learn how to fix this problem once and for all? Keep reading, and I’ll share exactly what I discovered through my experience and the steps I took.
For a comprehensive guide on designing your dream outdoor space that’s both beautiful and safe, check out this insightful article on deck builder insights. Understanding these principles is essential before jumping into repairs or construction corrections. Now, let’s delve into the reason behind that unsettling bounce and how you can address it effectively.
Assessing the Deck’s Foundation
Start by thoroughly inspecting your deck for signs of instability or movement. Use a level and a mesh tape measure to check for unevenness across different sections. In my experience, the first time I noticed a bounce, I realized it was due to damaged or sagging joists. To confirm, crawl underneath and look for cracked or rotting support beams. This step is essential because uneven joists are often the root cause of bouncing issues and must be addressed first.
Inspect the Joists and Supports
Remove any debris or vegetation obscuring your view. Look for visible signs of damage like cracks, splits, or rot. Tap each joist with a hammer—solid sounds indicate good support, while hollow or dull sounds suggest deterioration. I once found a severely compromised joist hidden under ground-level mulch, which contributed to the deck’s instability. Replacing or reinforcing compromised joists restores the foundation’s integrity.
Reinforcing and Replacing Weak Components
After identifying defective joists, the next step involves reinforcement. Use joist hangers and structural screws to reinforce sagging areas. For damaged joists, cut out and replace with pressure-treated lumber of the same size, ensuring proper support and alignment. In my repair process, I used a cordless reciprocating saw to carefully remove the broken joist, then installed a new one with heavy-duty fasteners. This localized approach prevents unnecessary dismantling and saves time.
Ensuring Proper Support and Spacing
Proper support spacing is vital. Standard joist spacing ranges from 16 to 24 inches on-center, depending on load requirements and decking material. When I added new joists, I meticulously measured to maintain consistent spacing and used a spacer block during installation. Confirm spacing with a tape measure before fastening each joist. This ensures load distribution is even, preventing future bounce issues.
Upgrading Support Posts and Footings
Weak or improperly installed posts can lead to deck instability. Examine the posts for signs of rot or shifting. Secure loose posts with heavy-duty post anchors or metal brackets. If necessary, install new concrete footings below frost line for added stability. I learned this the hard way when a post shifted after a hard winter, causing noticeable bounce. Installing deeper, well-supported footings eliminated the problem entirely.
Sealing and Protecting Repaired Areas
After completing the structural repairs, protect wood components from moisture and pests. Apply a high-quality sealant or stain suitable for outdoor use. This enhances durability and prevents future rot. I applied a weatherproof sealant after my repairs, which extended the lifespan of the replaced joists significantly. Proper maintenance now keeps my deck sturdy and safe.
Final Checks and Testing
Once all repairs are complete, test the deck’s stability. Carefully walk across different sections, applying varying weights. Use a level on the surface to check for any remaining unevenness. In my case, I found a slight bounce in a corner, which I then re-secured. Consistent testing ensures your fixes hold and your deck will support future outdoor gatherings confidently.
Remember, if you’re unsure about any step, consulting with a professional deck builder can save you time and ensure safety. They bring expertise in structural integrity and can help you implement long-lasting solutions. For more insights, see the benefits of working with a professional deck builder.
Many homeowners dive into composite decking with the belief that it’s entirely maintenance-free and foolproof. But as an expert in outdoor construction, I’ve seen the nuances and pitfalls that most amateurs overlook. A common myth is that composite materials are impervious to issues like expansion, contraction, and color fading. In reality, high-quality composites do resist many problems but are not entirely immune; improper installation or choosing the wrong type can lead to warping or mold growth over time.
Another misconception is that all composite decking is equal, regardless of brand or quality. As I discuss in my detailed insights, not all composites are created equal; cheap grades often contain fillers that degrade faster under UV exposure, leading to discoloration and surface deterioration. When selecting materials, it’s crucial to understand the product composition and consider professional advice to avoid costly mistakes. For example, some buyers choose the lowest price without considering longevity, which results in premature replacement and added expenses.
Are There Advanced Mistakes Most People Never Think Of?
One advanced mistake is neglecting proper ventilation beneath the deck. Many assume that since decking is above ground, airflow isn’t critical. However, poor ventilation traps moisture, promoting mold, rot, and frequent repairs. This nuance is often overlooked in simple DIY projects, but consulting expert sources like professional deck builders emphasizes that designing for airflow significantly extends your deck’s lifespan. A study from the University of Maine underscores how moisture management is vital for composite durability, especially in humid climates.
Similarly, many underestimate the impact of correct stair and railing design on safety and longevity. Incorrect support placement or using incompatible materials can lead to dangerous wobbling or decay, which isn’t immediately obvious to the untrained eye. Investing in professional guidance ensures safety standards are met, and you avoid costly remodeling down the line.
Have you ever fallen into this trap? Let me know in the comments. Remember, thorough research and expert advice are your best tools for creating a stunning, durable outdoor space that stands the test of time. For comprehensive insights on working with professionals and designing your dream outdoor area, visit this insightful article on deck builder insights.
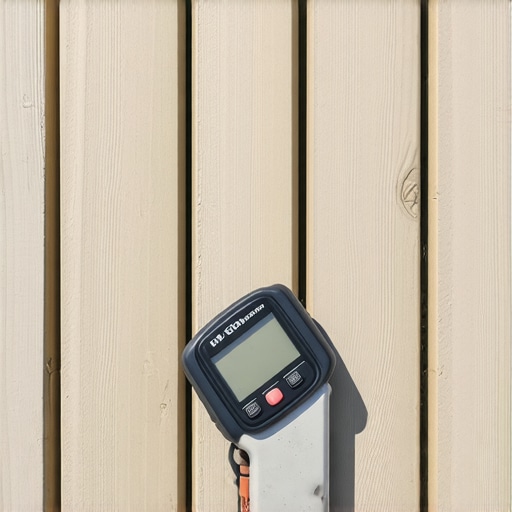
Keeping your outdoor living space in top shape requires the right tools and a proactive maintenance routine. As a seasoned deck builder, I rely on precision equipment to ensure every project stands the test of time. One indispensable tool I personally recommend is the digital moisture meter. Unlike traditional methods, this device provides exact readings of moisture levels within wood or composite surfaces, preventing issues like warping or mold before they manifest. When inspecting your deck, measuring moisture content accurately guides you to areas needing treatment or repairs, saving you money and extending your deck’s lifespan.
Another essential piece of equipment is the cordless impact driver. I prefer models with high torque ratings, like the Dewalt DCF901B. It allows me to fasten or remove fasteners with ease, especially in tight spaces or when working overhead. Its brushless motor delivers longer runtime—crucial during large-scale repairs or when installing new support structures for upgraded decks. Investing in high-quality impact drivers enhances efficiency and reduces user fatigue, enabling precision work during every project.
To keep your deck looking stunning over the years, use joist tape diligently on every connection. I personally always apply joist tape to prevent moisture infiltration. Unlike traditional metal flashing, this flexible, adhesive barrier seals gaps and contact points effectively, especially in weather-prone areas. Its application is straightforward and provides long-term protection against rot and structural decay. As with the trends in composite decking, the focus is shifting toward smart, preventative maintenance that extends the durability of your entire structure.
For ongoing site inspection, I depend on a reliable laser level. Models like the Dewalt DW088K allow me to verify surface flatness and ensure accurate elevation during both initial build and repairs. Precise leveling improves not only aesthetic appeal but also safety, especially for stairs and deck transitions. As I predict future trends, integrating laser-guided precision tools with drone inspections could revolutionize deck maintenance, making it faster and more accurate than ever.
How do I maintain my deck’s performance over time?
Regular cleaning with a soft-bristled brush and gentle soap removes dirt and mold, preventing deterioration. Applying a high-quality sealant annually—preferably in spring—preserves wood and composite surfaces from moisture ingress. Inspect support posts and fasteners periodically, tightening loose components and replacing corroded hardware. Keep vegetation trimmed and free of debris beneath and around the deck, which reduces moisture buildup and pest intrusion. Implementing these simple routines with the right tools saves you from costly repairs and keeps your outdoor space inviting year-round.
Looking ahead, I see tools becoming more integrated and smart. Devices that sync with your smartphone, providing real-time data on moisture, temperature, and structural integrity, will make maintaining your deck effortless. For now, I encourage you to try using a digital moisture meter during your next inspection—it’s a small investment with big long-term benefits. If you want to learn more about advanced deck maintenance or professional techniques, check out this comprehensive guide on deck design and upkeep.