
I’ll never forget the first time I hosted a dinner on my brand-new composite deck. I’d spent weeks agonizing over the end grain of my deck boards and making sure every screw was perfectly countersunk. The steaks were sizzling, the wine was poured, and then my neighbor, Dave, pointed right at the grimy, white propane tank sitting next to the grill. ‘Nice deck,’ he said, ‘but that tank looks like it belongs at a construction site.’ He was right. It was a total vibe-killer. Because I had built a low-profile deck—sitting just inches off the ground—I didn’t have the luxury of a high-clearance frame to hide things underneath. I learned the hard way that if you don’t plan for the ‘ugly’ stuff, the ‘ugly’ stuff will be all anyone sees. Today, I’m going to show you exactly how to mask that tank so it blends into your innovative outdoor living space without it looking like a clunky afterthought.
Your Propane Tank is an Uninvited Guest in Your Backyard
I’ve seen plenty of people try to solve this by just shoving the tank behind a potted plant. Trust me, I tried that too. I bought a massive hibiscus, thinking it would do the trick. Three weeks later, the heat from the grill had scorched the leaves, and the tank was still staring back at me through the branches. It looked worse than before. The real trick to masking a tank on a low-profile deck is to treat it as part of the architecture, not something you’re just trying to bury. Whether you’re working with a professional deck builder or doing it yourself, you need a solution that offers both form and function.[IMAGE_PLACEHOLDER]One of my biggest early blunders was trying to wrap the tank in a vinyl cover. Sure, it was ‘hidden,’ but it still looked like a lumpy trash bag. The National Fire Protection Association (NFPA) reports that thousands of home fires involve grills every year, and many are due to improper tank storage or lack of ventilation. If you trap those gas fumes in a non-ventilated box, you aren’t just decorating; you’re building a small bomb. We need to mask it safely while still keeping a functional layout for your grill and table.
Is it Safe to Box in Your Fuel Source?
I get this question all the time from homeowners who are worried about safety. The fear is real: ‘If I build a box around it, will it explode?’ The answer is a resounding ‘no’—provided you design it with airflow in mind. You have to avoid the temptation to make it airtight. Think of it more like a decorative screen or a vented cabinet. Have you ever felt like your grill area is just a mess of hoses and metal? Drop a comment below and tell me your biggest deck eyesore; I bet we can find a way to hide it. By using the same materials you used for your main floor, like your durable composite decking, you can create a seamless look that makes the tank storage feel intentional rather than an emergency fix.
Start with a Skeleton for Proper Airflow
Building a custom enclosure isn’t just about hiding; it’s about framing with precision. Think of your frame like a ribcage—it needs to be strong enough to hold the weight of a heavy lid but open enough to let air circulate freely. I use 2×2 pressure-treated lumber to create a basic cube, ensuring it is slightly larger than the tank itself. Because you are working on a low-profile deck, you can’t just dig a hole or hide things in the joist bays. You need to secure this frame directly to your deck surface. Many homeowners find that working with a professional deck builder ensures this frame is tied into the existing structure so it doesn’t wobble when guests lean on it. 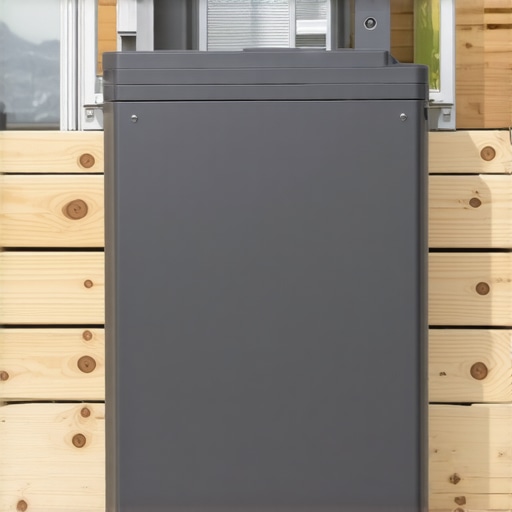
Skin the Box with Your Main Decking
Once your ‘ribcage’ is ready, it’s time for the ‘skin.’ This is where you make the box disappear into your design. Use the same durable composite decking you used for the main floor. If you run the boards horizontally, it creates a modern, sleek look that mimics high-end planter boxes or modern designs for composite decks. I remember my first attempt at this; I used leftover scraps that didn’t match the grain pattern of the floor, and it looked like a patchwork quilt. It was an eyesore that defeated the whole purpose. Now, I always suggest using full-length boards and cutting them to wrap around the corners. To keep gas fumes from building up, leave a 1/4-inch gap between each board—the same spacing secret I use for the deck floor itself. This ensures the setup is safe and aesthetically consistent.
Don’t Make Swapping the Tank a Chore
There is nothing worse than running out of gas mid-burger and realizing you need a toolkit to change the tank. I’ve lived that nightmare. My first cover was a solid box with no door. I had to lift the entire heavy lid off the tank every time, which eventually led to me scraping the finish on my 2025 trend-setting composite boards. Now, I build a hinged lid or a removable side panel using the same techniques used to frame a trap door for crawl space access. A simple piano hinge and a hidden latch allow you to swap tanks in seconds. You can even use the design logic of building a deck bench with hidden storage to make the interior easily accessible without ruining the lines of the box.
Give Your Tank Cover a Second Job
Space is a premium on a small deck, especially when you are trying to fit a grill and a dining set. If your tank cover is just a box, it’s a waste of real estate. I like to finish the top with a ‘picture frame’ border to hide the cut ends of the boards. This turns the enclosure into a functional side table. You can even apply the same principles used for installing a cocktail rail on a staircase to create a wide, flat ledge on top of the tank box. This adds to your innovative outdoor living experience by providing extra prep space right next to the grill, making it feel like a built-in outdoor kitchen feature rather than a necessary mask for a fuel source.
Composite Decking is Not Actually Maintenance-Free
Everyone tells you that switching to composite means you can throw away your power washer and stain brushes forever. While it’s true you won’t be sanding splinters, the ‘zero maintenance’ claim is the biggest myth in the industry. In my years of building, I’ve seen more homeowners neglect the hidden components of their deck because they thought the plastic shell protected everything. The truth is, the truth about maintenance-free decking claims is that the organic material inside the boards and the wooden frame underneath are still vulnerable. If you don’t keep the gaps clear of organic debris, you’re essentially creating a compost bin under your feet. Have you ever fallen into this trap? Let me know in the comments.
Why Does Your High-End Deck Still Feel Bouncy?
One of the most common mistakes I see is using standard 16-inch on-center joist spacing for composite boards. Because composite lacks the natural structural stiffness of kiln-dried lumber, it tends to ‘sag’ or feel springy if the framing isn’t beefed up. When designing your dream outdoor space, you have to account for the weight—composite is significantly heavier than cedar or pressure-treated pine. I always recommend 12-inch spacing to ensure a rock-solid feel. As noted in research published by the American Society of Civil Engineers, the thermal coefficient of wood-plastic composites means these boards move significantly more than natural timber, which can lead to warping if the substructure isn’t rigid enough.
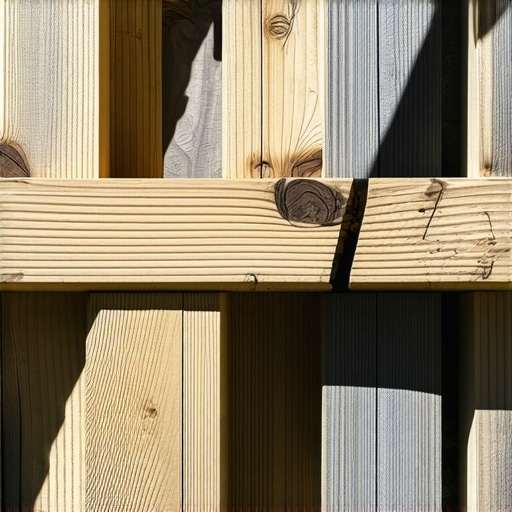
Another ‘oops’ factor that ruins beautiful decks is the expansion gap. I once visited a site where the homeowner had butted the boards tight against the house siding. By July, the deck had expanded so much it actually buckled upward, creating a trip hazard that looked like a speed bump. This is exactly why your composite boards are expanding more than expected. You must leave room for the material to breathe. If you’re worried about the look, why picture framing your deck is more than just a style choice—it’s a functional way to hide those necessary expansion gaps while keeping the perimeter clean.
The Structural Trap Lurking in Your Stairs
People often spend thousands on the main floor and then ‘cheap out’ on the stairs, using standard pre-cut stringers from a big-box store. This is a recipe for disaster. Most DIYers don’t realize that why your deck stairs need a middle stringer for stability is about more than just weight; it’s about preventing the ‘cupping’ of the treads over time. If you want safe and stylish stairs, you need to treat them as a structural focal point. When you ignore the structural reason your stairs feel like they are leaning, you aren’t just dealing with an aesthetic flaw—you’re dealing with a safety liability that will only get worse as the seasons change.
Ultimately, the difference between a deck that lasts 10 years and one that lasts 30 comes down to the nuances of the frame. Whether it’s knowing why we use double joists under every composite seam or ensuring the ledger is properly flashed, these ‘invisible’ details are what define innovative outdoor living. Don’t let a lack of planning turn your investment into a renovation project three years down the road. If you’re feeling overwhelmed by these technical requirements, working with a professional deck builder can save you thousands in future repairs.
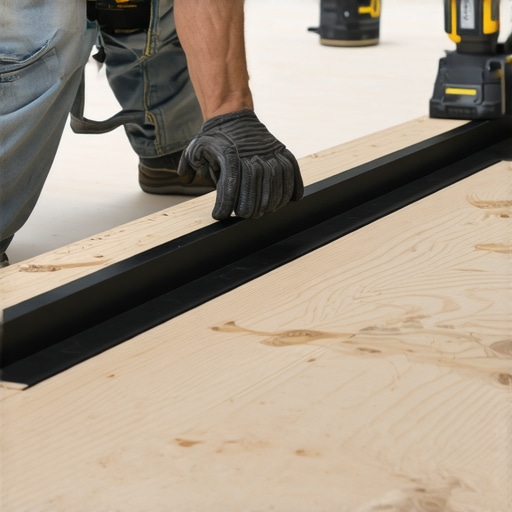
After fixing those structural ‘gotchas,’ you need to think about the physical tools that make the difference between an amateurish finish and a masterpiece. I never step onto a job site without my impact driver and a bucket of structural screws instead of old-fashioned lag bolts. Why? Because the shear strength and the way they pull the lumber together without the need for pre-drilling is a total game-changer for speed and safety. But the real ‘secret sauce’ in my professional kit is butyl joist tape. It’s a simple peel-and-stick membrane, but it’s the only way to protect your deck frame from rot for thirty years. According to technical bulletins from Professional Deck Builder Magazine, the most common failure point in modern decks isn’t the board itself; it’s the top of the joist where water sits and seeps into screw holes. If you skip the tape, you’re essentially letting your frame rot from the top down while the boards on top look perfectly fine.
How do I keep my composite deck looking brand new for decades?
The answer isn’t a pressure washer—in fact, keep that thing away from your boards! I’ve seen well-meaning homeowners permanently scar their beautiful durable composite decking by getting too aggressive with high-pressure water. Instead, I recommend a soft-bristle brush and a pH-neutral soap. You also need to be proactive with spills. If you have a backyard BBQ, you need to know how to clean grease stains off composite immediately. While modern caps are stain-resistant, hot grease is the one thing that can actually penetrate the material if left to bake in the sun. For those of you with heavy tree cover, learning the best way to clean pine needles out of deck gaps is essential for maintaining the airflow that keeps your frame dry and your warranty valid.
Looking ahead toward the end of the decade, I predict we will see ‘smart decks’ becoming the standard for luxury homes. We’re already moving toward using digital designers for complex projects, but soon we’ll have integrated moisture sensors and automated lighting systems that calibrate based on the time of year and weather patterns. This isn’t just about tech-heavy gadgetry; it’s about longevity. If your deck can alert your phone to a drainage blockage before you even notice the standing water, you’re saving yourself thousands in potential repairs. Before you start your next weekend upgrade, I challenge you to try this: buy one roll of butyl joist tape and apply it to your most exposed joist. You’ll see how it creates a watertight seal around every fastener. Once you see that protection in action, you’ll never build a deck without it again. If you’re ready to take the leap into a full-scale redesign that utilizes these high-end protection methods, contact us to see how we can bring your vision to life.
The Most Expensive Mistakes I Made Before Mastering Low-Profile Decks
After years in the field, I’ve realized that masking a propane tank is just the first step in a much larger journey. One of my biggest face-palm moments was assuming that a heavy tank cover didn’t need to be anchored; a summer thunderstorm quickly taught me that even the sturdiest durable composite decking box can become a projectile if it isn’t secured to the frame. I also learned the hard way that matching the grain direction of your enclosure to the main floor is non-negotiable for a professional look. If the lines don’t flow, the ‘mask’ actually draws more attention to the eyesore. Finally, never overlook the ‘ventilation gap’—I once saw a beautiful custom box warp from trapped heat because the owner forgot to leave the necessary 1/4-inch breathing room between boards. These nuances are exactly why working with a professional deck builder pays off in the long run.
The Pro-Grade Kit for a High-End Composite Finish
To move beyond a ‘good enough’ DIY project and achieve a magazine-quality result, you need to upgrade your hardware. I no longer use standard wood screws for anything structural. Instead, I rely on structural screws instead of lag bolts because they offer superior shear strength and a cleaner finish. For the stairs, I swear by the bracket that makes your deck stairs feel rock solid, ensuring that every step feels permanent and safe. And if you are planning a complex layout with multiple levels or integrated storage, using a digital designer is the only way to catch clearance issues before you waste a single dollar on materials.
Your Path to a Truly Private Backyard Oasis
Building a deck that lasts decades requires more than just choosing the right color; it requires an obsession with the hidden details. By focusing on airflow, structural integrity, and smart aesthetics, you are setting the stage for years of innovative outdoor living without the constant worry of maintenance or safety failures. Whether you are building a small grilling nook or a sprawling entertainment hub, the goal is to create a space that feels like a natural extension of your home. If you’re ready to stop looking at that ugly propane tank and start looking at a masterpiece, see how a skilled builder can transform your space into a private sanctuary. Have you ever built a DIY cover that ended up looking more like a shed than a secret? Let me know your biggest outdoor design challenges in the comments below!