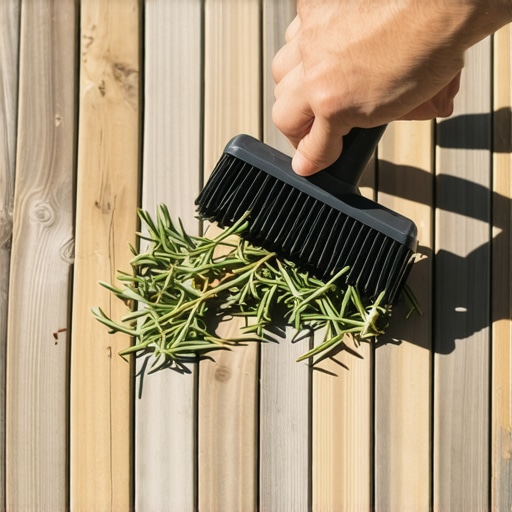
I remember the first time I noticed a thick layer of pine needles wedged deep between my deck boards. It was a breezy autumn morning, and I stepped outside to enjoy a cup of coffee, only to realize my outdoor space looked more like a miniature pine forest than the inviting haven I envisioned. The needles had settled into every crack, making me wonder if I was ever going to get them out without turning my relaxing weekend into a frustrating mess.
The Struggle with Pine Needles in Deck Gaps
Dealing with pine needles beneath the surface of a deck can turn into quite the undertaking. These tiny invaders stubbornly lodge themselves in the smallest spaces, causing not only an unsightly appearance but also potential drainage issues and mold growth if left unchecked. Convinced there was a better way, I started experimenting, and I want to share those insights with you—because I know I’m not alone in this messy predicament. Today, we’ll explore practical, proven methods to clean out those stubborn pine needles efficiently and prevent future buildup, so your outdoor space stays beautiful and safe for years to come.
Is It Really Worth the Effort to Clean Out Every Needle?
Many folks dismiss this chore as minor, but I learned early on that ignoring these pine residues can lead to more significant problems. Trust me, I initially thought a quick raking was enough—until I realized it just pushed the needles further into the gaps, making them nearly impossible to remove later. According to a study by the [North American Deck and Railing Association](https://deckdesignbuild.com/composite-decking-trends-2025-the-ultimate-guide-for-outdoor-enthusiasts), debris accumulation is one of the leading causes of deck deterioration over time. This was a wake-up call for me, emphasizing that regular cleaning not only keeps your deck looking fresh but also extends its lifespan. Interestingly, I also learned that a common mistake early on was using just a leaf blower or broom, which rarely dislodges those tiny needles fully. Instead, a combination of tools and techniques yields much better results. As we progress, you’ll find some effective tips that I personally swear by, all designed to make this task less daunting and more doable. Are you tired of battling pine needles every spring? Let’s get into the practical steps that will make your deck maintenance a breeze.
Choose the Right Tools for the Job
Start with a stiff-bristled wire brush, similar to those used for cleaning grills, to dislodge stubborn pine needles lodged deep in the cracks. I recall a morning when I tried just a leaf blower, which barely moved the needles. Switching to a wire brush, I scraped along the gaps, loosening debris with direct contact rather than blowing it further in. Following this, a shop vacuum with a hose attachment worked wonders to suck out loosened needles, leaving the surface much cleaner. Think of it as digging a garden bed—using the right combination of tools makes all the difference.
Break Down the Cleaning Process
Clear Larger Debris First
Begin by removing any loose leaves or larger twigs with a broom or leaf scoop. This prevents obstruction when you focus on finer debris like pine needles. Once the larger debris is out of the way, your access to the smaller cracks improves, and the cleaning becomes more effective.
Use Compressed Air for Deep Gaps
Since pine needles are lightweight and fibrous, blowing compressed air into the gaps can shift them outward. I found that a commercial-grade air compressor set to low pressure was perfect; blasting air into each crack and corner dislodged needles lodged deep inside. Imagine it as giving your deck a mini hurricane—sometimes the force is enough to send debris flying out.
Apply a Gentle Agitation Technique
For stubborn deposits, gently agitate with a putty knife or plastic scraper. Carefully run it along the edges of the cracks, lifting pine needles without damaging the wood surface. During one attempt, I used a plastic putty knife to gently lift embedded needles, which significantly sped up the cleaning process. Always be cautious to avoid gouging or scratching the wood or composite material, especially if using delicate surfaces.
Flush Out Dust and Residue
Once the larger debris is removed, rinse the deck with a garden hose or a pressure washer on a low setting. This flushes out leftover dust, small particles, and unseen needles. I prefer using a gentle spray pattern to avoid forcing debris further into the gaps. Regular flushing keeps the deck surface and gaps clear, reducing the chances of mold and deterioration.
Prevent Future Buildup
After cleaning, consider installing mesh covers over the gaps or applying a protective sealant to make debris removal easier. Regular maintenance, like sweeping every few weeks, prevents pine needles from settling deep into the cracks. Similar to how a skilled deck builder ensures lasting beauty, consistent upkeep extends your deck’s lifespan and keeps it inviting.
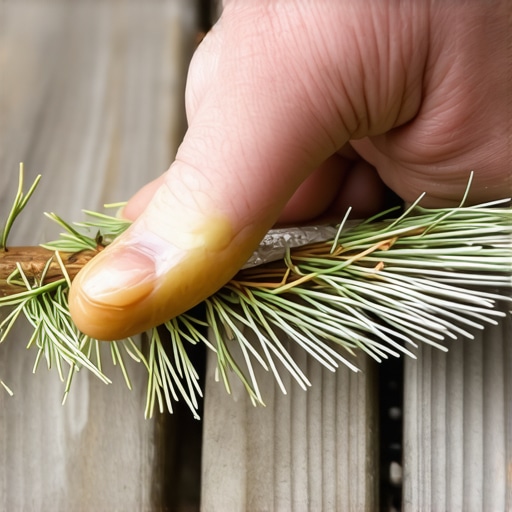
When it comes to designing and constructing outdoor spaces, many enthusiasts and even seasoned DIYers fall prey to misconceptions that can compromise the durability and aesthetics of their decks. A prevalent myth is that using pressure-treated wood alone guarantees a long-lasting structure. In reality, without proper sealing, maintenance, and correct installation techniques, even the most robust-looking wood can rot prematurely, especially in wet climates. Experts suggest that combining high-quality materials like composite decking with appropriate fasteners and protective coatings extends lifespan significantly, as discussed in our trend analysis on [composite decking trends](https://deckdesignbuild.com/composite-decking-trends-2025-the-ultimate-guide-for-outdoor-enthusiasts).
Another common trap is underestimating the importance of precise stair design. Many assume that matching the stringer height and tread depth is enough, but advanced mistakes occur when the rise and run are inconsistent, causing safety hazards and tripping risks. Implementing uniform measurements and considering the ergonomic comfort can be achieved with professional guidance, such as featured in [designing safe and stylish stairs](https://deckdesignbuild.com/designing-safe-and-stylish-stairs-for-outdoor-decks-in-2025).
Notably, there’s a misconception that composite decking is completely maintenance-free. While it’s low-maintenance compared to wood, neglecting proper cleaning and periodic inspections can lead to mold, discoloration, or warping. A recent study emphasizes the importance of regular upkeep even with modern materials, reinforcing that best practices involve routine cleaning with gentle solutions rather than ignoring aging signs.
Advanced DIYers often overlook the subtle nuances in outdoor living design, particularly how small details can enhance functionality and safety. For example, installing LED stair lighting or sensor-based security systems can dramatically improve usability and safety, especially at night. These integrations, as explained in [transforming outdoor living](https://deckdesignbuild.com/transform-your-outdoor-living-with-custom-composite-decking-ideas), show how attention to detail elevates the entire space.
What most people get wrong is underestimating the impact of proper planning, material selection, and precision in execution. A high-quality deck isn’t just about aesthetics but about longevity and safety—traits that require expertise and thoughtful design. If you’re considering a new deck or renovating an existing one, it’s worth investing in an experienced deck builder who understands these nuances. Curious about how to choose the right materials or stairs that blend style and safety? Check out [this detailed guide](https://deckdesignbuild.com/choosing-the-right-composite-decking-for-durable-low-maintenance-outdoor-areas) and elevate your outdoor living experience.
Have you ever fallen into this trap? Let me know in the comments.Maintaining a deck, stairs, or outdoor living space over time requires precision and the right equipment to ensure longevity and safety. One essential tool I personally rely on is a high-quality cordless oscillating multi-tool, which excels at reaching into tight corners and cleaning stubborn debris from between composite decking boards. Its versatility allows me to sand, scrape, or cut with precision, saving both time and effort. For deep cleaning, I always include a submersible pressure washer with adjustable pressure settings, specifically set to low when washing composite surfaces. This combination cleans thoroughly without risking surface damage, unlike standard high-pressure washers that can gouge or discolor your deck. Investing in a good set of microfiber or soft-bristle brushes can also help maintain the wood’s natural look while removing dirt or algae buildup, especially in shaded areas where mold tends to develop. Regular inspections are crucial— I recommend scheduling quarterly checkups to tighten loose railings, replace worn fasteners, or re-apply sealants that keep water out and prevent rot. As composite decking trends advance, so do the tools to maintain them; for instance, newer UV-protective formulations require specialized cleaners that can be gentle yet effective, like those discussed in the comprehensive [composite decking trends report](https://deckdesignbuild.com/composite-decking-trends-2025-the-ultimate-guide-for-outdoor-enthusiasts).”}}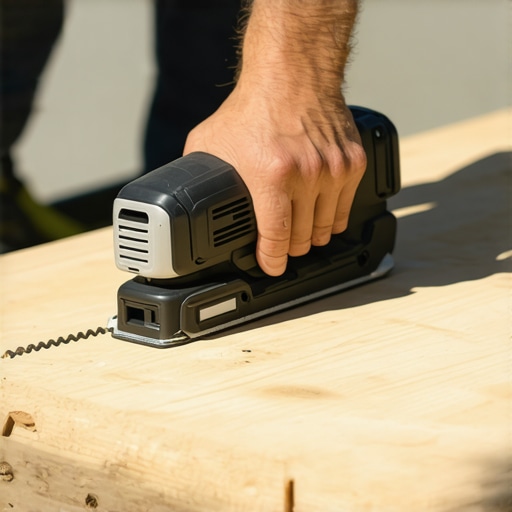
Lessons That Only Come from Experience
Over the years, I’ve realized that the biggest mistakes in outdoor living often stem from overlooked details. One crucial lesson was understanding that regular inspections are your best defense against small issues turning into costly repairs—like catching a wobbly railing before it becomes a safety hazard. Additionally, I learned that investing in quality tools, such as a variable pressure washer and precise drill bits, can significantly cut down cleanup time and improve results. These lessons emphasize that patience and attention to detail are your allies when maintaining and designing outdoor spaces.
Another insight I gained is that proactive planning—like designing for proper drainage and easy access to clean out gaps—can save months of frustration later. It’s tempting to cut corners on materials or skip the detailed measurements, but these shortcuts often lead to complications down the line. The most seasoned outdoor living enthusiasts didn’t achieve their success by rushing; instead, they learned the value of thorough prep and routine upkeep.
Tools and Resources That Elevate Your Deck Game
For anyone serious about maintaining or building a deck that lasts, my go-to resource is the comprehensive latest trends in composite decking. It keeps me updated on durable, low-maintenance options. I also trust detailed guides like stair safety and design tips because they provide practical step-by-step techniques. When it comes to tools, I depend on a high-quality cordless oscillating multi-tool for precision work and a commercial-grade pressure washer to keep surfaces pristine. These tools, coupled with trusted materials from reputable suppliers, are the backbone of successful outdoor projects.
Your Next Step Toward Outdoor Excellence
Building or maintaining your outdoor space isn’t just about aesthetics—it’s about creating a sanctuary that lasts through seasons and time. Remember, the effort you put in now with proper cleaning, smart design choices, and the right tools will pay dividends in safety, beauty, and longevity down the road. So, don’t hesitate to take the first step, whether that’s planning a detailed maintenance routine or exploring new deck materials that suit your lifestyle. Your outdoor living dreams are within reach—start turning them into reality today.
What’s been your most challenging deck project so far? Share your experience below—I’d love to hear your story and help you troubleshoot any hurdles you’re facing!