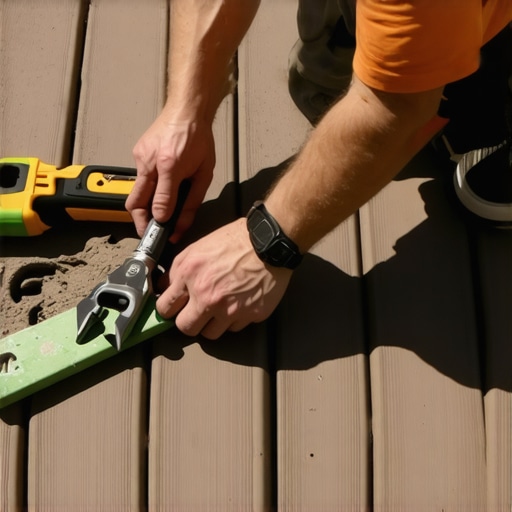
Picture this: You’re finally relaxing on your outdoor deck, wind gently rustling through the trees, when suddenly, you notice a glaring hole in your beautiful composite decking. It’s like a tiny black hole threatening your perfect outdoor oasis. I’ve been there myself—standing in the middle of a deck project, realizing that a small mistake early on can turn into a big headache later. That lightbulb moment made me realize how common and frustrating this issue can be.
The Real Reasons That Hole Matters More Than You Think
Composite decking is popular for its low maintenance and durability, but it’s not invincible. A hole isn’t just an ugly spot; it can compromise the integrity of your entire deck, inviting water and pests that can do much more damage over time. Plus, depending on the size and location, it might even become a safety hazard. That’s why addressing the problem promptly is essential.
Is Repairing a Hole Worth the Effort or Just a Waste of Time?
I used to think a hole was no big deal—just an aesthetic nuisance, right? Wrong. I once ignored a tiny hole, convincing myself it wasn’t worth bothering. Fast forward a year, and that little spot turned into a major rot issue near a critical support beam. It was a costly lesson that a small repair now can save you big bucks later. So, today, I’m here to guide you through fixing that hole effectively, saving your deck’s lifespan and your peace of mind.
Before diving into let’s tackle the common fears and how to avoid making rookie mistakes, like sealing the hole with a quick fix that doesn’t last. Trust me, I’ve been guilty of rushing repairs only to regret it. The key is knowing exactly what materials to use and how to do it right the first time.
If you’re tired of worrying about that unsettling hole and want a durable, professional-looking fix, you’re in the right place.
Getting Ready to Repair Your Composite Deck
Now, let’s walk through what you’ll need and how to approach the repair process step by step. But first, if this is a problem you’ve faced—share your experience in the comments or reach out for expert help. Remember, a well-repaired deck isn’t just about looks; it’s about safety and longevity. Ready to get started? Let’s go!
,
Secure the Area and Gather Your Tools
Begin by safely marking off the damaged section with bright tape or chalk line to prevent accidents. Gather your essential tools: a circular saw or jigsaw, a pry bar, a drill, stainless steel screws, a chisel, and matching composite decking boards. During my last repair, I found laying all tools out on a tarp kept me organized and sped up the process.
Remove Damaged Boards Carefully
Using the saw or jigsaw, cut along the edges of the damaged area, making sure to follow the existing board grain and avoiding nearby joists. Carefully pry out the cut section with the pry bar, taking care not to damage surrounding boards or the joists beneath. After removing the damaged piece, inspect the underlying joist for signs of rot or insect damage. I once neglected this step, and the rot had already started behind the scene, complicating the repair.
Prepare and Cut the Replacement Board
Measure the exact dimensions of the removed section, accounting for expansion gaps. Cut the new composite board to size, ensuring the grain pattern and color match the existing deck. To get a seamless look, I always lay the cut piece next to the existing boards to double-check dimensions before installing. Remember, perfect measurements are critical for a durable fix.
Install the New Board with Hidden Fasteners
Apply the correct attachment method—preferably hidden fasteners for a clean finish—by first securing the boards into the joists with stainless steel screws. Use a screw gun with a depth stop to prevent over-tightening, which can crack composite material. I usually use a self-cocking screw bit to ensure consistent countersinking, making the surface flush and professional-looking. Proper fastening prevents squeaks and ensures longevity.
Finishing Touches for a Long-Lasting Repair
Once the new board is in place, double-check for level and secure fit. Fill any gaps with color-matched caulk designed for composite decks to seal out water and prevent dirt accumulation. Consider brushing or blending in some matching stain if the color variation is noticeable. After completing, walk around and inspect every connection, imagining how water might flow during rain; adjust as needed to promote drainage, similar to the principles discussed in seamless outdoor transitions.
Evaluate and Protect Your Repair
After installation, it’s crucial to inform your inspection routine. Regularly check for loose fasteners or signs of wear around the repair area, especially in areas prone to moisture or heavy foot traffic. Applying a fresh coat of sealant or stain designed for composite decks can help extend the lifespan of your repair, уменьшая the risk of future issues. Remember, a quality fix not only restores your deck’s appearance but also its safety and durability in the long run.
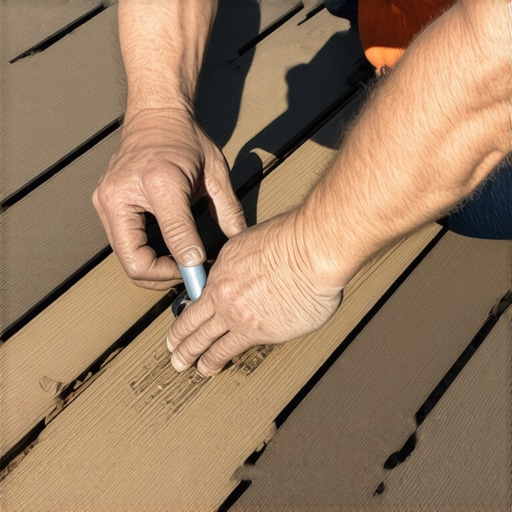
Many homeowners assume that composite decking requires little to no maintenance and that it’s virtually maintenance-free forever. While it’s true that composite materials are more durable than traditional wood, this misconception can lead to neglect and costly repairs down the line. In my experience, understanding the nuances of composite decking is crucial for making smart choices and avoiding pitfalls. Contrary to popular belief, composite decks still need regular cleaning and inspections to maintain their lifespan and appearance.
Why Is Cleaning Often Overlooked or Misunderstood?
A common myth is that composite decking resists all stains and dirt without intervention. However, dirt, algae, and embedded debris can accumulate over time, especially in shaded or damp areas. Ignoring this can lead to mold growth and surface deterioration. For example, I once neglected to clean my deck for a couple of years, and I ended up with stubborn mold spots that required professional removal, which could have been avoided with periodic washing. Using gentle cleaning methods prescribed by experts, like a soft brush and eco-friendly cleaner, can preserve the deck’s aesthetic and structural integrity.
Some believe that pressure washing is dangerous for composite decks, but when done correctly—using low-pressure settings and proper technique—it’s an effective way to refresh the surface. Avoiding power washing altogether, based on fear, can result in choosing alternatives that are less effective or even damaging, such as scrubbing with abrasive tools. For detailed guidance, check out why you should avoid power washing your composite deck.
Advanced Mistake: Underestimating the Impact of Staining and UV Damage
Few realize that, despite their resilience, composite decks can suffer from UV exposure, leading to fading, discoloration, and surface degradation over time. Some assume that composite decking won’t fade or change color, but a study by the National Association of Home Builders confirms that prolonged sunlight significantly affects the surface, especially in darker shades. Applying a UV-resistant sealant or stain periodically can help maintain the original color and extend the deck’s life.
Another common misconception is that all composite boards are equally resistant to staining. In reality, quality varies among suppliers, and lower-end products may absorb stains or discolor more readily. So, investing in high-quality, UV-stabilized composite boards and following manufacturer recommendations can prevent unnecessary repair costs.
Lastly, many overlook the importance of proper drainage and supportive framing, which are critical for preventing long-term issues like warping, sagging, or structural failure. A professional deck builder’s insight reveals that neglecting these details is a mistake that can compromise your entire outdoor space. For more sophisticated deck ideas, visit transformative outdoor living ideas.
Have you ever fallen into this trap? Let me know in the comments. Staying informed about the realities of composite decking can save you time, money, and headaches, ensuring your outdoor oasis remains beautiful and functional for years to come.
Maintaining Your Outdoor Space with Precision Tools
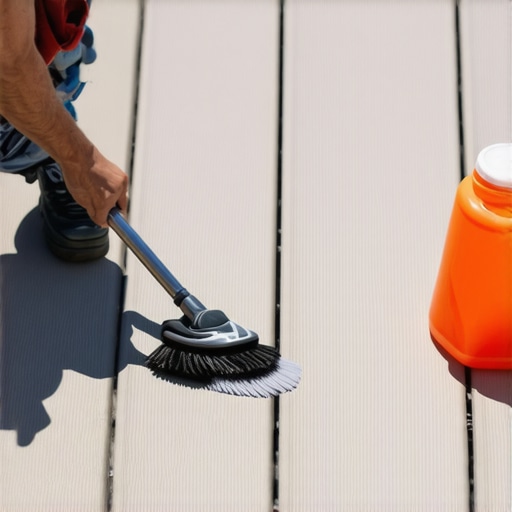
Keeping your composite decking in top shape requires the right equipment and a strategic approach. I personally swear by using a variable-pressure pressure washer set to a gentle level—around 1,500 PSI—to clear dirt and algae without risking surface damage. My preferred model is the Sun Joe SPX3000, which offers adjustable pressure and a variety of nozzles, ensuring I can tailor the cleaning process for different deck surfaces. Complementing this, I use a soft-bristled deck brush for stubborn stains, especially in shaded areas prone to mold buildup, ensuring a thorough clean without harsh abrasives.
Software and Planning for Long-Term Durability
For planning and maintaining a detailed schedule, I rely on Decks.com’s project management tools integrated with my calendar. Keeping track of routine inspections, sealant applications, and fastener checks helps prolong the lifespan of my deck. I also utilize moisture meters like the Tramex MRH3, which accurately measure moisture levels in wood and composite materials, alerting me to potential issues before they escalate. This proactive approach aligns with the trend towards smart home integration and digital maintenance trackers that are rapidly evolving in outdoor living design.
Anticipating Future Trends in Outdoor Maintenance
Looking ahead, technology will likely advance towards AI-powered inspection drones capable of assessing large decks in minutes, identifying cracks, rot, or pest infestations more efficiently than manual checks. As I see it, embracing smart tools now will prepare you for these innovations, making routine maintenance faster and more reliable. Engaging with communities through online forums and expert blogs enhances my knowledge base, giving me a competitive edge in managing outdoor spaces sustainably and effectively.
How do I keep my deck in top condition over time?
My secret is adopting a disciplined routine using these specialized tools, combined with professional-grade sealants like Behr’s Premium Weatherproofing Wood Finish, to guard against UV damage and moisture infiltration. Regular inspections inspired by my use of moisture meters can catch early signs of wear, especially around high-traffic zones or repair spots. This approach is supported by industry insights, like those from deck builder insights, which emphasize the importance of combining technology with craftsmanship. I highly recommend trying out a moisture meter on your next maintenance day—it’s a game-changer for detecting hidden issues before they become costly repairs.
Lessons Learned from a Deck Repair Veteran
- One of the most unexpected surprises was discovering how a tiny hole can silently become a rot nightmare, emphasizing that addressing small issues early is a true investment in longevity.
- Misjudging the importance of matching composite grain and color can lead to obvious repairs, teaching me to always double-check measurements and aesthetics before installation.
- Neglecting underlying structural inspections while focusing solely on the surface can be deceptive; ensuring the joists and supports are intact is vital for a lasting fix.
- Using the right tools, like a moisture meter and hidden fasteners, significantly increases repair quality and durability, highlighting that quality equipment truly pays off.
- Regular maintenance routines, including gentle cleaning and UV protection, are underrated allies in keeping composite decking pristine and resilient over time.
My Go-To Arsenal for Deck Maintenance and Repair
- Moisture Meter (like Tramex MRH3): This tool helps catch hidden moisture issues before they escalate, saving time and money.
- Hidden Fasteners: For a clean finish and secure installation, I swear by professional-grade fasteners that keep the surface smooth and prevent squeaks.
- Eco-Friendly Deck Cleaners: Gentle but effective cleaners preserve the surface without harsh chemicals, maintaining your deck’s beauty.
- Quality Sealants and Stains: UV-resistant sealants extend the lifespan and vibrant color of composite materials, making routine upgrades more manageable.
Forge Your Path in Outdoor Living
The journey toward a stunning and durable deck is a rewarding one, especially when you embrace proactive maintenance and smart repair techniques. Don’t let small holes become big problems—every repair is a step toward perfecting your outdoor oasis. Remember, you’re not alone in this; tapping into industry insights and expert tips can transform your outdoor space from good to extraordinary. If you’ve faced similar challenges or have your own repair hacks, share your experience below. How have you kept your composite deck looking flawless over the years? Your story might inspire someone else to tackle their next project with confidence!