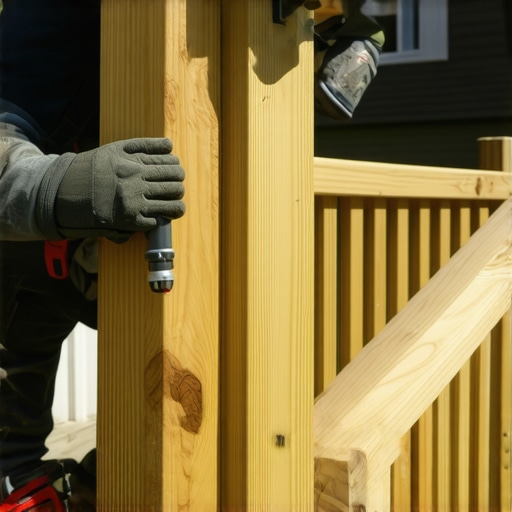
Ever stepped onto your porch or deck, only to feel that unsettling wobble under your hand on the railing? It’s a surprisingly common frustration, and honestly, it can really put a damper on outdoor gatherings or quiet evenings on the patio. I remember the first time I noticed my railing post was loose—panic set in. I thought I’d need to rip up the entire deck or call in a pro immediately. Turns out, with a bit of know-how, you can tighten that post yourself without tearing everything apart.
Today, I’ll share proven methods from my own experience to fix a loose railing post—saving you time, money, and the hassle of extensive repairs. No need for special tools or complicated renovations; just some DIY tips that really work.
Why a Loose Railing Post Is More Than Just an Eyesore
A wobbly railing might seem like a minor annoyance, but it’s actually a safety concern. Over time, a loose post can compromise the stability of your entire railing system, increasing the risk of accidents—especially for kids, pets, or elderly visitors. Additionally, the structural integrity of your deck relies heavily on the security of its posts; a weak connection can lead to more significant damage down the line.
What’s more, fixing it early can prevent costly replacements or extensive structural work later. It’s a straightforward fix that adds peace of mind to your outdoor haven.
What I Learned When I Messed Up Early on
In my own deck adventures, I first attempted to tighten my railing post with just a screwdriver. Big mistake. That only made the wobble worse, because I didn’t realize the importance of inspecting the anchoring system beneath the post. I learned the hard way that many DIY fixes require understanding the type of connection you’re dealing with and knowing where to look for hidden anchors. Trust me—if you’re not cautious, it’s easy to make the problem worse.
Now, I always advise homeowners to start by identifying whether their posts are bolted, nailed, or wrapped with other hardware. This initial step can save you from unnecessary frustration and help you choose the right fix. And speaking of fixes, that’s exactly what we’re going to dive into next. If you’ve faced this issue yourself, I’d love to hear about your experience in the comments or contact us through our [website](https://deckdesignbuild.com/contact-us).
Identify the Connection Type and Prepare Proper Tools
Start by inspecting the loose post to determine how it’s attached—whether with bolts, nails, or specialized hardware. For instance, I once found a railing post secured with heavy-duty galvanized bolts, which meant I needed a socket wrench set. Gather your tools: a wrench or socket set, a screwdriver, a pry bar, and possibly a drill with the right bits. Having the correct equipment ensures a smooth process and avoids damaging existing hardware or decking materials.
Remove Obstructions and Prepare the Area
Clear the area around the base of the post, removing any vegetation, debris, or furniture that might obstruct access. If the post sits flush against the deck surface or concrete, use a pry bar to gently lift or move the surrounding material to gain full access. I remembered when I left a potted plant beneath the post; removing it allowed me to work comfortably and prevent accidental damage.
Loosen and Remove Existing Fasteners
Carefully unscrew or loosen the existing bolts or nails holding the post. In one project, I used a cordless drill with a socket attachment to remove rusted bolts, which were seized due to weather exposure. Be cautious not to strip the fasteners—if they’re corroded, apply penetrating oil beforehand, wait 10-15 minutes, then continue. This step is crucial to ensure the post is free for realignment and tightening.
Inspect for Damage and Replace if Necessary
Check the condition of the post, hardware, and the anchoring point. If you notice cracks, rotting, or rusted bolts, replace these components. I once encountered a wood post with split sections at the base—replacing it with a new pressure-treated post restored stability. Use hardware rated for outdoor use to prevent future corrosion. This inspection ensures your fix will last longer and maintain safety.
Secure the Post Firmly and Test Stability
Position the post correctly, ensuring it’s plumb and aligned with the railing. Tighten the bolts or fasteners gradually in a crisscross pattern to evenly distribute pressure. Use a level—either by eye or a carpenter’s spirit level—to verify vertical alignment. For tight spaces, a ratchet wrench can help achieve a secure fit without over-tightening, which might warp the hardware or damage the post. Once tightened, give the post a gentle shake; if it wobbles, repeat the process or add additional hardware if needed.
Reinforce with Additional Supports
If the post remains unstable or you want extra security, consider installing reinforcement brackets or metal post anchors. For example, I once wrapped a metal post with a concrete sleeve for added stability against strong winds. This extra step is particularly valuable for decks exposed to harsh weather conditions, extending lifespan and ensuring safety.
Seal and Protect the Hardware
Finally, apply a rust-inhibiting spray or paint to the hardware to prevent corrosion. Proper sealing during installation can double the lifespan of your fix and reduce maintenance. Remember, proactive protection is more effective than waiting for rust to set in, which can weaken your hold over time.
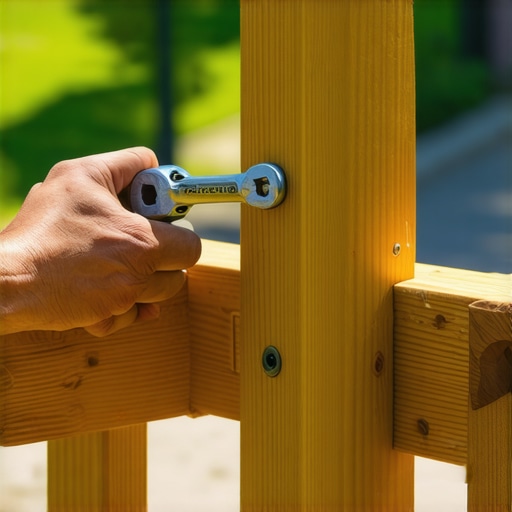 When it comes to designing and building outdoor spaces, enthusiasts often believe they’ve grasped all the essentials. However, even experienced DIYers and seasoned professionals can overlook subtle details that make or break the longevity and safety of decks and stairs. Let’s dig deeper into some of the most misunderstood aspects and advanced mistakes that can drastically affect your outdoor living setup.
A prevalent myth is that choosing the right composite decking material alone guarantees durability. While material selection is crucial, many overlook the importance of proper installation techniques and understanding the underlying support structure. For instance, neglecting correct joist spacing or failing to incorporate adequate flashing can lead to premature wear, even with high-end composites. Check out [the latest trends in composite decking for 2025](https://deckdesignbuild.com/composite-decking-trends-2025-the-ultimate-guide-for-outdoor-enthusiasts) to understand how installation nuances impact performance.
One often underestimated detail involves stair stringers. The assumption that a standard 11-inch tread depth suffices in all cases can result in uncomfortable or unsafe steps. Advanced builders recommend customizing step dimensions based on local building codes and specific use cases to ensure safety and aesthetic harmony. For an in-depth approach, explore [top stair designs for modern outdoor spaces](https://deckdesignbuild.com/elevate-your-home-top-stairs-designs-for-modern-outdoor-spaces).
A critical ‘oops’ factor is ignoring moisture management around decks and stairs. Moisture trapped beneath or between structural components accelerates decay, especially in humid climates. Applying proper flashing, paying attention to drainage slope, and sealing hardware can prolong deck lifespan. Did you know that [roofing industry experts advise integrated water management systems as standard practice](https://deckdesignbuild.com/creating-seamless-transitions-stairs-as-key-elements-in-outdoor-living)? Skipping these steps is a silent killer for outdoor structures.
For serious DIYers aiming to elevate their skills, understanding the nuances of fastener types and placement prevents squeaks and structural instability. Using the wrong screws—for example, interior-grade screws outside—can lead to rust and hardware failure. Invest in stainless-steel or corrosion-resistant fasteners, especially in wet climates. Find comprehensive guidance on this in [pros’ tips for fastening deck boards](https://deckdesignbuild.com/the-drill-bit-trick-for-perfectly-spaced-deck-boards-every-time).
One sophisticated question often asked by advanced builders is about incorporating innovative support solutions for multi-tier decks. How do you maintain structural integrity across varying levels while preventing movement and sagging? Reinforcing with additional brackets, selecting optimal support posts, and accounting for load distribution are key. For expert insights, see [how a skilled deck builder can turn your space into an oasis](https://deckdesignbuild.com/how-a-skilled-deck-builder-can-turn-your-garden-into-a-private-oasis).
Finally, a common oversight is neglecting the environmental impact and waste reduction during construction. Reusing materials, designing for disassembly, and choosing eco-friendly composites can significantly reduce your carbon footprint. For a comprehensive look into sustainable outdoor living, visit [outdoor kitchen and deck ideas for every budget](https://deckdesignbuild.com/maximizing-outdoor-space-inspiring-deck-and-stair-ideas-for-every-budget).
Are you aware of these subtle pitfalls, or have you fallen into one of these traps? Let me know in the comments. Remember, a thorough understanding of these nuances not only enhances safety and durability but also ensures your outdoor space remains a beautiful retreat for years to come.Maintaining your outdoor structures like stairs and decks requires the right tools and methods to ensure longevity and safety. One of my go-to pieces of equipment is a high-quality cordless impact driver. I prefer models with brushless motors because they deliver more torque with less battery drain, making repetitive tasks like driving screws or removing stubborn fasteners much easier. For example, the Milwaukee M18 Fuel Impact Driver has served me well due to its power and durability, especially in handling rusted or weathered hardware.
Another essential tool is a digital level with a built-in laser. When adjusting staircase stringers or ensuring your deck surface is perfectly level, precision is key. I use a Bosch GLL 3-80 Laser Level, which provides highly accurate readings over longer distances, saving time and reducing guesswork. This level helps me spot subtle deviations that could cause safety issues or visual asymmetry, particularly in multi-level decks.
For inspecting hidden areas or accessing tight spaces, a good flashlight or inspection camera is invaluable. I favor LED headlamps for hands-free operation during under-deck inspections. An inspection camera with a flexible cable and good resolution allows me to see behind beams or inside joist pockets without dismantling parts of the structure. It’s a game-changer for early detection of rot or pest activity.
How do I maintain my outdoor structures over time?
Regular maintenance is crucial for longevity. I recommend a periodic review at least twice a year—preferably in spring and fall—to catch issues early. Use a moisture meter to check for hidden dampness, especially around joints and fasteners, and apply rust inhibitors or protective sealants as needed. Additionally, sealing your hardware with corrosion-resistant paint or spray can double their lifespan. Incorporating preventive measures like adding post wraps or metal flashing tend to reduce maintenance frequency and extend the life of your deck or stairs.
Looking ahead, I believe technology will continue to evolve, bringing smarter maintenance solutions like IoT-connected sensors that monitor moisture levels or structural shifts in real time. Such innovations might automate routine inspections, alerting homeowners before minor problems become major repairs. Until then, investing in quality tools and consistent upkeep remains the best strategy.
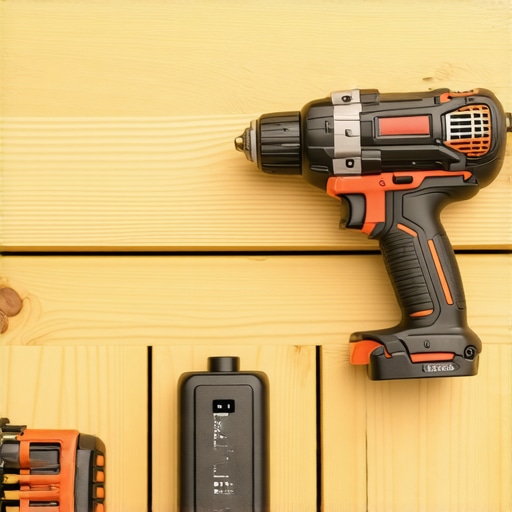
For those serious about DIY maintenance, try using a combination of a cordless impact driver and a laser level for superior results. It will save you time and help avoid costly mistakes. Remember, addressing issues early and with the right equipment can significantly improve your outdoor living space’s safety and durability. When planning your next project, consider consulting a professional for complex adjustments—see how a seasoned deck builder can make your project easier and more successful through expert guidance.
What the Deepest Lessons Taught Me About Deck Repairs
My biggest revelation came when I realized that not every loose post was just a simple fix; sometimes, it was a sign of underlying structural issues that needed a more thoughtful approach. Recognizing the importance of inspecting the support beams and footing prevented me from chasing temporary fixes that wouldn’t last. Another lightbulb moment was understanding that seasonal changes, like freeze-thaw cycles, can subtly weaken connections, so regular inspections are essential. Lastly, I discovered that investing in high-quality hardware might cost more upfront, but it saves painful repairs and safety worries down the line. These lessons transformed my DIY approach into a safe, long-lasting solution for outdoor spaces.
Tools and Resources That Elevated My Deck Building Game
Over the years, I’ve relied on some trusted tools that make deck and stair maintenance more manageable. A heavy-duty cordless impact driver, such as the Milwaukee M18 Fuel, helps me handle rusted or tight fasteners effortlessly. A precise laser level, like the Bosch GLL 3-80, ensures perfect alignment, reducing guesswork with stair stringers and deck surfaces. For inspecting hidden or hard-to-reach areas, an LED headlamp paired with a flexible inspection camera has been invaluable in catching early signs of rot or pests. Additionally, books like Maximizing Outdoor Space and guides on deck design ideas have provided inspiration and technical insights that continually boost my craftsmanship.
Your Next Step in Creating Exceptional Outdoor Living
Building or repairing your deck and stairs is more than just a project; it’s an investment in your home’s comfort and safety. Embrace the learning process, equip yourself with the right tools, and don’t shy away from seeking professional advice when needed. Remember, every bit of effort you put into understanding the intricacies—like proper fastening, moisture management, and structural reinforcement—pays off with a safer, longer-lasting outdoor space. Your perfect backyard retreat is within reach, and now is the time to bring it to life. Have you ever struggled with a stubborn post or stair alignment? Let’s hear your stories or questions below.